
Spring Cloud Microservices Beginner Tutorial (1): Microservices Introduction Spring Cloud Microservices Beginner Tutorial (2): Service Registration and Discovery — Eureka Spring Cloud Microservices Beginner Tutorial (3): Service Registration Spring Cloud Microservices Beginner Tutorial (4): Inter-service Invocation — FeignClient Spring Cloud Microservices Beginner Tutorial (5): Centralized Config — ConfigService Spring Cloud Microservices Beginner Tutorial (6): Spring Cloud BUS Message Bus for Dynamic Config Refresh Spring Cloud Microservices Beginner Tutorial (7): Spring Cloud Stream Message-driven Microservices Spring Cloud Microservices Beginner Tutorial (8): Spring Cloud Zuul API Gateway Dynamic Routing, Cookie Passing, and CORS Spring Cloud Microservices Beginner Tutorial (9): Zuul Gateway Integrating Swagger2 for Auto-generated RESTful API Docs Spring Cloud Microservices Beginner Tutorial (10): Spring Cloud Hystrix Circuit Breaking and Service Degradation Spring Cloud Microservices Beginner Tutorial (11): Spring Cloud Sleuth + Zipkin Service Tracing and Link Monitoring Spring Cloud Microservices Beginner Tutorial (12): Spring Cloud Docker Containerized Deployment
Code will be shared at https://github.com/NeilRen/SpringCloudDemo, with different branches for different chapters; the Master branch contains the final combined content. This chapter’s code is at: https://github.com/NeilRen/SpringCloudDemo/tree/feature/eureka
Original This article is original, author: Ren Fei. Please cite the author and source when reposting.
This section starts from scratch: we create a new Maven multi-module project and complete a basic demo of Spring Cloud Eureka-based service registration and discovery. The demo uses the IntelliJ IDEA development environment.
Build a Multi-module Project with Maven
Create a new Maven project in IntelliJ IDEA with JDK 1.8. I prefer manual operations, so first create an empty Maven project with groupId net.renfei, artifactId cloud, and version 1.0.0 — use your own company name and project name for these three:
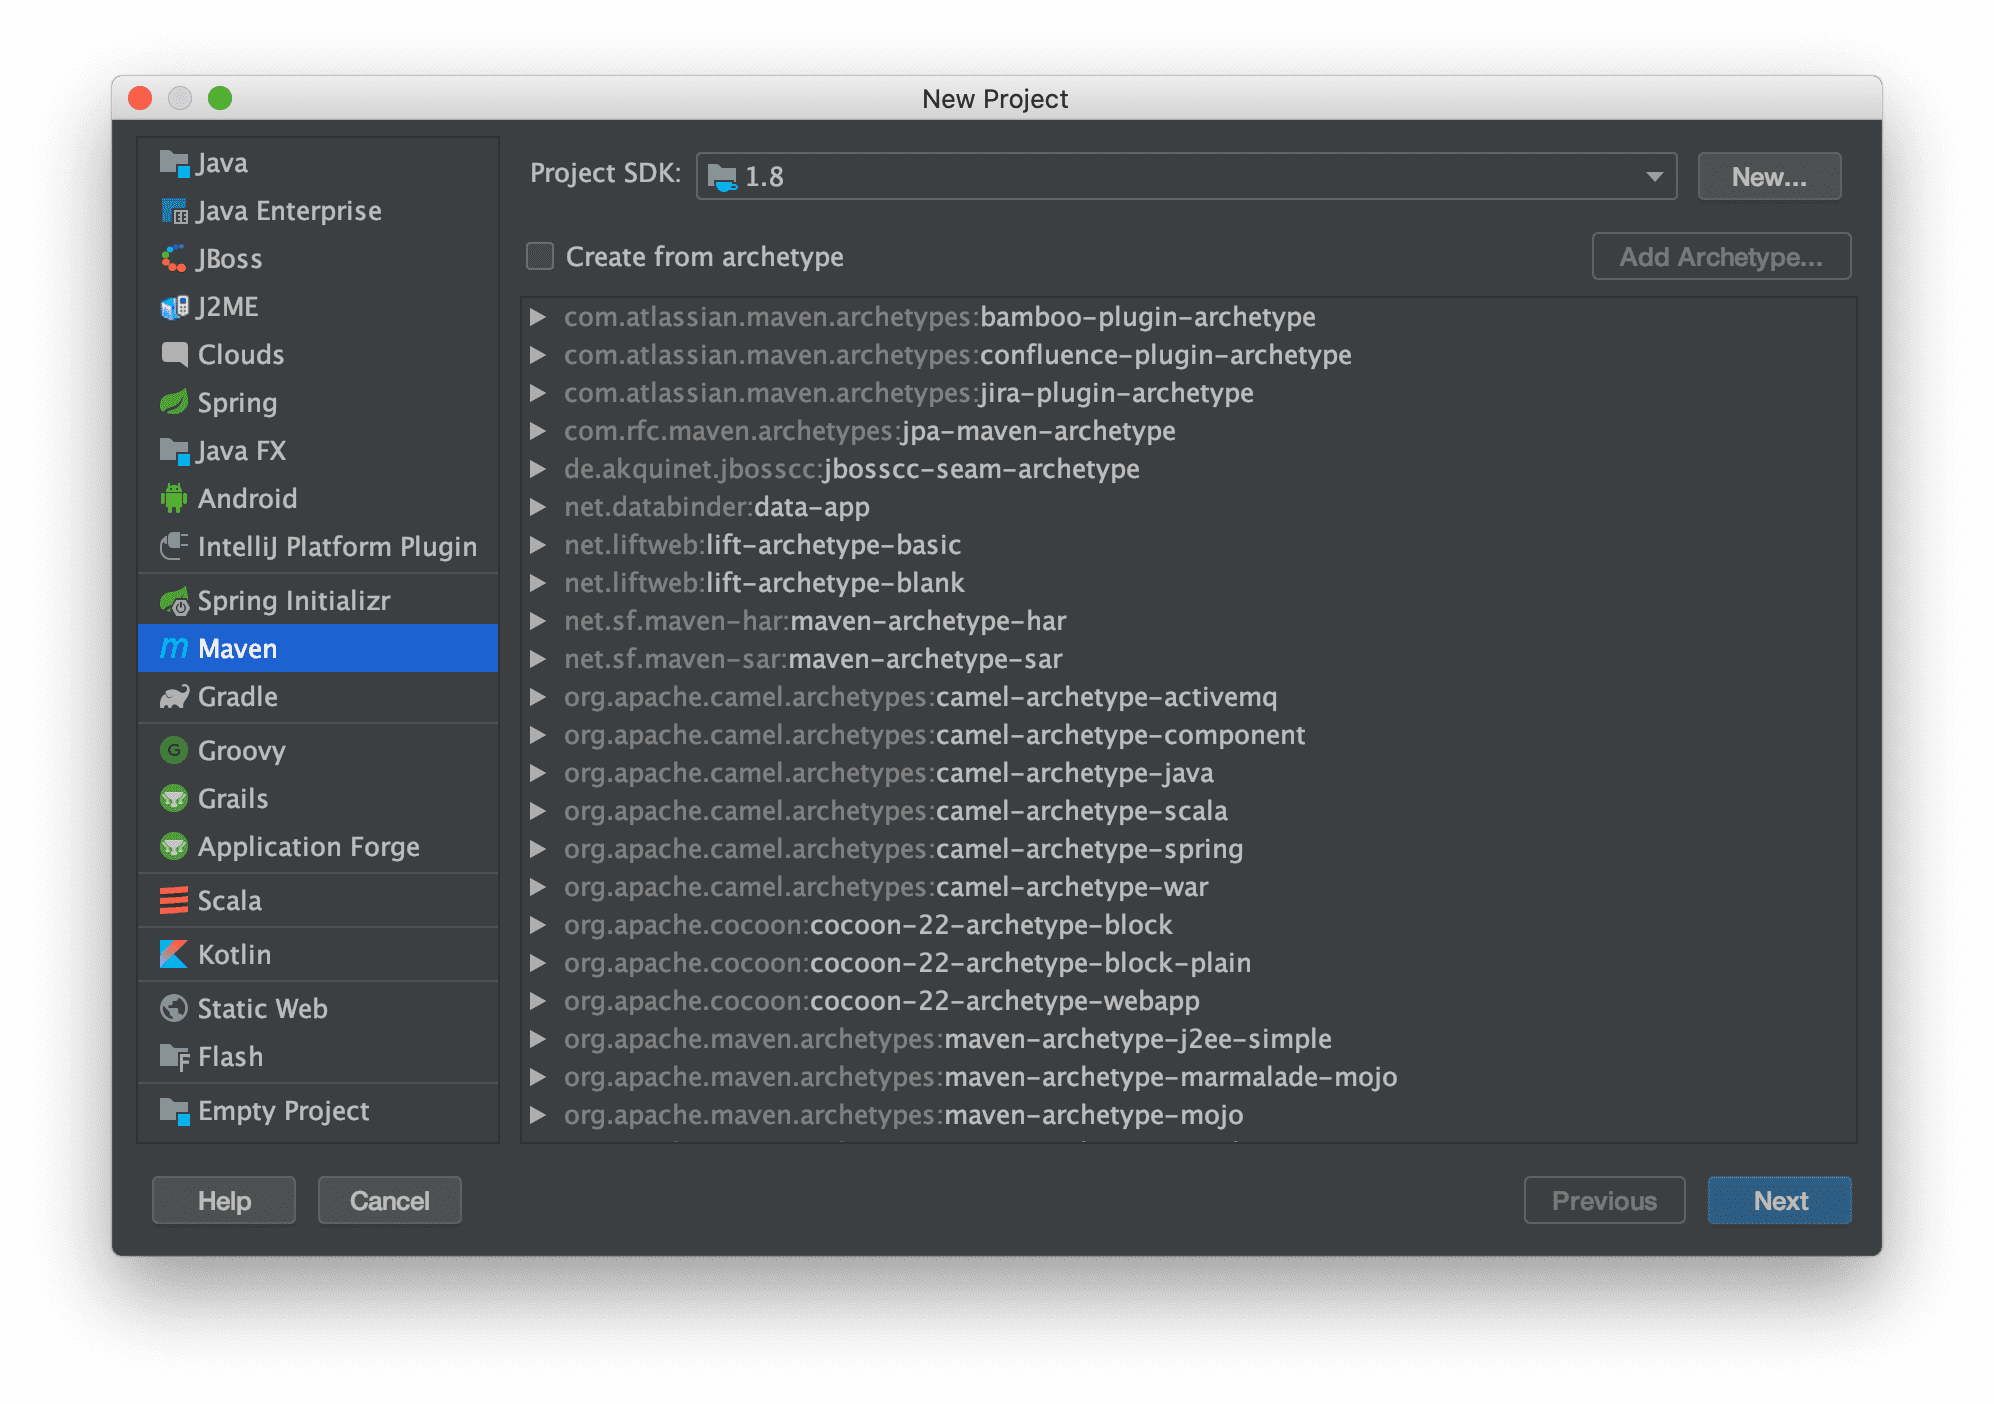
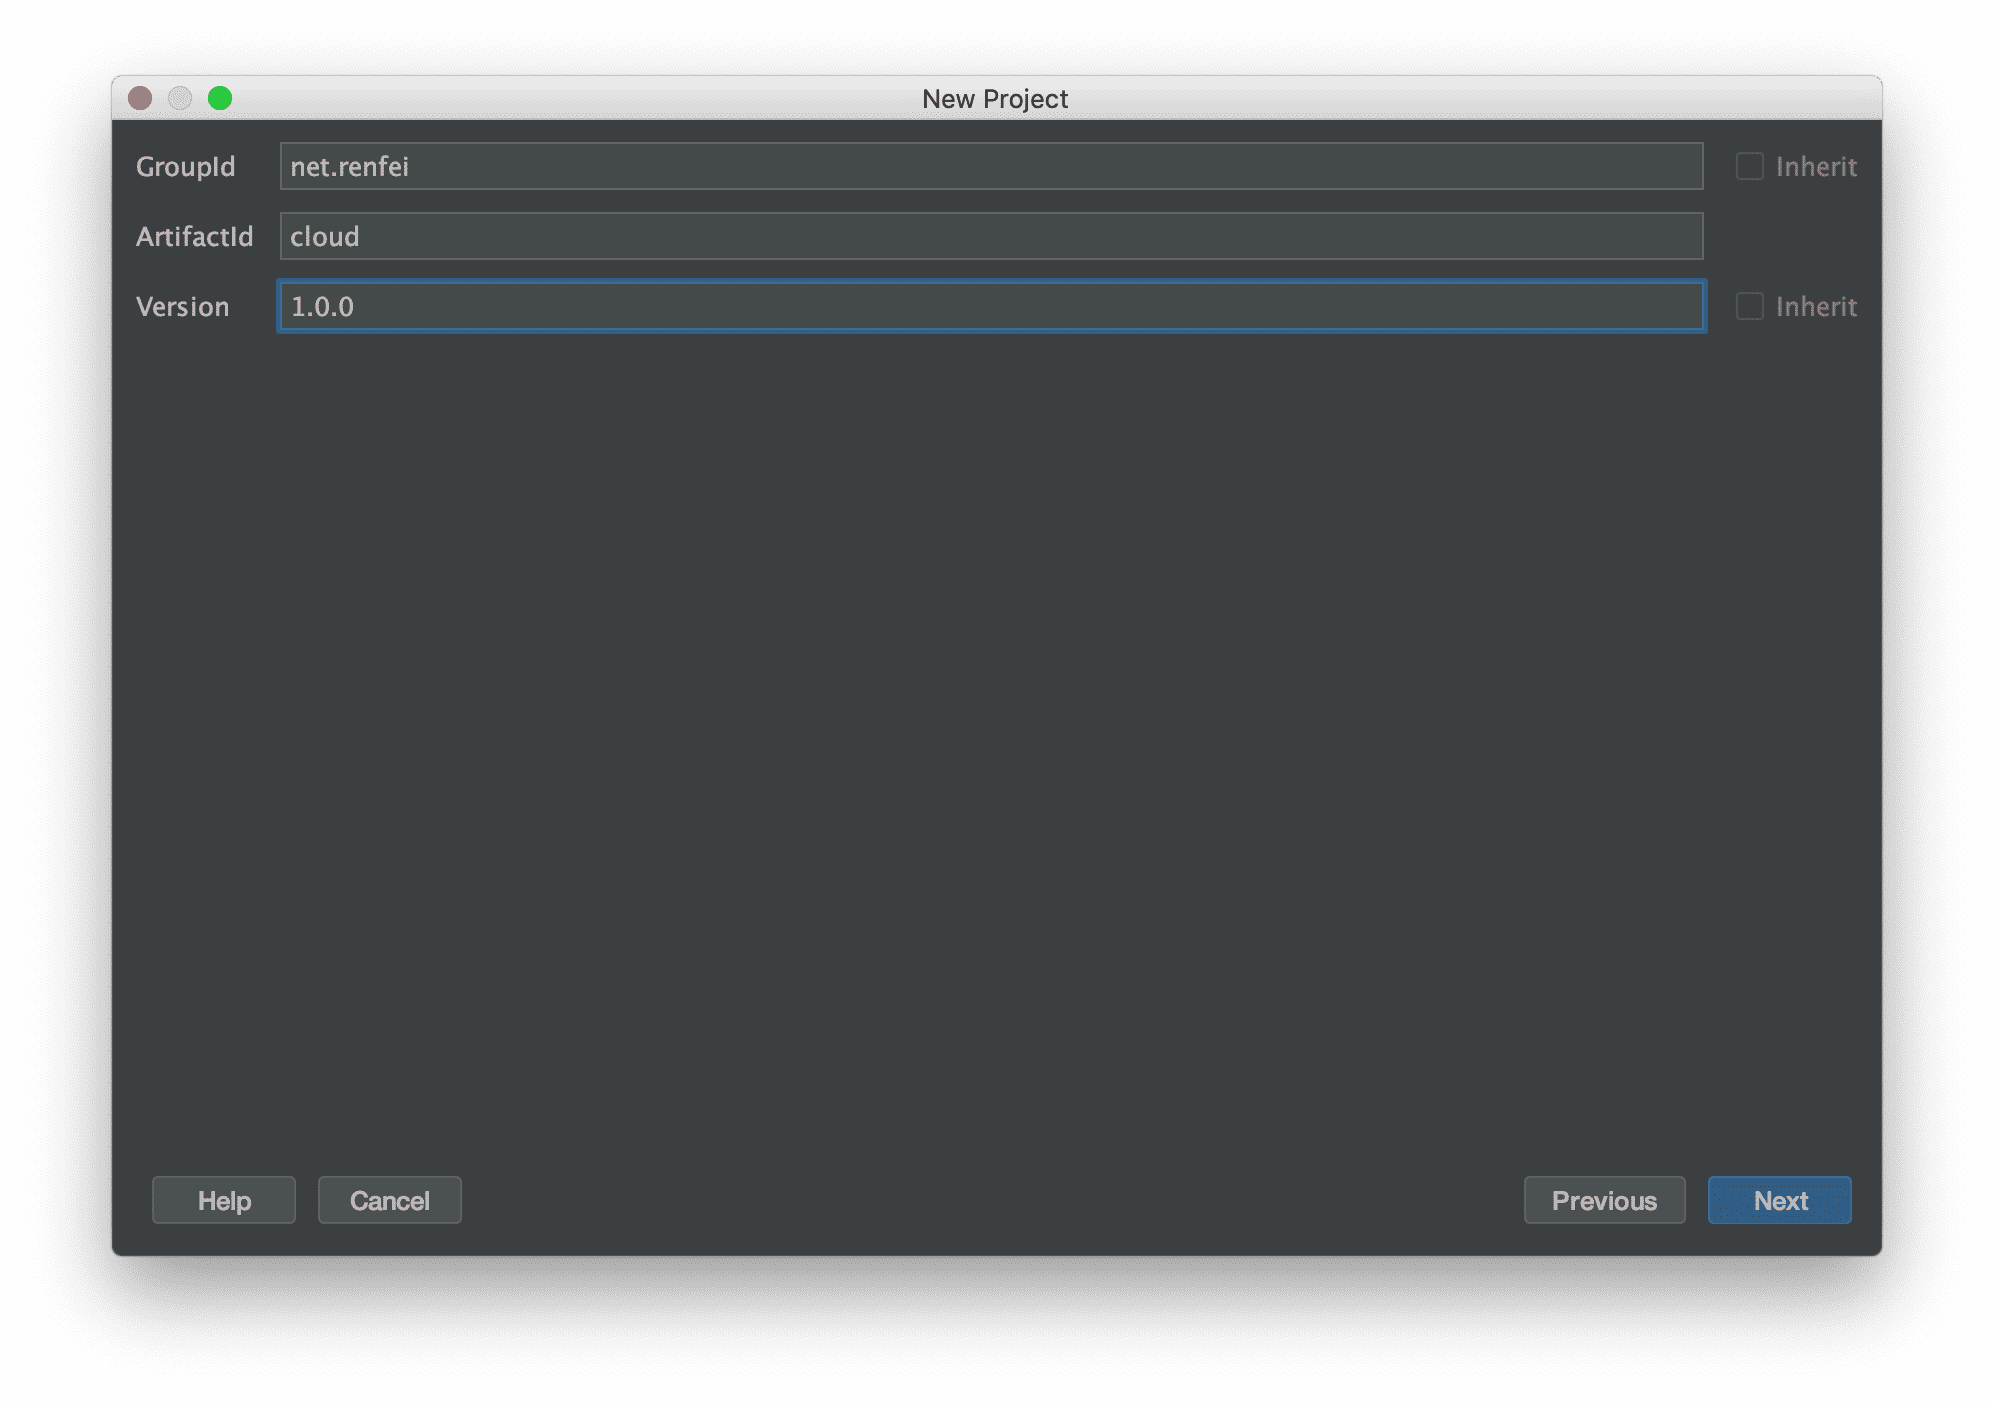
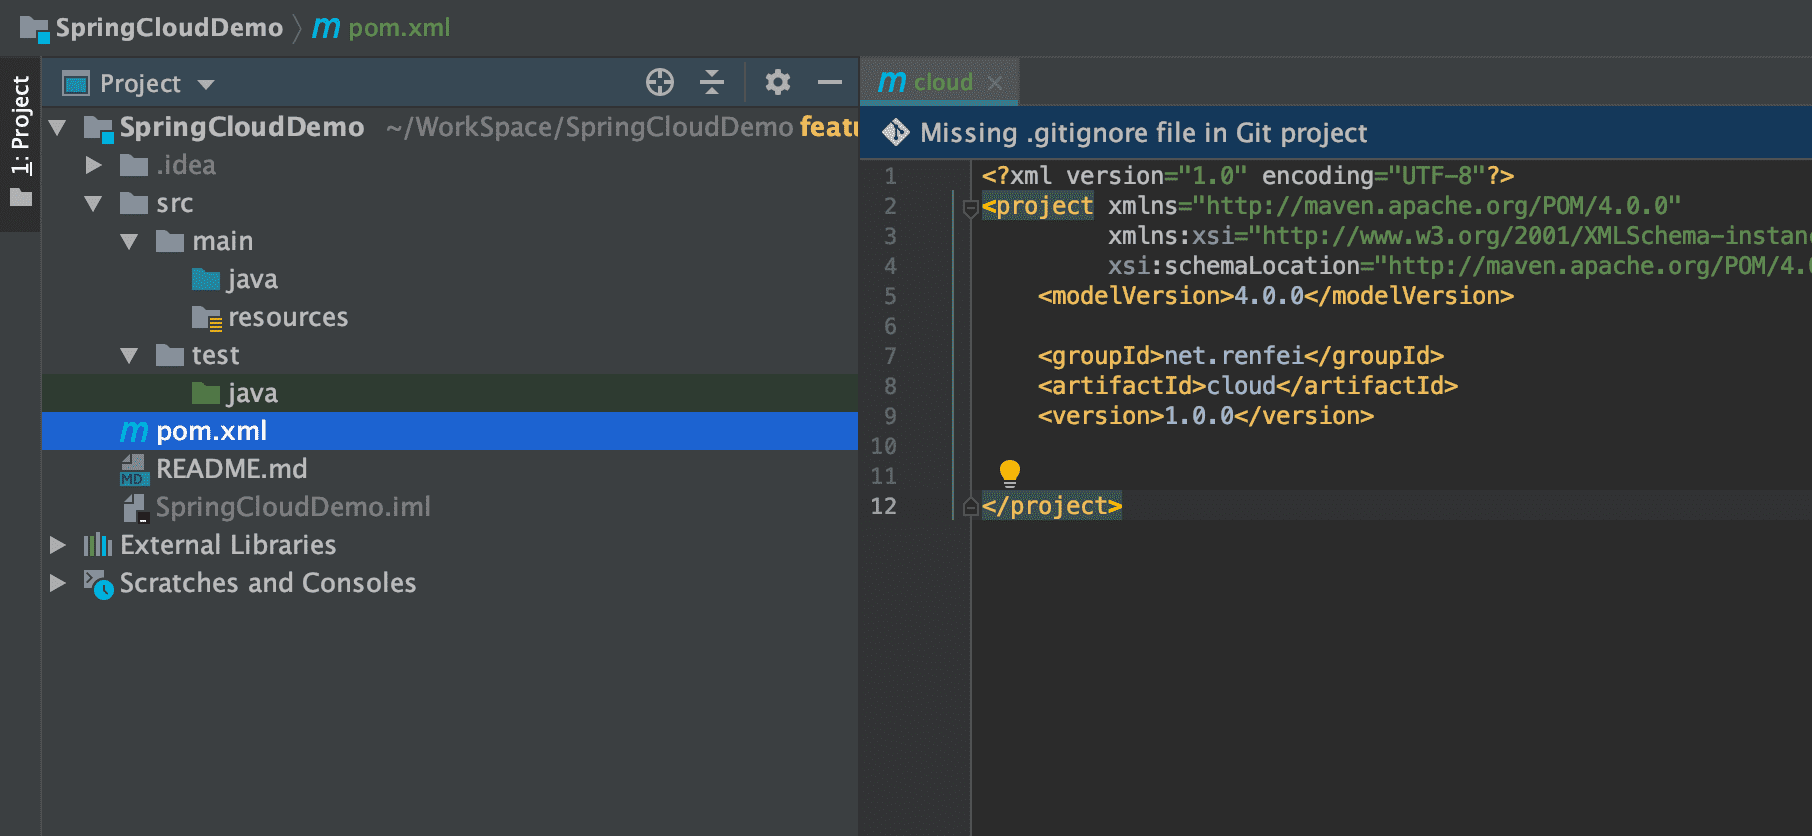
Then we get a pom.xml, which will be our root pom file. The next step is to refactor this pom file. First check the latest Spring Cloud version at the official site: https://spring.io/projects/spring-cloud. At the time of this tutorial the latest stable version is “Hoxton SR1”. One thing to note: Spring Cloud and Spring Boot have a version relationship — you can’t just pick versions freely. The “Hoxton.SR1” version of Spring Cloud corresponds to Spring Boot “2.2.x”. Some friends may not have noticed that below the Spring Cloud site there is a “Release train Spring Boot compatibility” mapping table, so our root pom file should inherit the latest Spring Boot “2.2.4.RELEASE” version. The pom is written like this:
<?xml version="1.0" encoding="UTF-8"?>
<project xmlns="http://maven.apache.org/POM/4.0.0"
         xmlns:xsi="http://www.w3.org/2001/XMLSchema-instance"
         xsi:schemaLocation="http://maven.apache.org/POM/4.0.0 http://maven.apache.org/xsd/maven-4.0.0.xsd">
    <modelVersion>4.0.0</modelVersion>
    <groupId>net.renfei</groupId>
    <artifactId>cloud</artifactId>
    <version>1.0.0</version>
    <packaging>pom</packaging>
    <name>SpringCloudDemo</name>
    <description>Demo project for Spring Cloud By RENFEI.NET</description>
    <properties>
        <java.version>1.8</java.version>
        <project.build.sourceEncoding>UTF-8</project.build.sourceEncoding>
        <spring-cloud.version>Hoxton.SR1</spring-cloud.version>
    </properties>
    <parent>
        <groupId>org.springframework.boot</groupId>
        <artifactId>spring-boot-starter-parent</artifactId>
        <version>2.2.4.RELEASE</version>
        <relativePath/>
    </parent>
    <dependencies>
        <dependency>
            <groupId>org.springframework.boot</groupId>
            <artifactId>spring-boot-starter-test</artifactId>
            <scope>test</scope>
        </dependency>
    </dependencies>
    <dependencyManagement>
        <dependencies>
            <dependency>
                <groupId>org.springframework.cloud</groupId>
                <artifactId>spring-cloud-dependencies</artifactId>
                <version>${spring-cloud.version}</version>
                <type>pom</type>
                <scope>import</scope>
            </dependency>
        </dependencies>
    </dependencyManagement>
    <build>
        <plugins>
            <plugin>
                <groupId>org.springframework.boot</groupId>
                <artifactId>spring-boot-maven-plugin</artifactId>
            </plugin>
        </plugins>
    </build>
</project>
Create a Submodule: Eureka as the Service Discovery Server
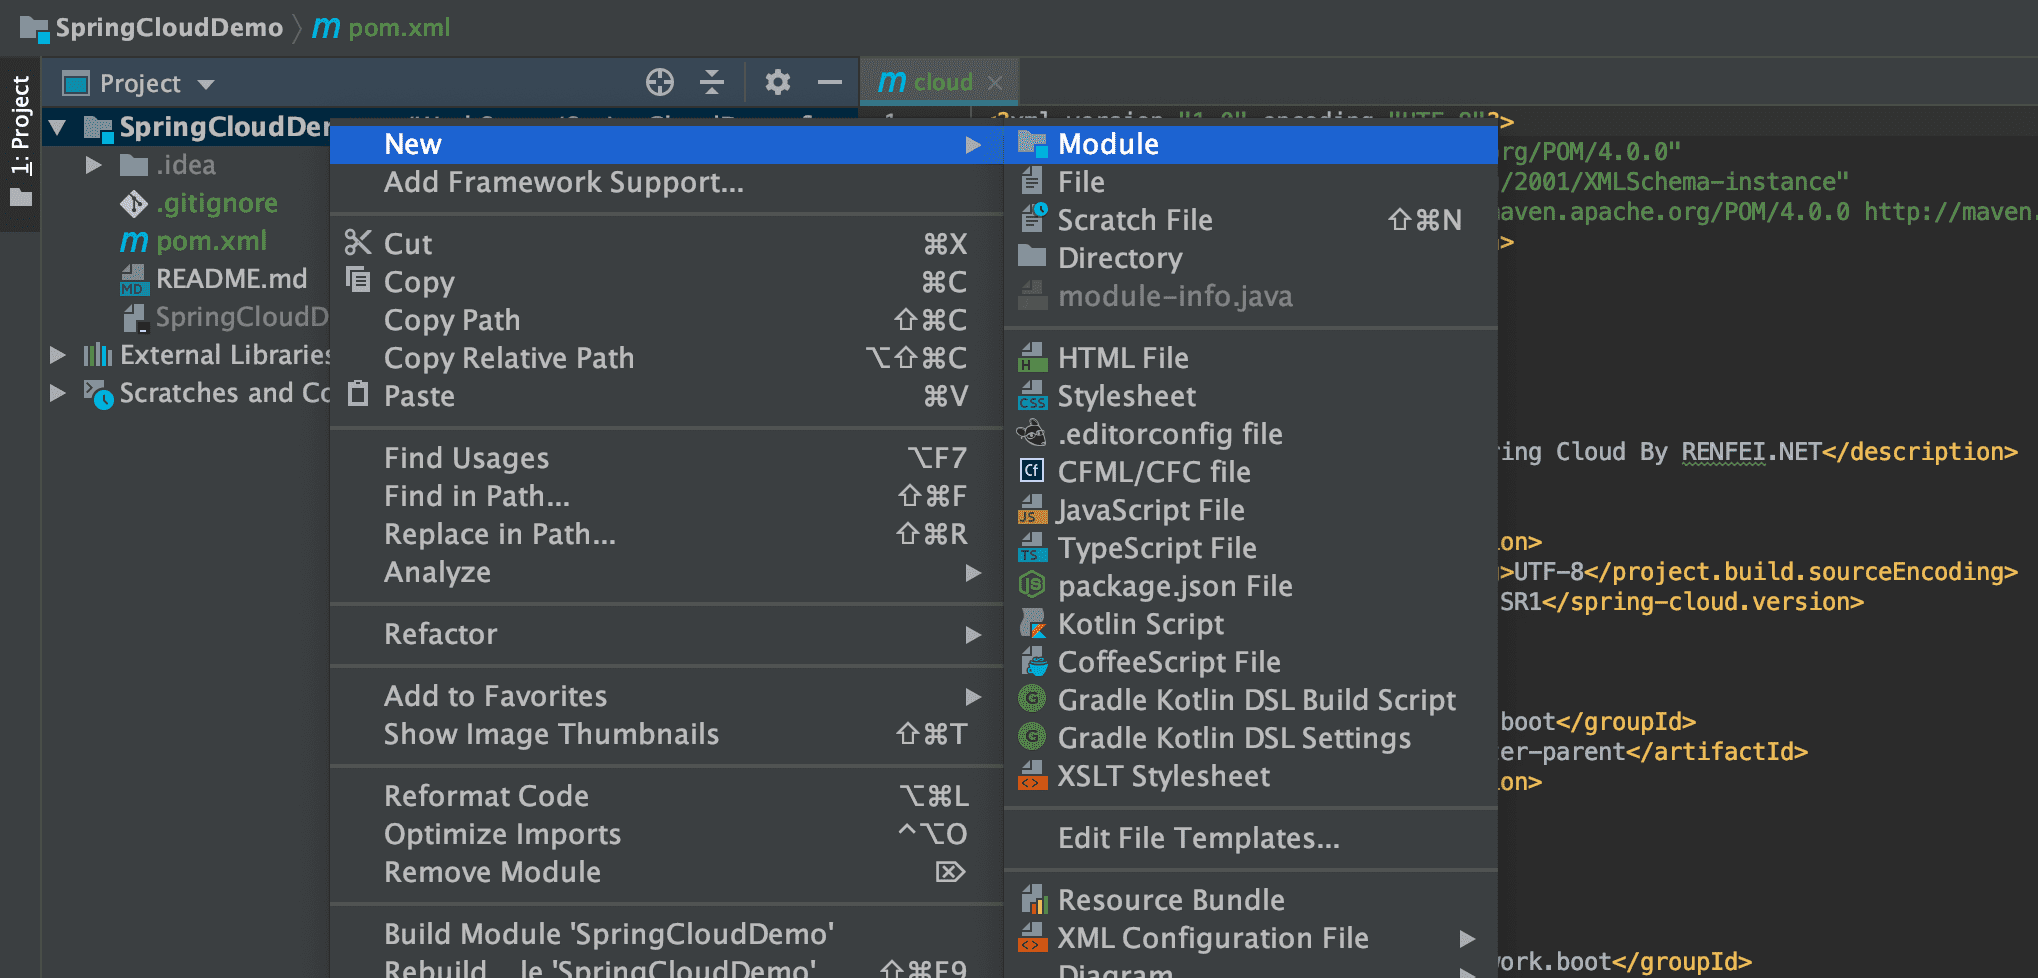
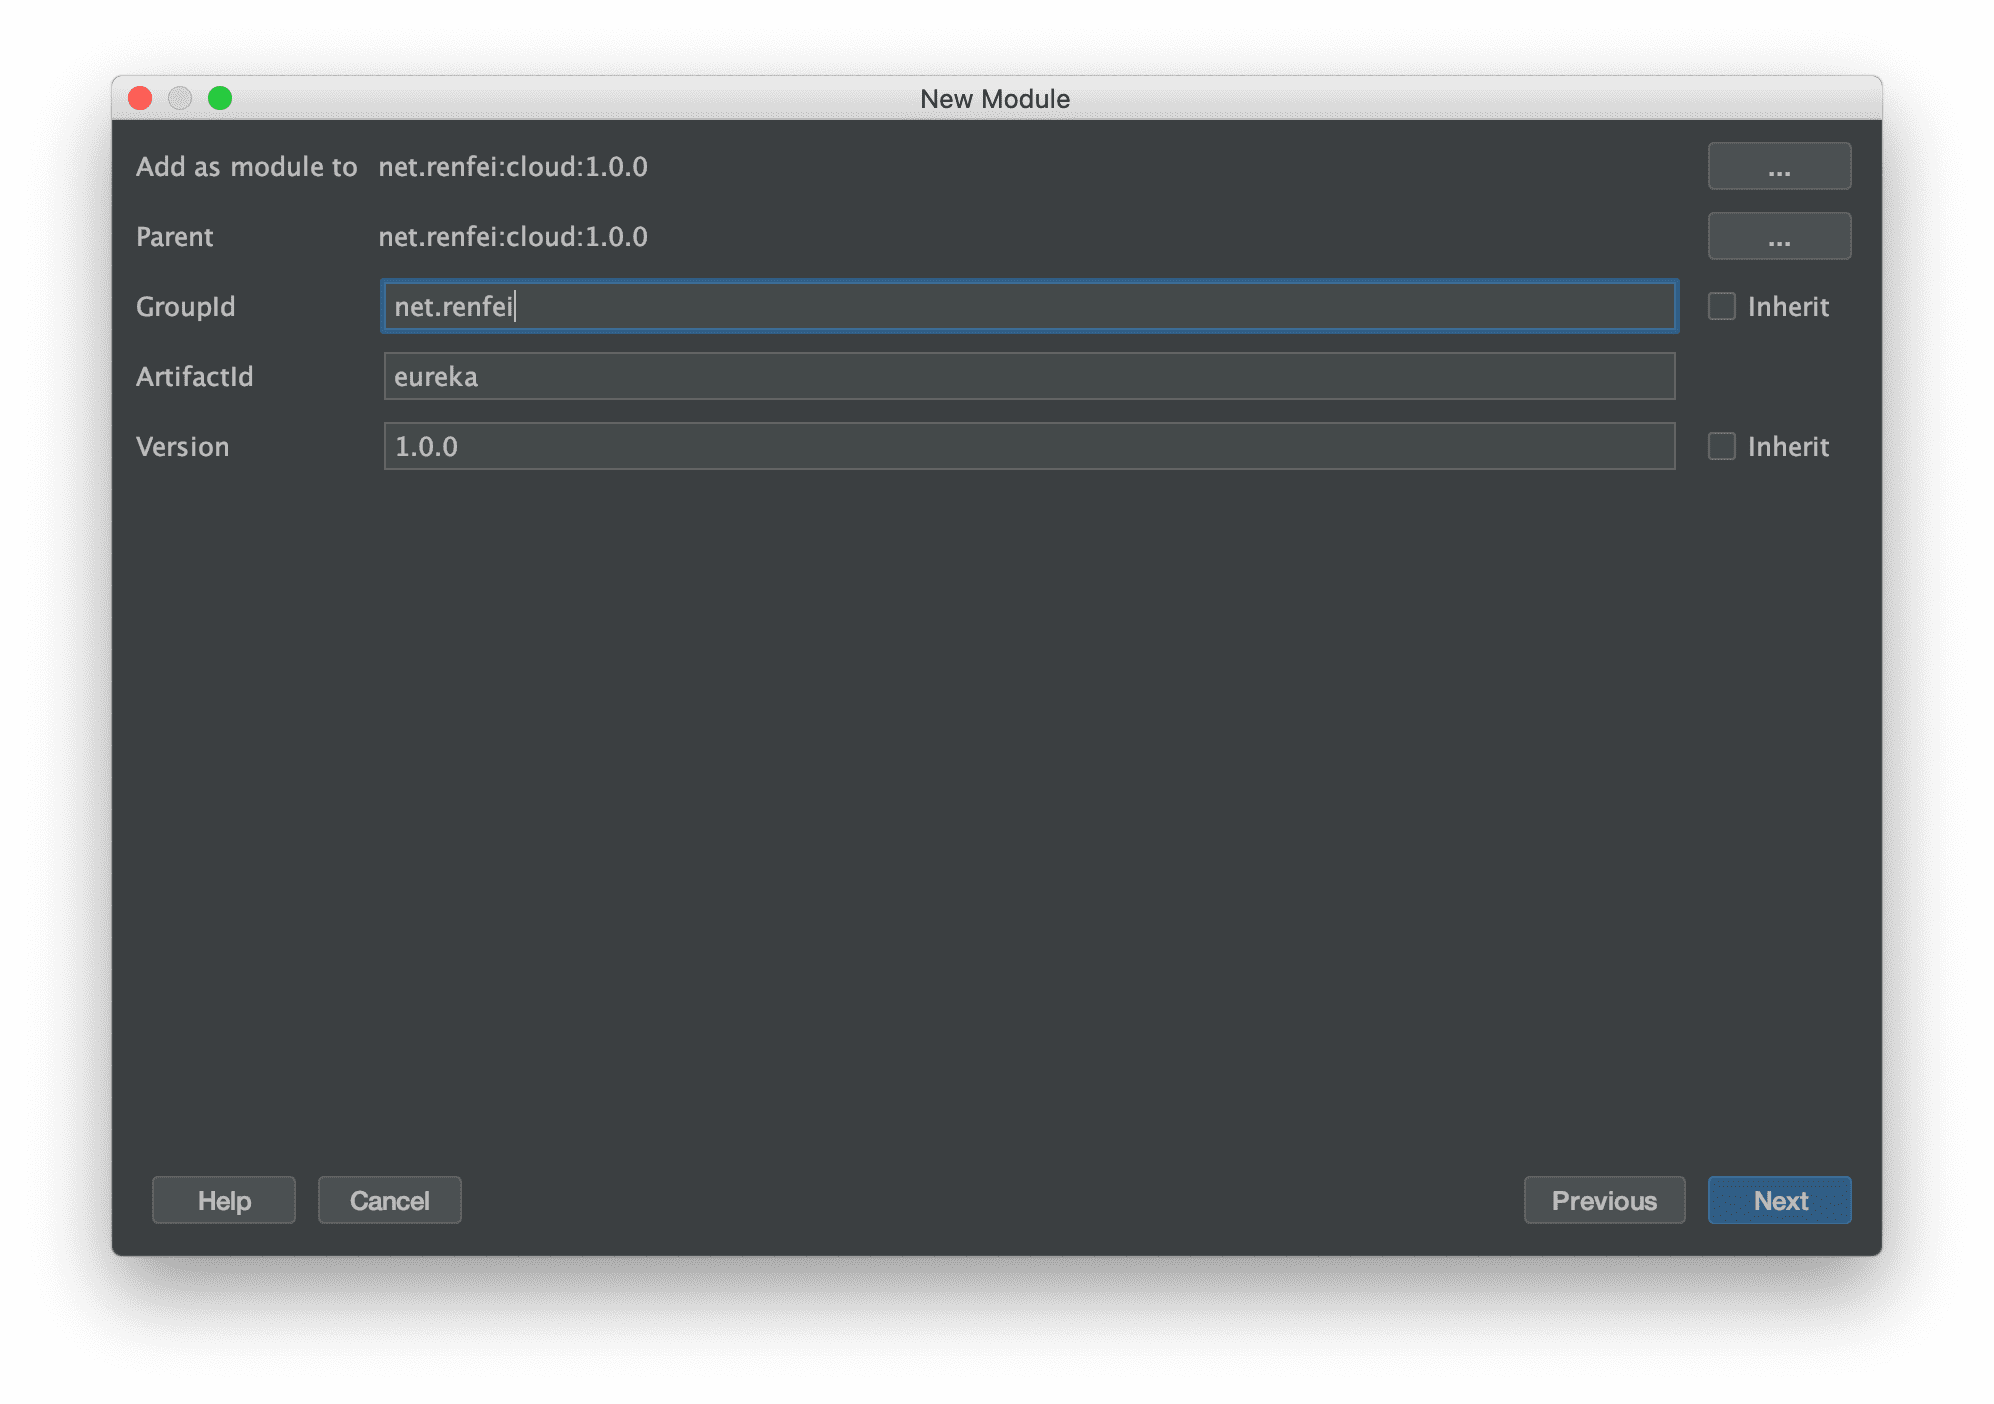
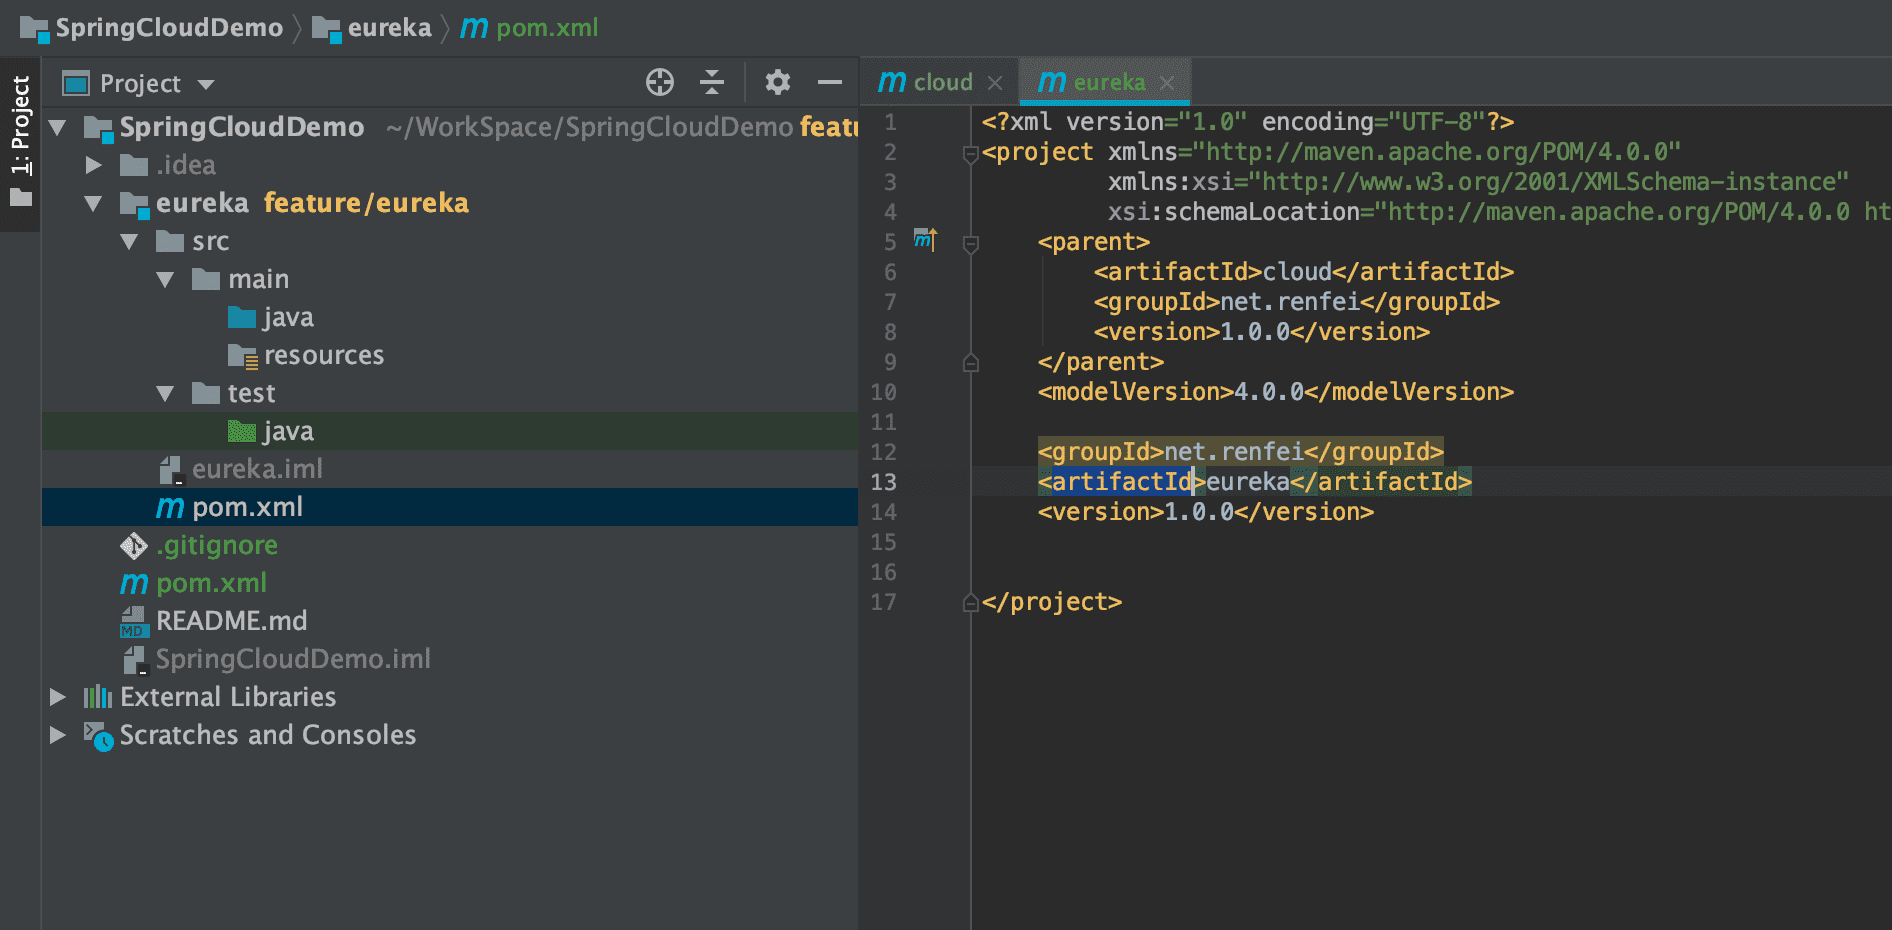
First we delete the “src” folder created when the project was new — since we’re using a multi-module setup, that root “src” folder is useless. After deleting it, right-click the project name, choose to create a new module: a blank Maven project named eureka. You’ll then get a new pom file, the submodule’s own pom, which inherits our root pom:
Service Discovery and Registration: Eureka Server
The “eureka” submodule will be the server side of our service registration and discovery. First modify the pom; it should depend on “spring-cloud-starter-netflix-eureka-server”:
<?xml version="1.0" encoding="UTF-8"?>
<project xmlns="http://maven.apache.org/POM/4.0.0"
         xmlns:xsi="http://www.w3.org/2001/XMLSchema-instance"
         xsi:schemaLocation="http://maven.apache.org/POM/4.0.0 http://maven.apache.org/xsd/maven-4.0.0.xsd">
    <parent>
        <artifactId>cloud</artifactId>
        <groupId>net.renfei</groupId>
        <version>1.0.0</version>
    </parent>
    <modelVersion>4.0.0</modelVersion>
    <groupId>net.renfei</groupId>
    <artifactId>eureka</artifactId>
    <version>1.0.0</version>
    <name>eureka</name>
    <description>springcloud-eureka-server</description>
    <dependencies>
        <dependency>
            <groupId>org.springframework.cloud</groupId>
            <artifactId>spring-cloud-starter-netflix-eureka-server</artifactId>
        </dependency>
        <dependency>
            <groupId>org.springframework.boot</groupId>
            <artifactId>spring-boot-starter-test</artifactId>
            <scope>test</scope>
        </dependency>
    </dependencies>
    <build>
        <plugins>
            <plugin>
                <groupId>org.springframework.boot</groupId>
                <artifactId>spring-boot-maven-plugin</artifactId>
            </plugin>
        </plugins>
    </build>
</project>
Create the Startup Class EurekaServerApplication and the application.yml Config File
In the submodule’s eureka/src/main/java, right-click and create a package: net.renfei.eureka, then create a class inside the package, EurekaServerApplication, as the submodule’s startup entry:
package net.renfei.eureka;

import org.springframework.boot.SpringApplication;
import org.springframework.boot.autoconfigure.SpringBootApplication;
import org.springframework.cloud.netflix.eureka.server.EnableEurekaServer;

@EnableEurekaServer
@SpringBootApplication
public class EurekaServerApplication {
    public static void main(String[] args) {
        SpringApplication.run(EurekaServerApplication.class, args);
    }
}
Doesn’t it look a lot like Spring Boot? In fact, Spring Cloud is just a composition of Spring Boots. Here you only need to add the @EnableEurekaServer annotation. Since this is a beginner tutorial, we won’t discuss the related annotations now; they’ll be covered in detail in a future advanced tutorial. Then we add the config file application.yml in the submodule’s resources folder:
server:
  port: 8761
eureka:
  instance:
    # Set the eureka host address
    hostname: localhost
  client:
    # Whether to register itself with Eureka Server, default true. Since this app is the Eureka Server, set to false
    register-with-eureka: false
    # Whether to fetch registration info from Eureka Server, default true. As a single Eureka Server, no need to sync other nodes' data, so set to false
    fetch-registry: false
    service-url:
      defaultZone: http://${eureka.instance.hostname}:${server.port}/eureka/
spring:
  application:
    # Service module name
    name: eureka
The config file sets the submodule to listen on port 8761 and gives it a name via spring.application.name=eureka, and register-with-eureka: false means it does not register itself with itself.
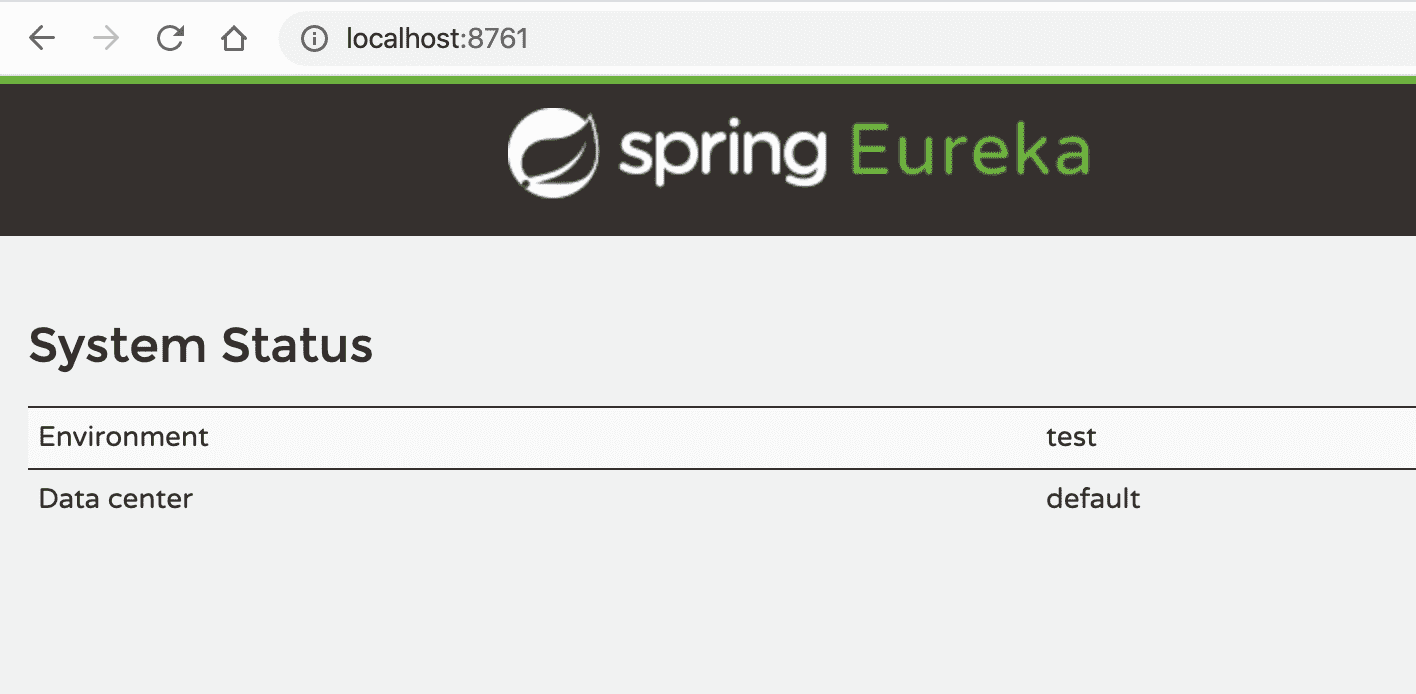
Click the small triangle on EurekaServerApplication to run it, and the registry starts. Then visit http://localhost:8761/ in a browser; when you see the eureka page, the registry setup is complete!
Next section preview: service Server providers and Client consumers