

Have you ever complained at work about other people’s messy commits — no note on why or what each commit did? When contributing to open-source projects on GitHub, if your commit doesn’t follow their template, your merge request won’t be accepted. Messy commits not only affect others; at release time the changelog should be auto-generated, but commits not written per the rules can’t be tallied automatically. So today I’ll write about how to commit gracefully on Git and auto-generate the changelog. This article only focuses on the posture of committing; the commit command and other topics are not discussed for now.
Let’s first look at a good example to see what a proper commit looks like. I’ll use the Vue team’s GitHub repo: https://github.com/vuejs/vue/commits/dev
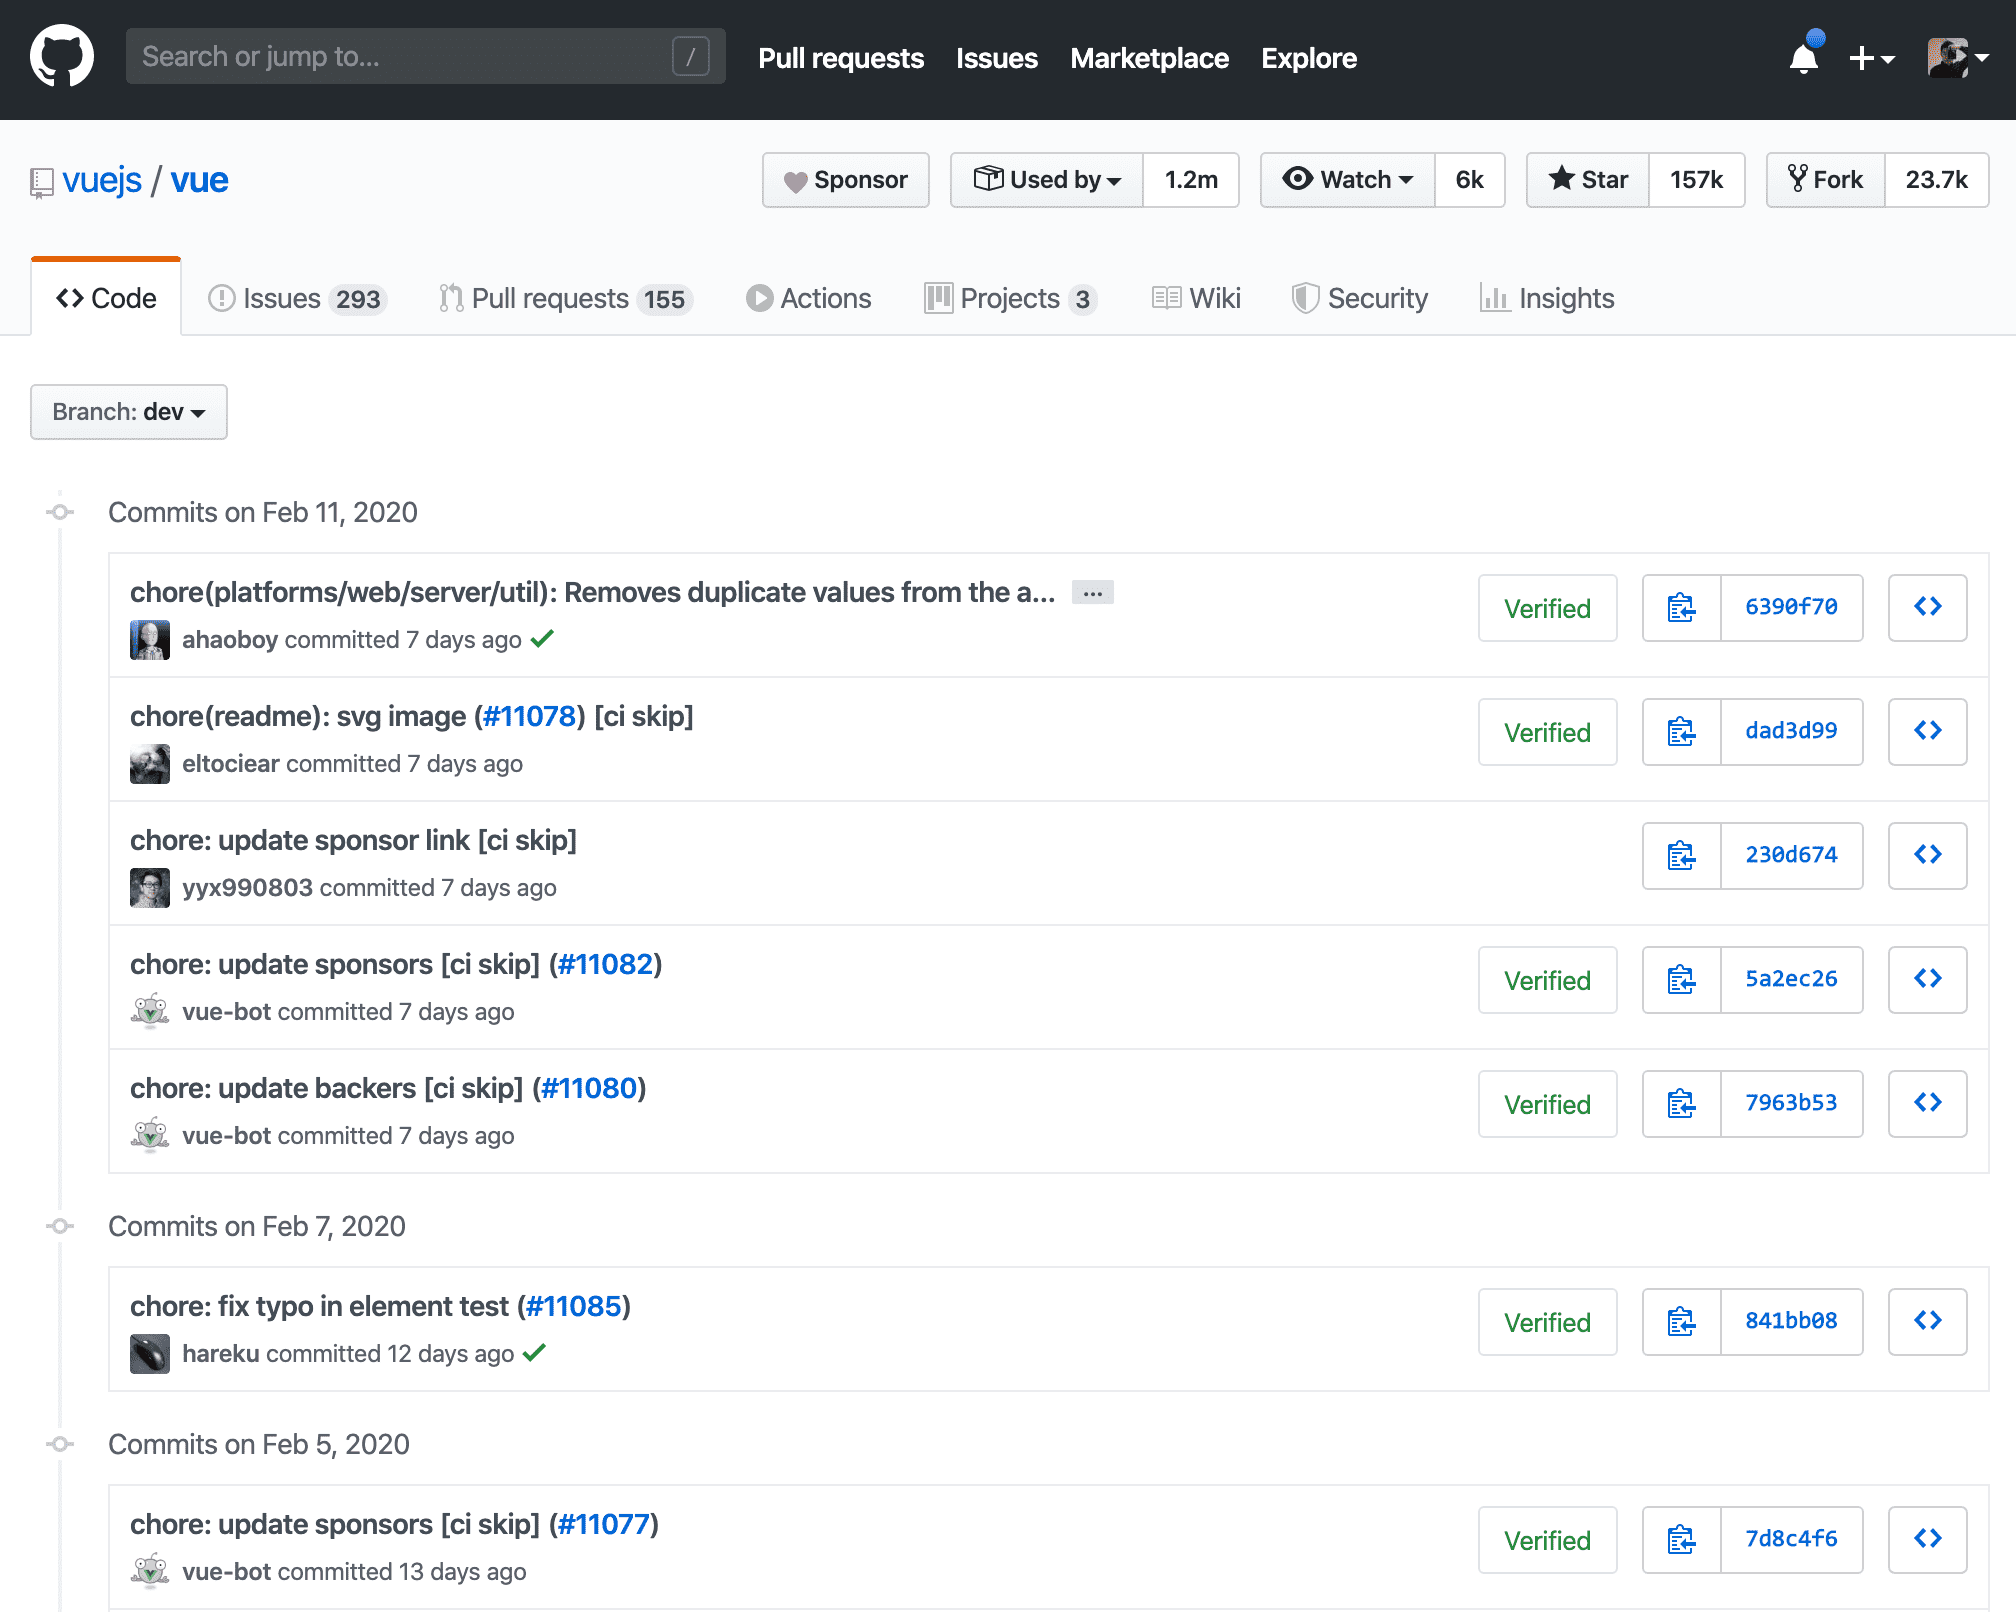
You can see each commit is clear and uses a unified standard format. There are several community conventions for commit messages; let’s look at the most common and widely used one.
Commit Message Format
A commit message has three parts: Header, Body, and Footer. The Header is required; Body and Footer are optional.
<type>(<scope>): <subject>
// blank line
<body>
// blank line
<footer>
Header
The Header is a single line with three fields: type (required), scope (optional), and subject (required).
type indicates the category of the commit and may only use the following 7 identifiers:
-
feat: new feature
-
fix: bug fix
-
docs: documentation
-
style: formatting (changes that don’t affect code execution)
-
refactor: refactoring (code changes that are neither new features nor bug fixes)
-
test: add tests
-
chore: changes to the build process or auxiliary tools
If type is feat or fix, the commit will definitely appear in the changelog. For the others (docs, chore, style, refactor, test), it’s up to you whether to include them in the changelog — though the recommendation is not to.
scope indicates the scope affected by the commit, such as the data layer, control layer, view layer, etc.; it varies by project.
subject is a short description of the commit’s purpose, no more than 50 characters.
-
Start with a verb in the first-person present tense, e.g. “change”, not “changed” or “changes”
-
Lowercase first letter
-
No trailing period (.)
Body
The Body is a detailed description of the commit and can span multiple lines. Two points to note: use the first-person present tense (e.g. “change” not “changed” or “changes”); it should explain the motivation for the code change and the contrast with previous behavior. The Body is optional.
Footer
The Footer is used in only two cases:
(1) Breaking changes
If the current code is incompatible with the previous version, the Footer starts with BREAKING CHANGE, followed by a description of the change, the reason, and the migration method.
(2) Closing an Issue
If the current commit targets an issue, you can close it in the Footer by simply writing: Closes #12, where #12 is the issue number.
Summary
If you add a feature, the simplest form is: feat: add XXX product module
If you fix a bug, the simplest form is: fix: login captcha not working
If you edit documentation, the simplest form is: docs: edited account permission docs
And so on. The benefit of this format is you can see at a glance what you did, which makes statistics easy. Next we’ll talk about auto-generating the changelog.
Generating the Changelog
If all your commits follow the format, then at release time the changelog can be generated by script. The generated document includes the following three sections:
-
New features
-
Bug fixes
-
Breaking changes.
conventional-changelog is the tool that generates the changelog; just run the commands below. Install npm first if you don’t have it.
npm install -g conventional-changelog
$ cd my-project
$ conventional-changelog -p angular -i CHANGELOG.md -w
The command above does not overwrite the previous changelog; it only prepends the changes since the last release to the top of CHANGELOG.md. If you want to generate the changelog for all releases, run the command below instead.
conventional-changelog -p angular -i CHANGELOG.md -w -r 0