I bought a small industrial PC and started playing with soft routers. Here’s my write-up so the next person can skip the pitfalls I hit. This post covers building OpenWRT (LEDE) yourself; later I’ll write up automating the build with GitHub Actions Workflows and installing x86 soft router systems.
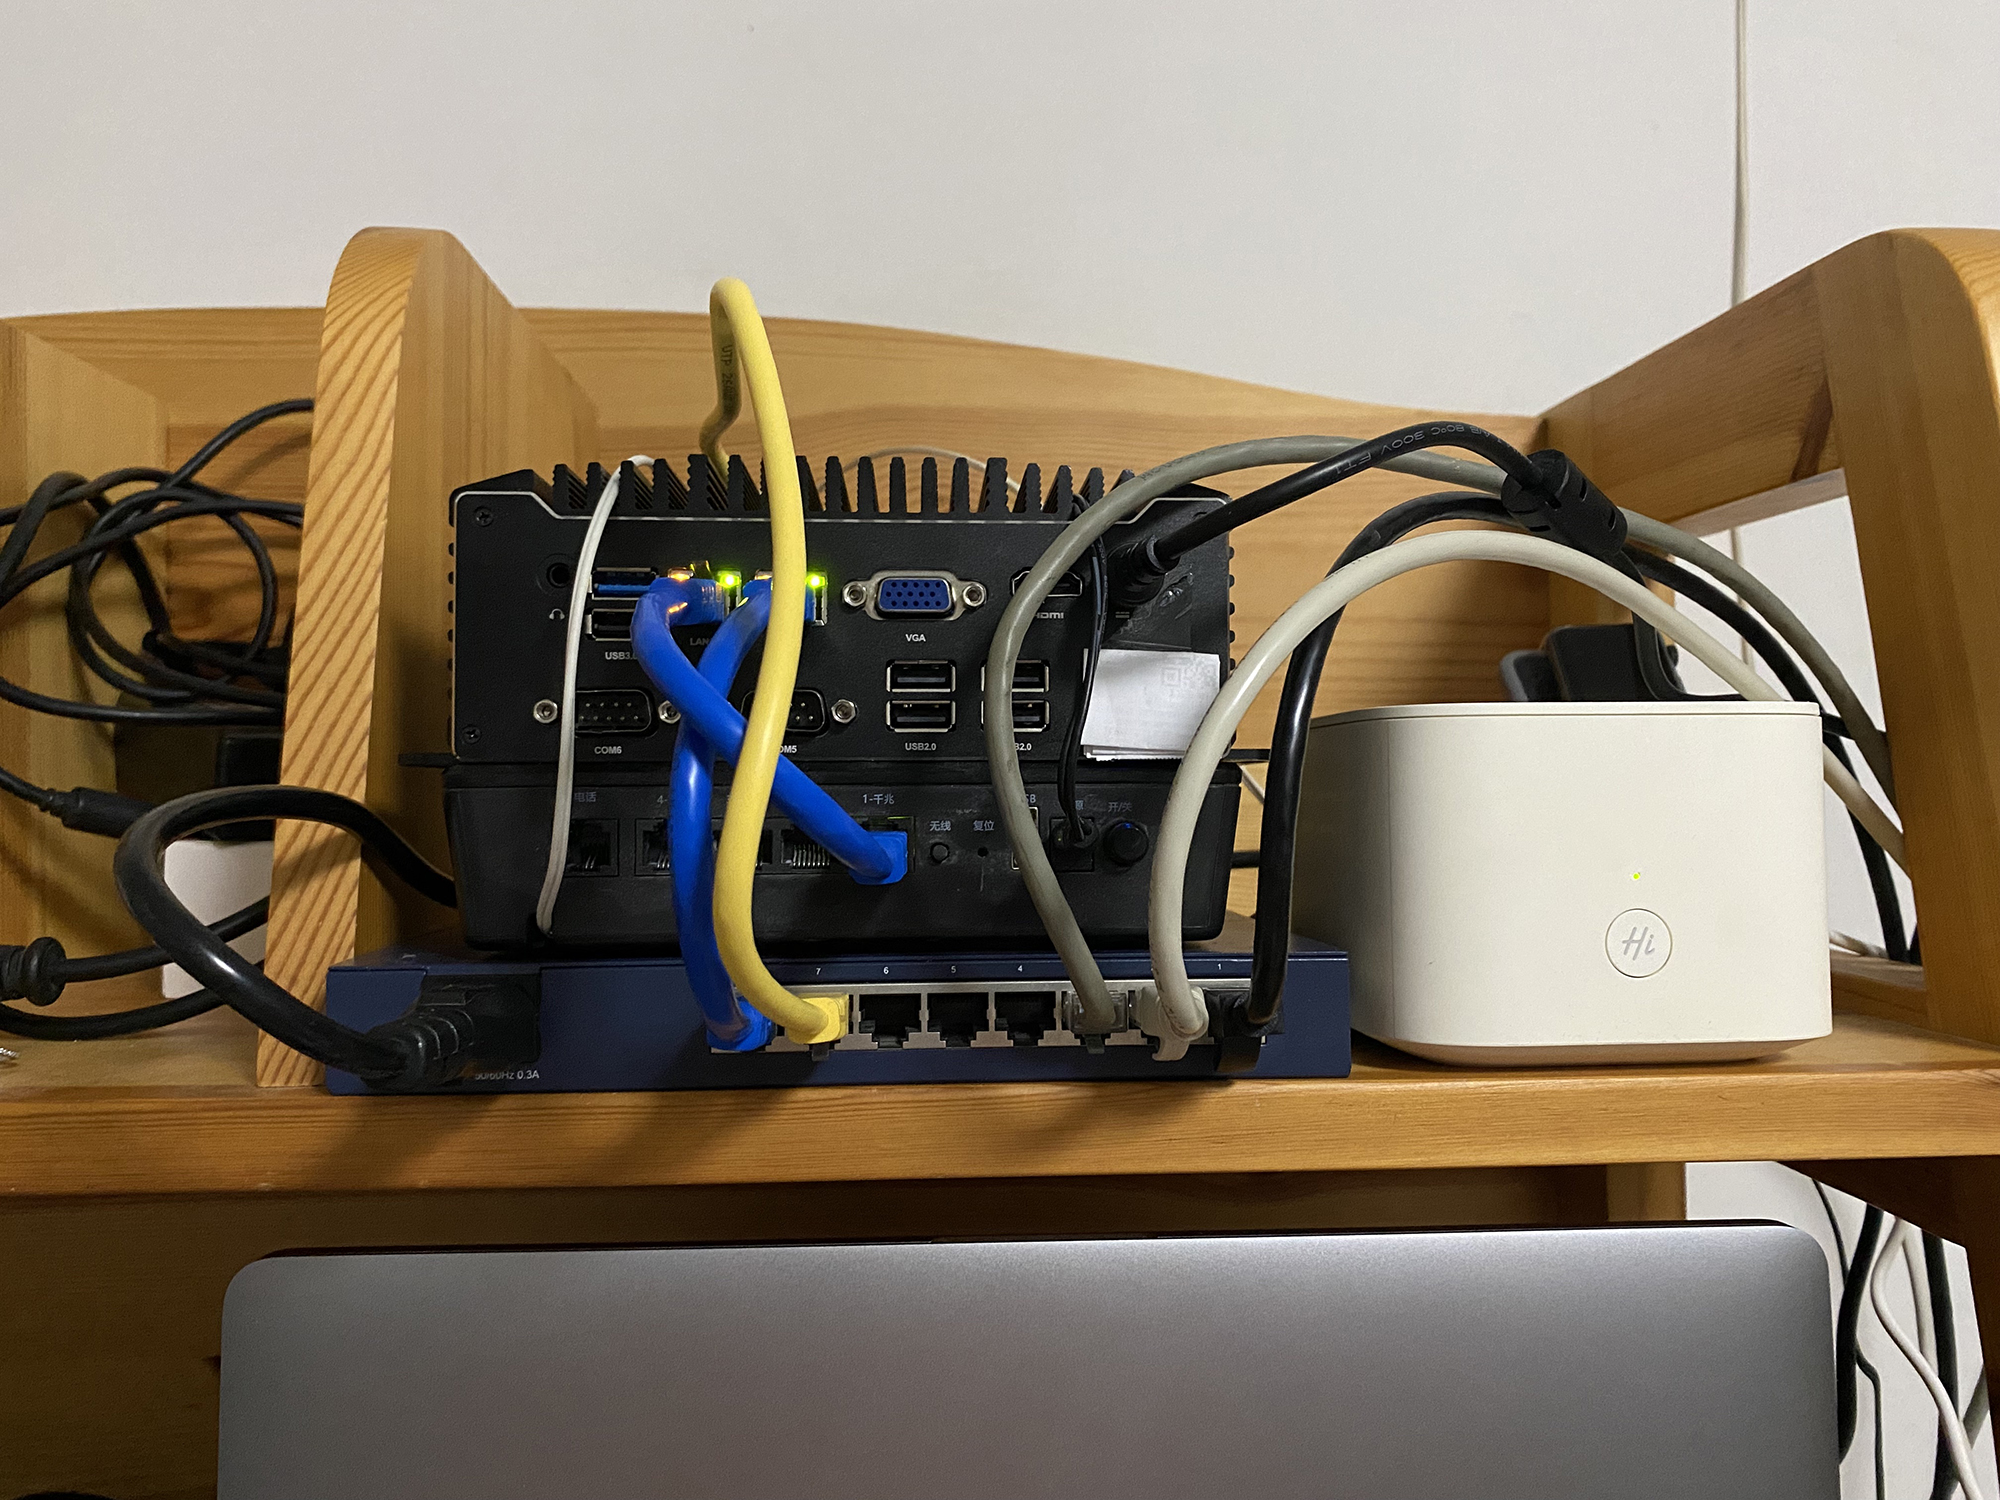
First, the hardware. It’s an unbranded industrial PC I picked up secondhand from Xianyu: J1900 CPU, 4 GB of onboard RAM, a 32 GB mSATA drive, dual NICs. Here’s the little guy:
Soft Router Systems
Why run a soft router? Beyond raw performance, it’s the plugin ecosystem that gives the router real capabilities — software is the soul of a soft router. There are two main camps right now: iKuai and OpenWRT. iKuai is faster at routing and better at traffic shaping; OpenWRT has more plugins and more features. Some people install both. I only run OpenWRT, since I don’t need rate limiting or multiple WAN ports from several ISPs.
OpenWRT and LEDE
In 2016 LEDE split off from OpenWRT as a sub-project, then merged back in 2018. There’s essentially no difference now, so don’t lose sleep over whether LEDE is “real” OpenWRT.
I went with Lean’s LEDE — known online as “L Da” — which bundles a lot of extra features and plugins and suits Chinese users better. Repo: https://github.com/coolsnowwolf/lede
Modifying Source and Feeds
If you’re building it yourself, you’re doing it to customize — to add what you actually want. So I forked Lean’s repo to mine (https://github.com/renfei/lede) and added the plugin sources I wanted. Some plugins can’t be published openly inside China, so you have to find them yourself, drop them in, and rebuild. There are two ways:
- Use
feeds.conf.defaultto subscribe to someone else’s repo. Easiest option: every build pulls the latest code from the subscribed repos. - Drop source directly into the
packagefolder —package/lean, for instance, holds the sources of various plugins.
Add and tweak plugins to taste and you end up with your own router system.
Preparing the Build Environment
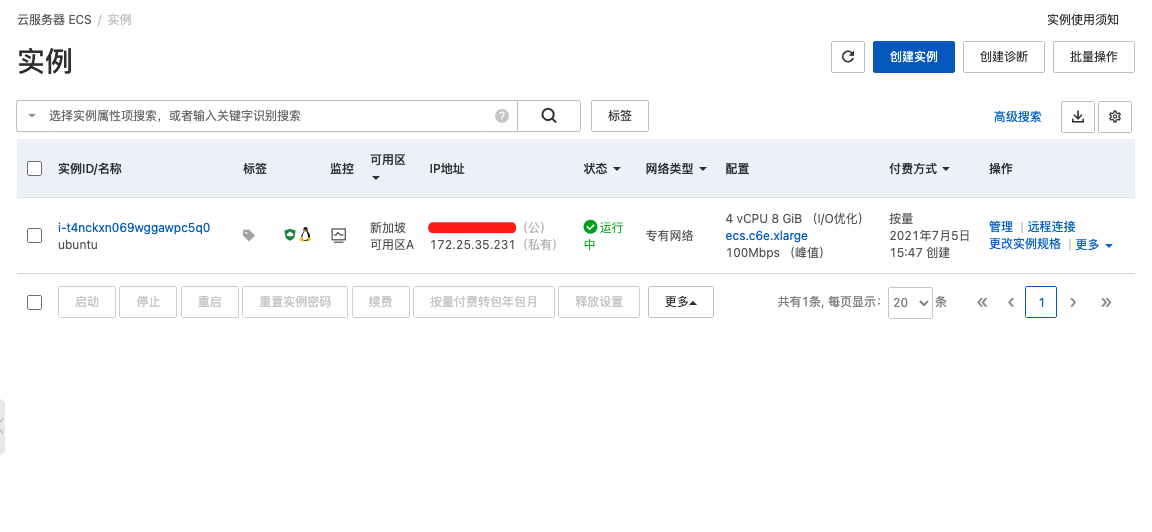
First, the build pulls code from repositories overseas — you know how that goes. I went with a server in Singapore. Builds take several hours, so renting one offshore makes it faster and avoids dependency download failures that break the build. I picked 4 cores / 8 GB RAM with a 50 GB disk; too little RAM or disk will also fail the build. Here’s the server I bought:
Second, use Linux. Ubuntu 20.04 LTS x64 is recommended, and that’s what I demonstrate with below.
Building
Important: run everything as a regular user, not as root, or you’ll hit errors and failures.
Update the system and install dependencies:
sudo apt-get update
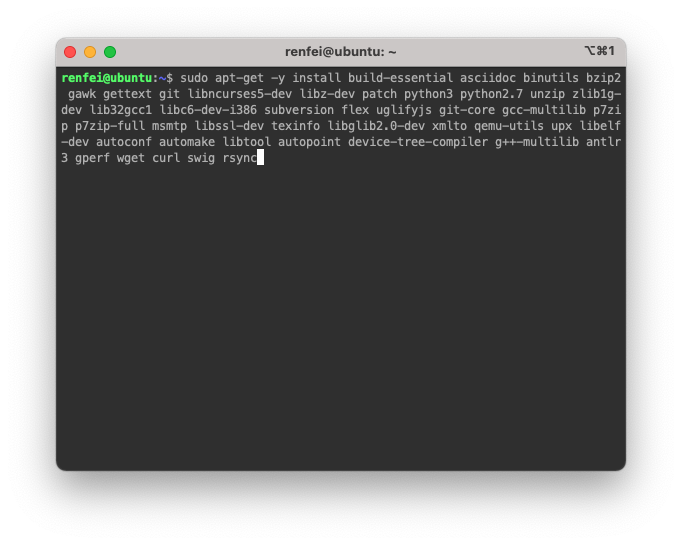
sudo apt-get -y install build-essential asciidoc binutils bzip2 gawk gettext git libncurses5-dev libz-dev patch python3 python2.7 unzip zlib1g-dev lib32gcc1 libc6-dev-i386 subversion flex uglifyjs git-core gcc-multilib p7zip p7zip-full msmtp libssl-dev texinfo libglib2.0-dev xmlto qemu-utils upx libelf-dev autoconf automake libtool autopoint device-tree-compiler g++-multilib antlr3 gperf wget curl swig rsync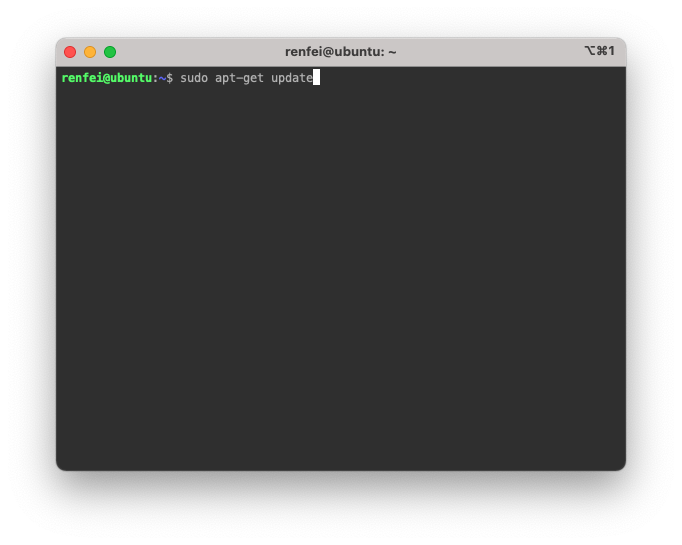
Clone the project:
git clone https://github.com/coolsnowwolf/ledeThen enter it:
cd ledeUpdate and install feeds:
./scripts/feeds update -a && ./scripts/feeds install -a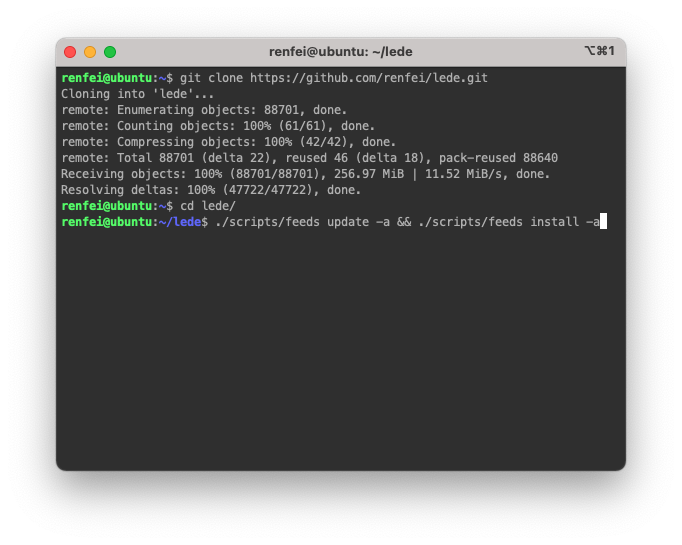
Generate the default config:
make defconfig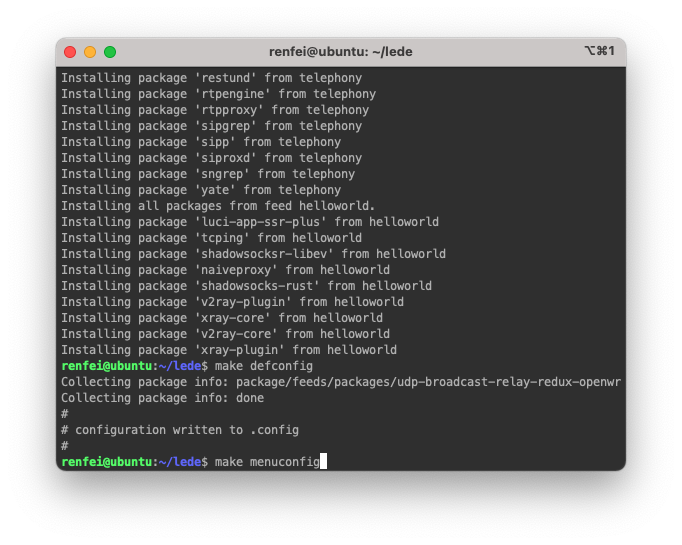
Open the graphical configuration:
make menuconfig- Target System: the architecture you’re building for. Mine is x86; pick your own.
- Subtarget: the sub-level of that architecture — one architecture covers many sub-levels. Mine is
x86/64, i.e. 64-bit x86.
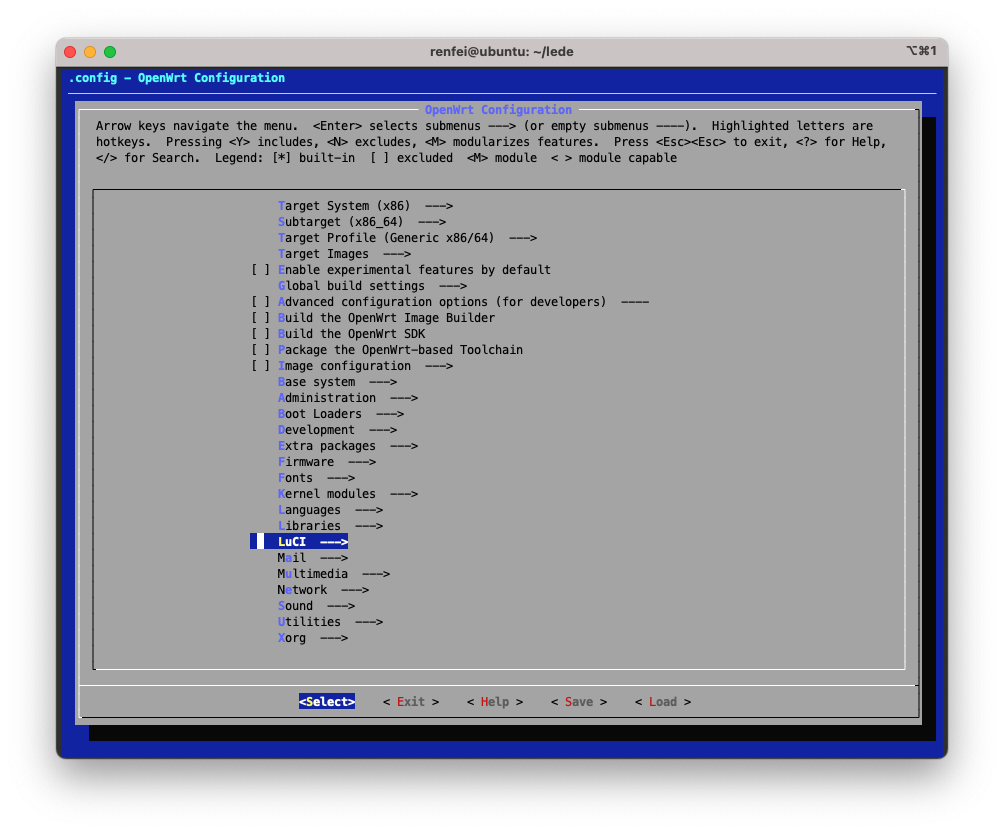
The most important section is LuCI, where you pick the plugins to compile:
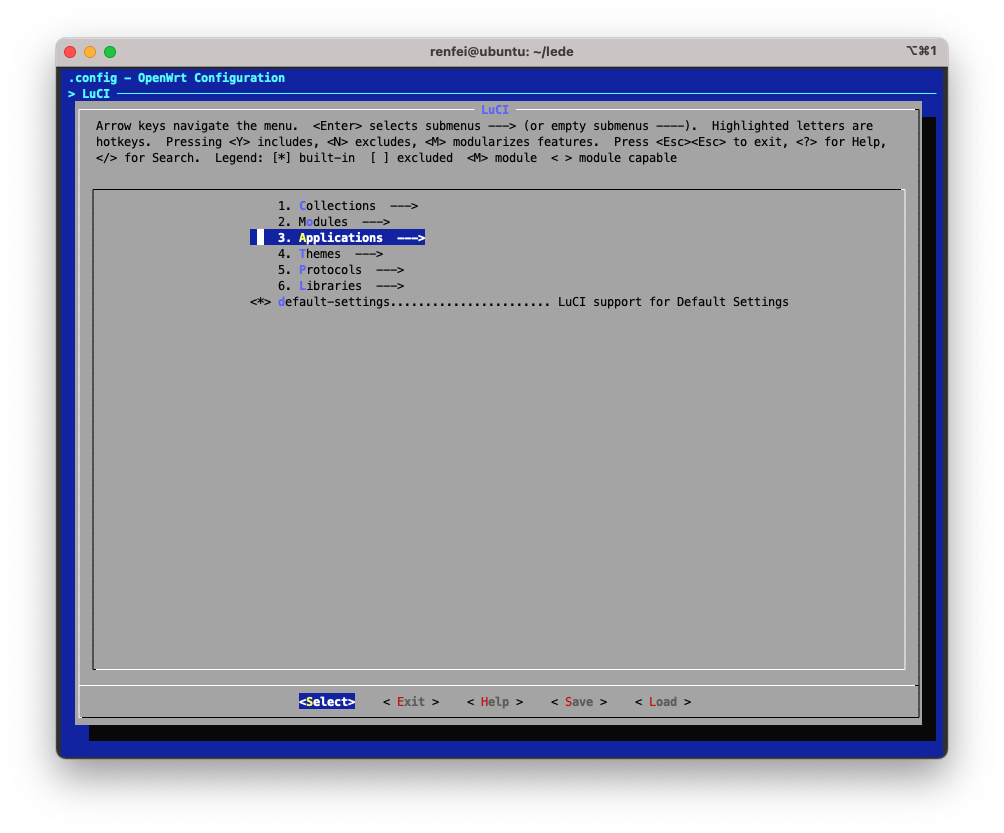
Then Applications, which is the plugin list:
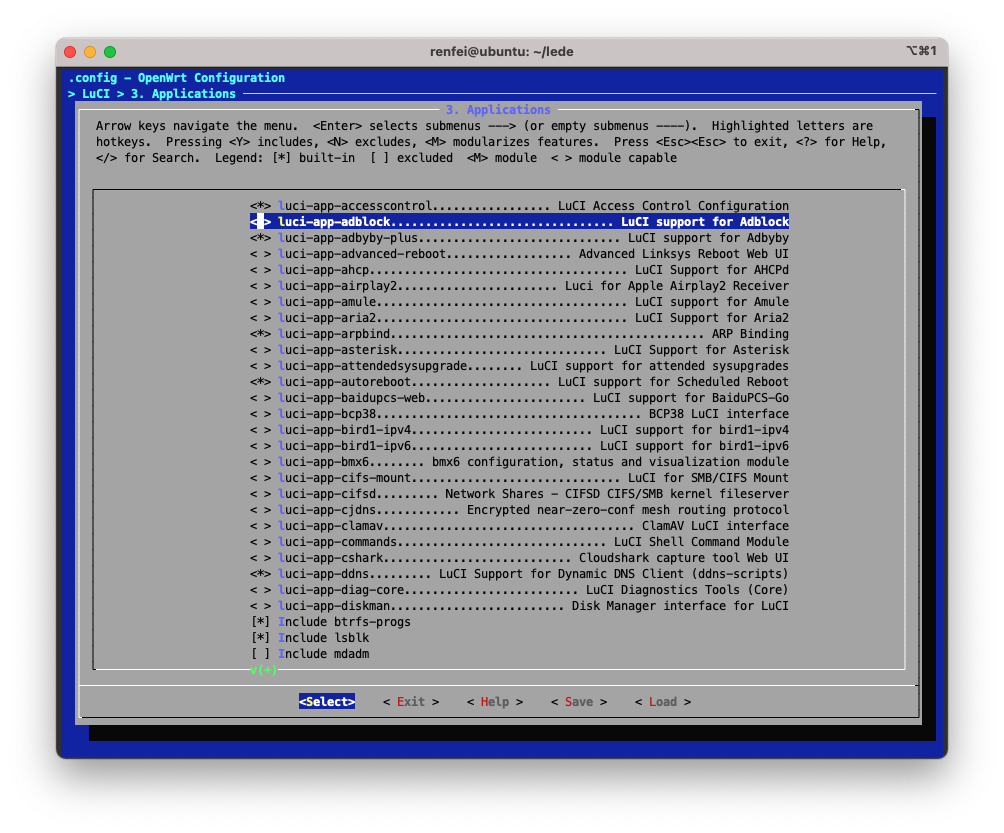
Each plugin has angle brackets in front. <*> means it’s compiled directly into the system; <M> means it’s only built as an ipk package and not baked into the image. Pick whatever fits your plan: press y for <*> to build it in, m for <M> to build it as a package, and press again to deselect.
Here’s a big trap: don’t blindly select everything. Some plugins depend on each other and some conflict, so selecting all guarantees a failed build. Only pick what you need — don’t get greedy.
Use the arrow keys to select <Save> and hit Enter to write the .config file, then keep choosing <Exit> until you’re back at the black terminal.
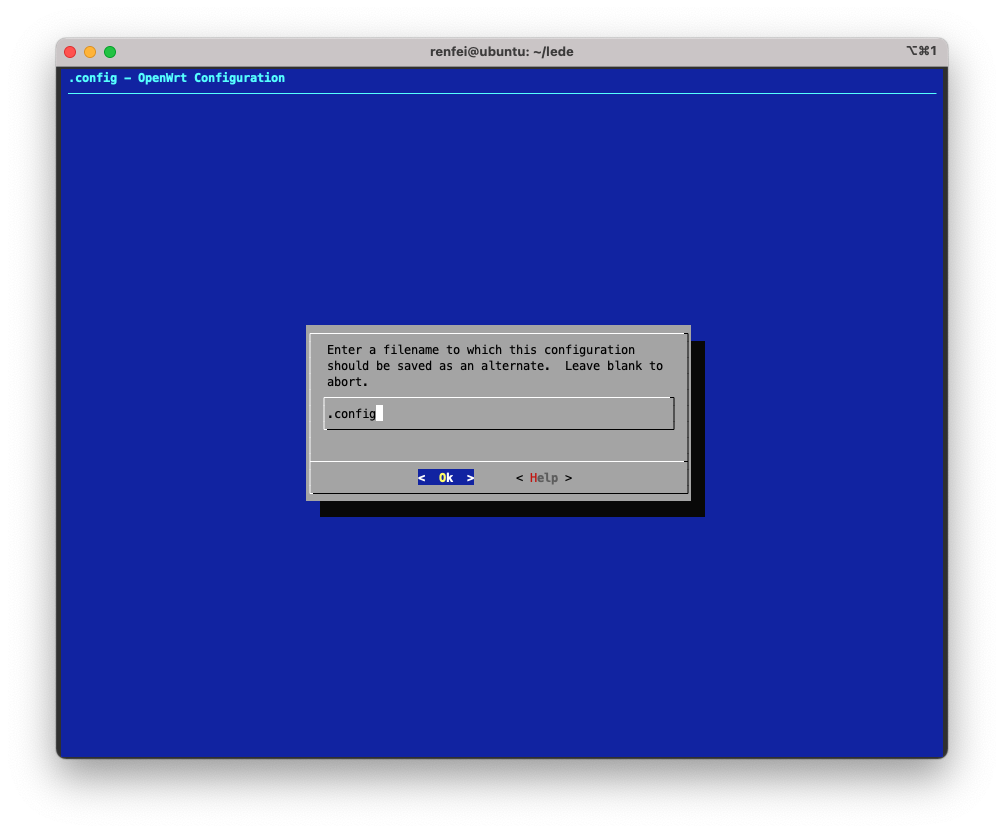
Download dependencies:
make -j8 download V=s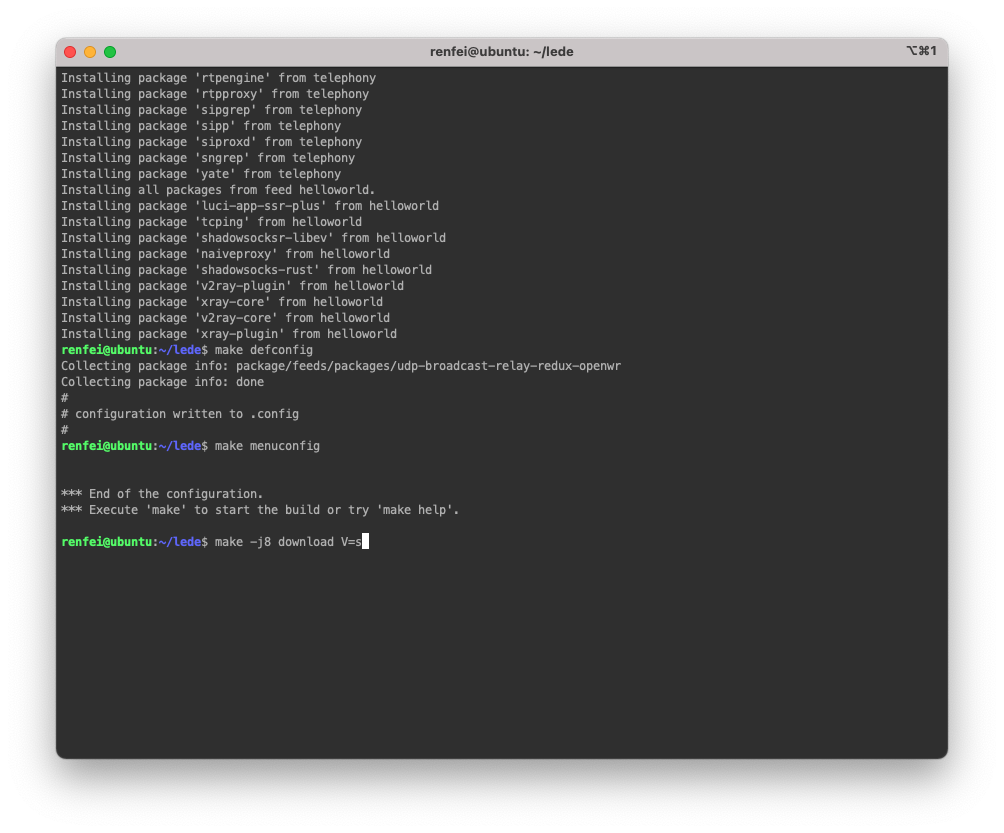
This is where an offshore server pays off: fast downloads, no failures. This step takes a while — don’t close the terminal or it stops. If you’re worried about the connection dropping, background it:
nohup make -j8 download V=s > make.log & tail -f make.logOnce the log stops scrolling, you can start the actual build. It takes hours, so run it in the background, and single-threaded is recommended — hence -j1:
nohup make -j1 V=s > make.log & tail -f make.log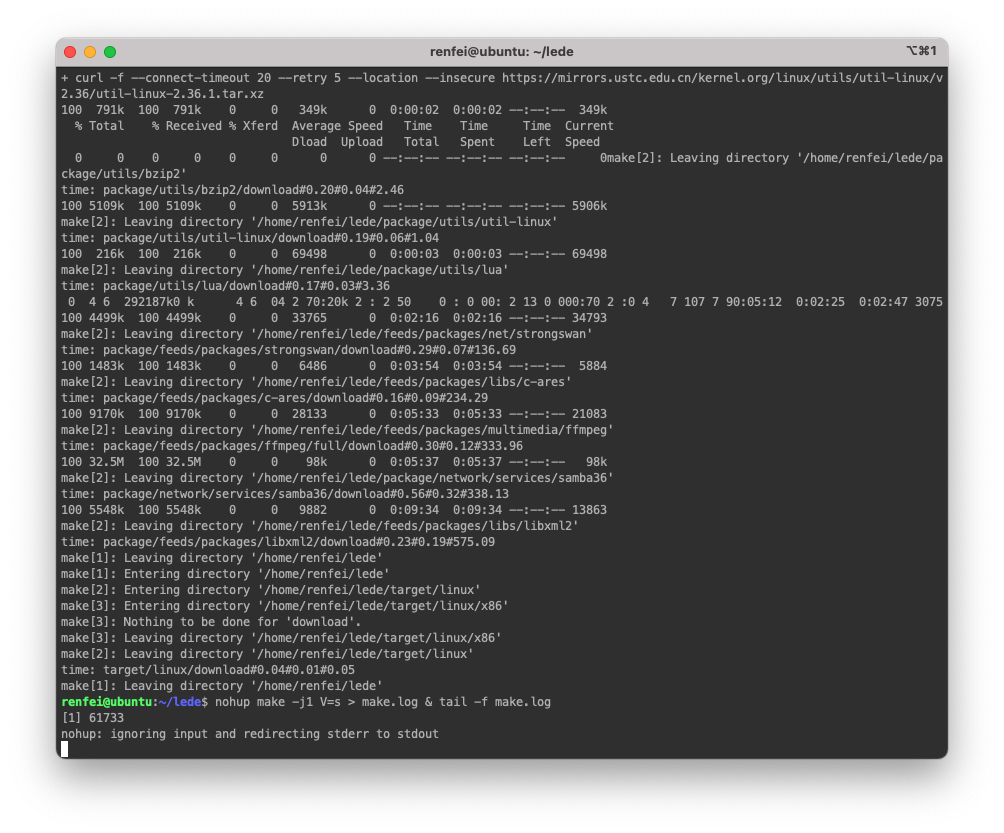
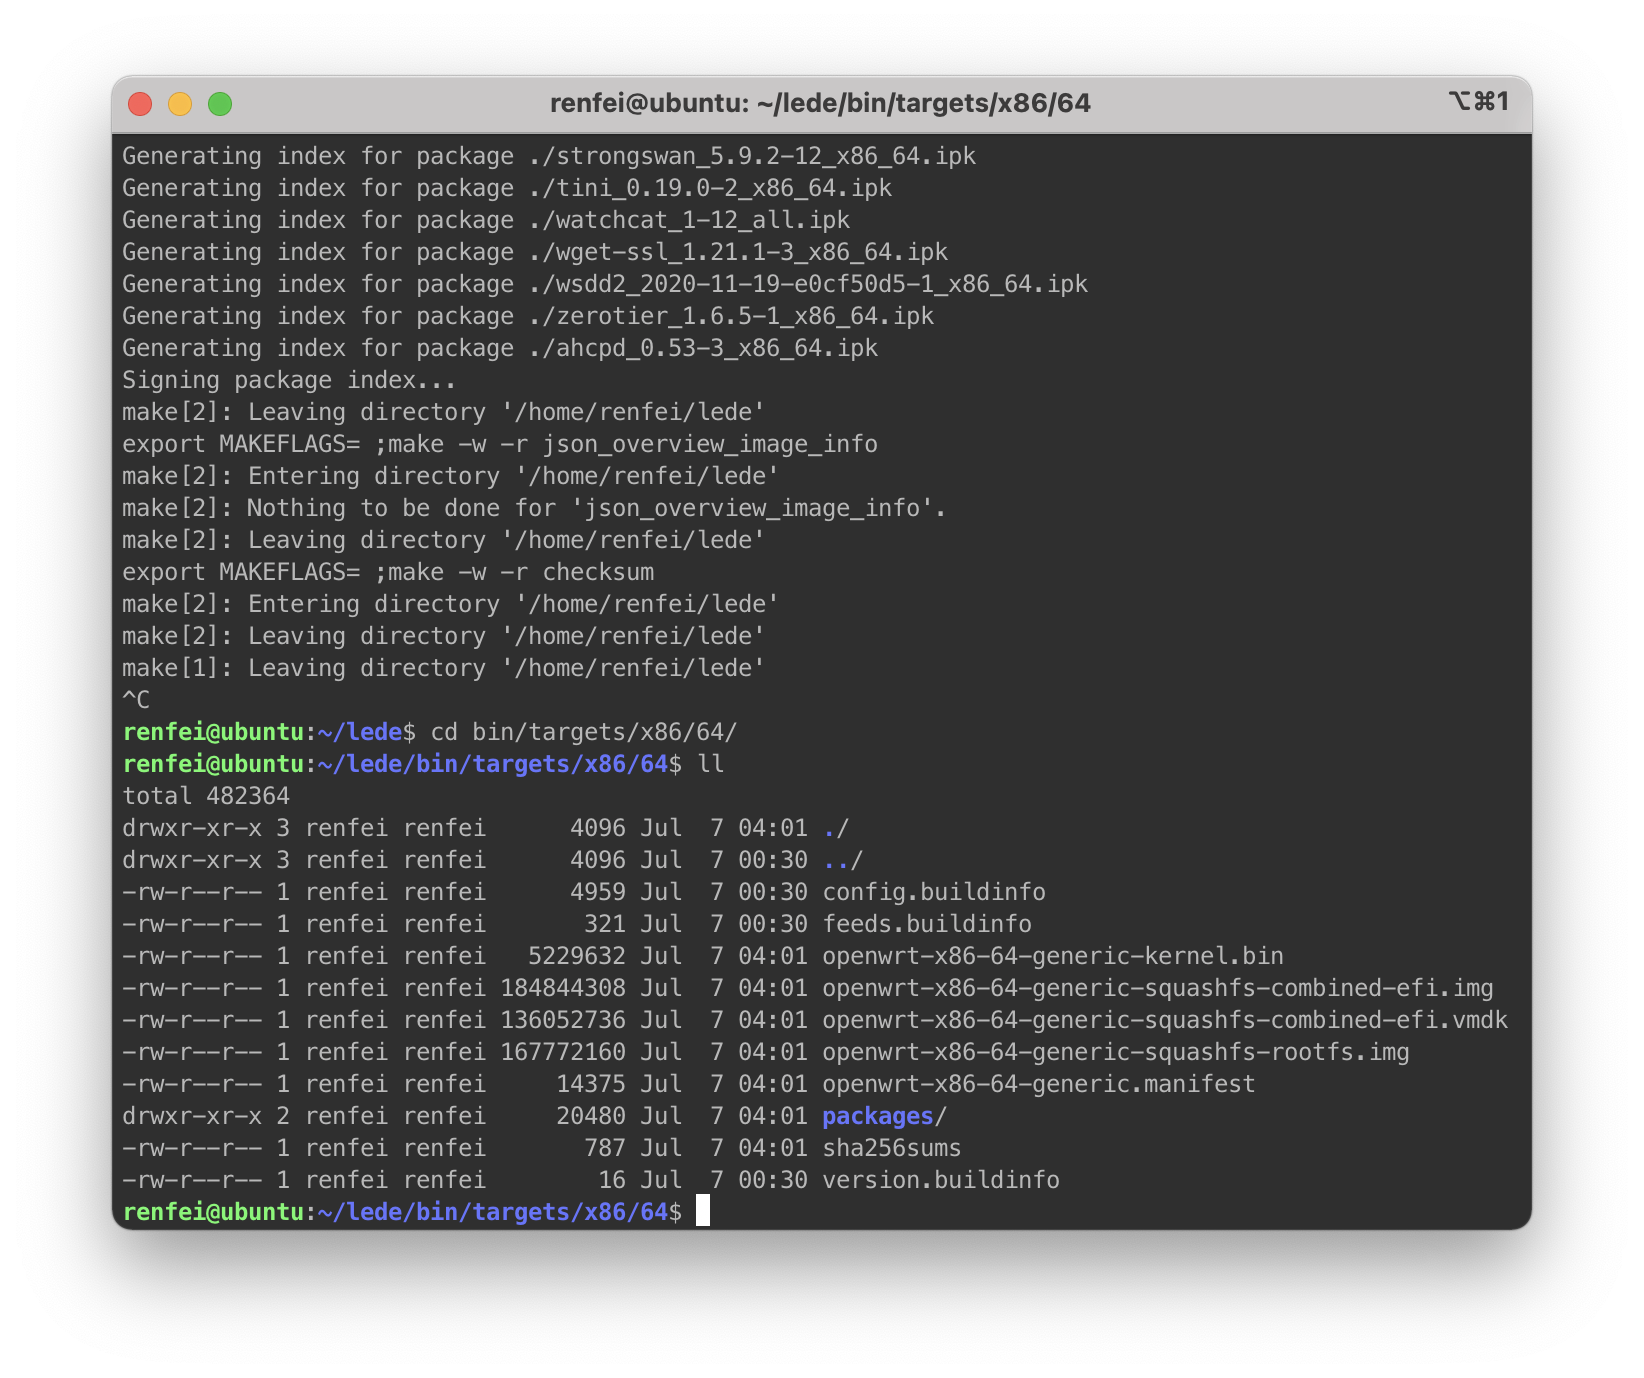
After N hours of waiting, when the log stops scrolling, the build is done. Output lands under bin/targets — mine is x86_64, so the images are in bin/targets/x86/64, in several formats.
Compiled plugin packages are under bin/packages; for my x86_64 build that’s bin/packages/x86_64, holding the ipk packages from the plugin feeds I subscribed to.