Warning: do not open a hard drive unless you’re a professional. The air inside is extremely clean; the platter spins at high speed and the airflow it generates floats the head a few tenths of a micron above the surface. Any dust particle is devastating to the drive! Opening it outside a clean environment kills it! The drive in this teardown was already dead, and this was not a cleanroom environment!
If you like tearing things apart: this drive served me four years and couldn’t be saved. Today I’m taking it apart to show you, letting it give off its last bit of warmth and leaving DIY electronic enthusiasts with some final bits of knowledge.
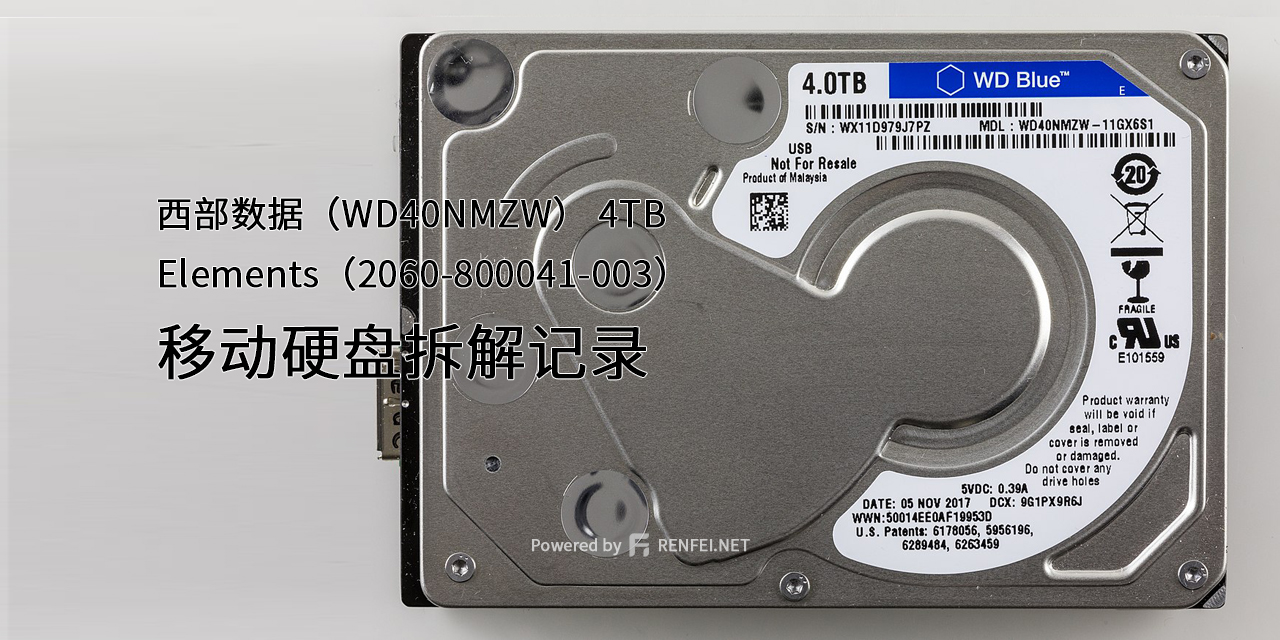
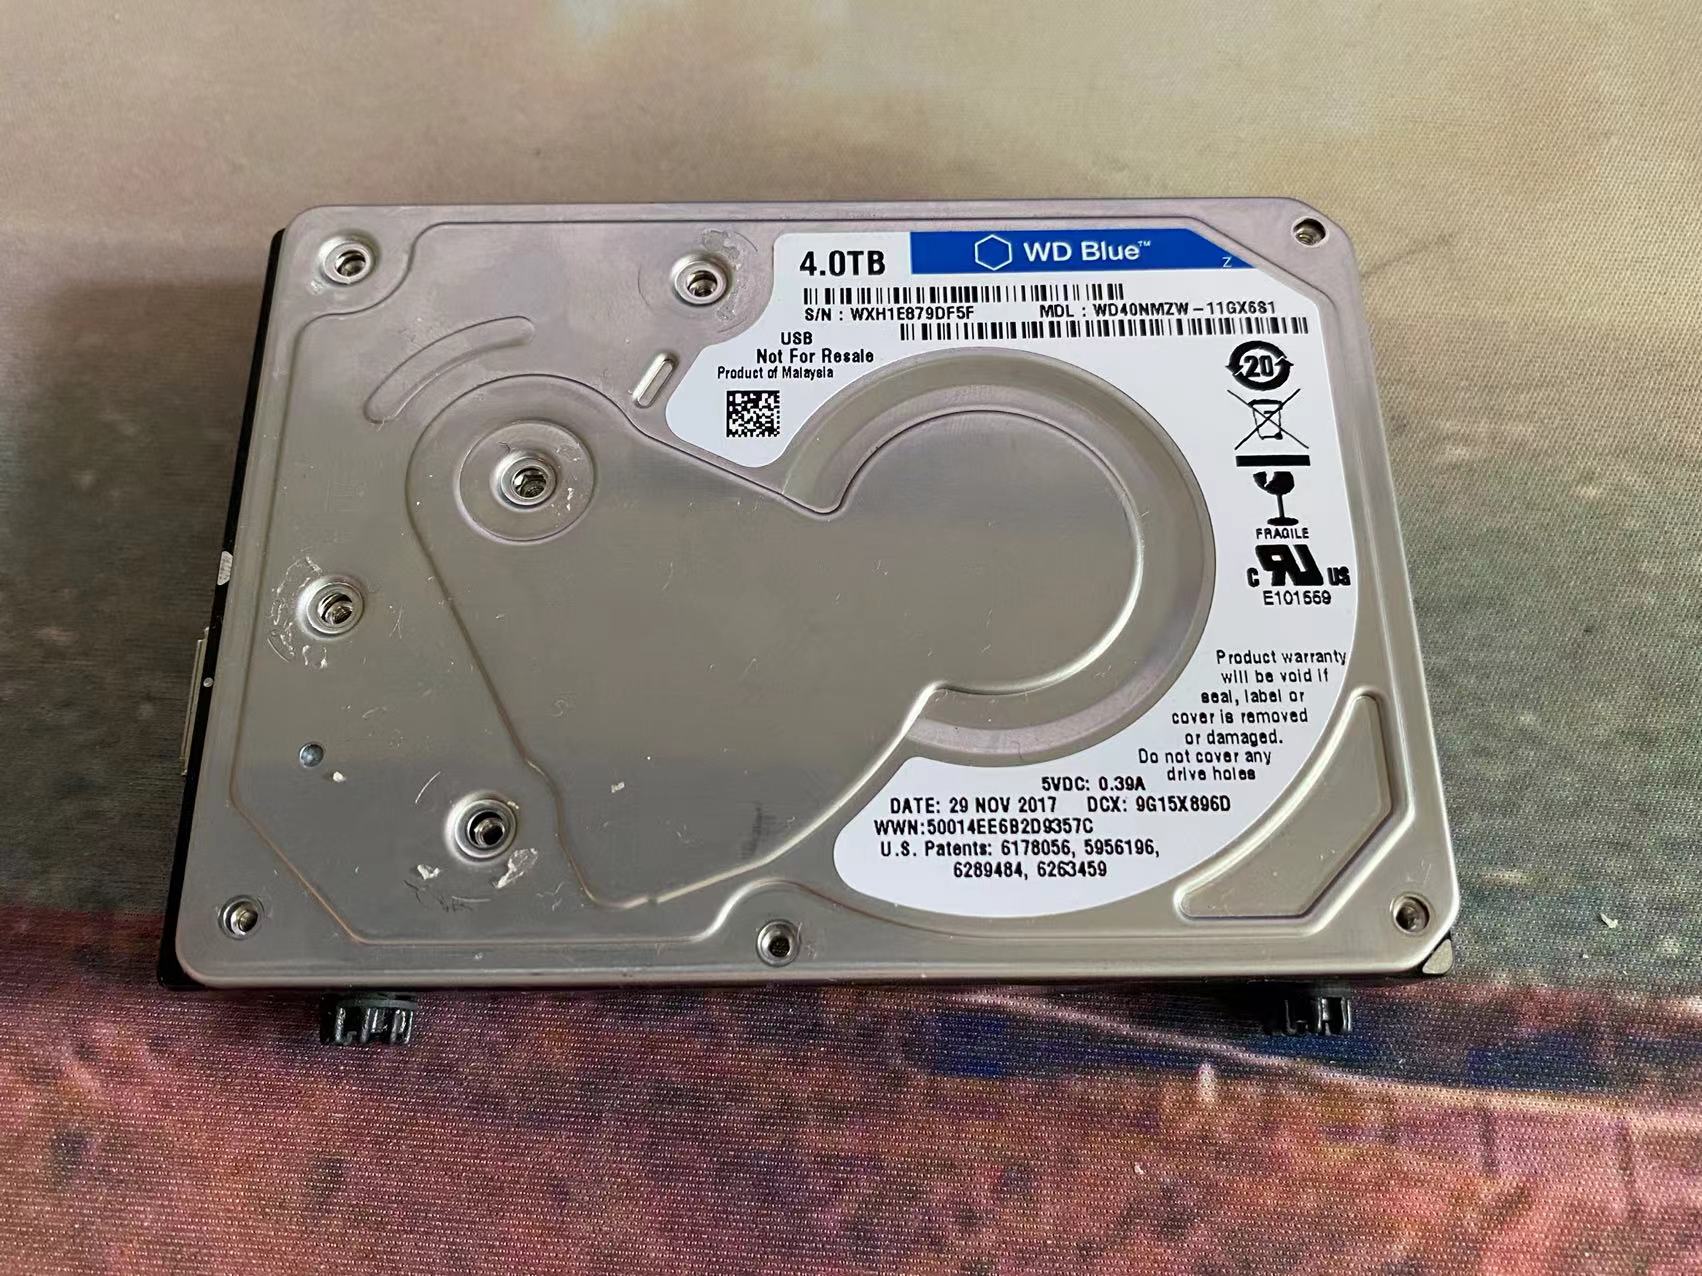
Drive information
- Brand: Western Digital (WD)
- Model: WD40NMZW-11GX6S1
- PCB: 2060-800041-003 REV P1
- Capacity: 4TB
- Product line: WD Elements
- Interface: Micro USB 3.0
- Form factor: 2.5 inch
The Circuit Board
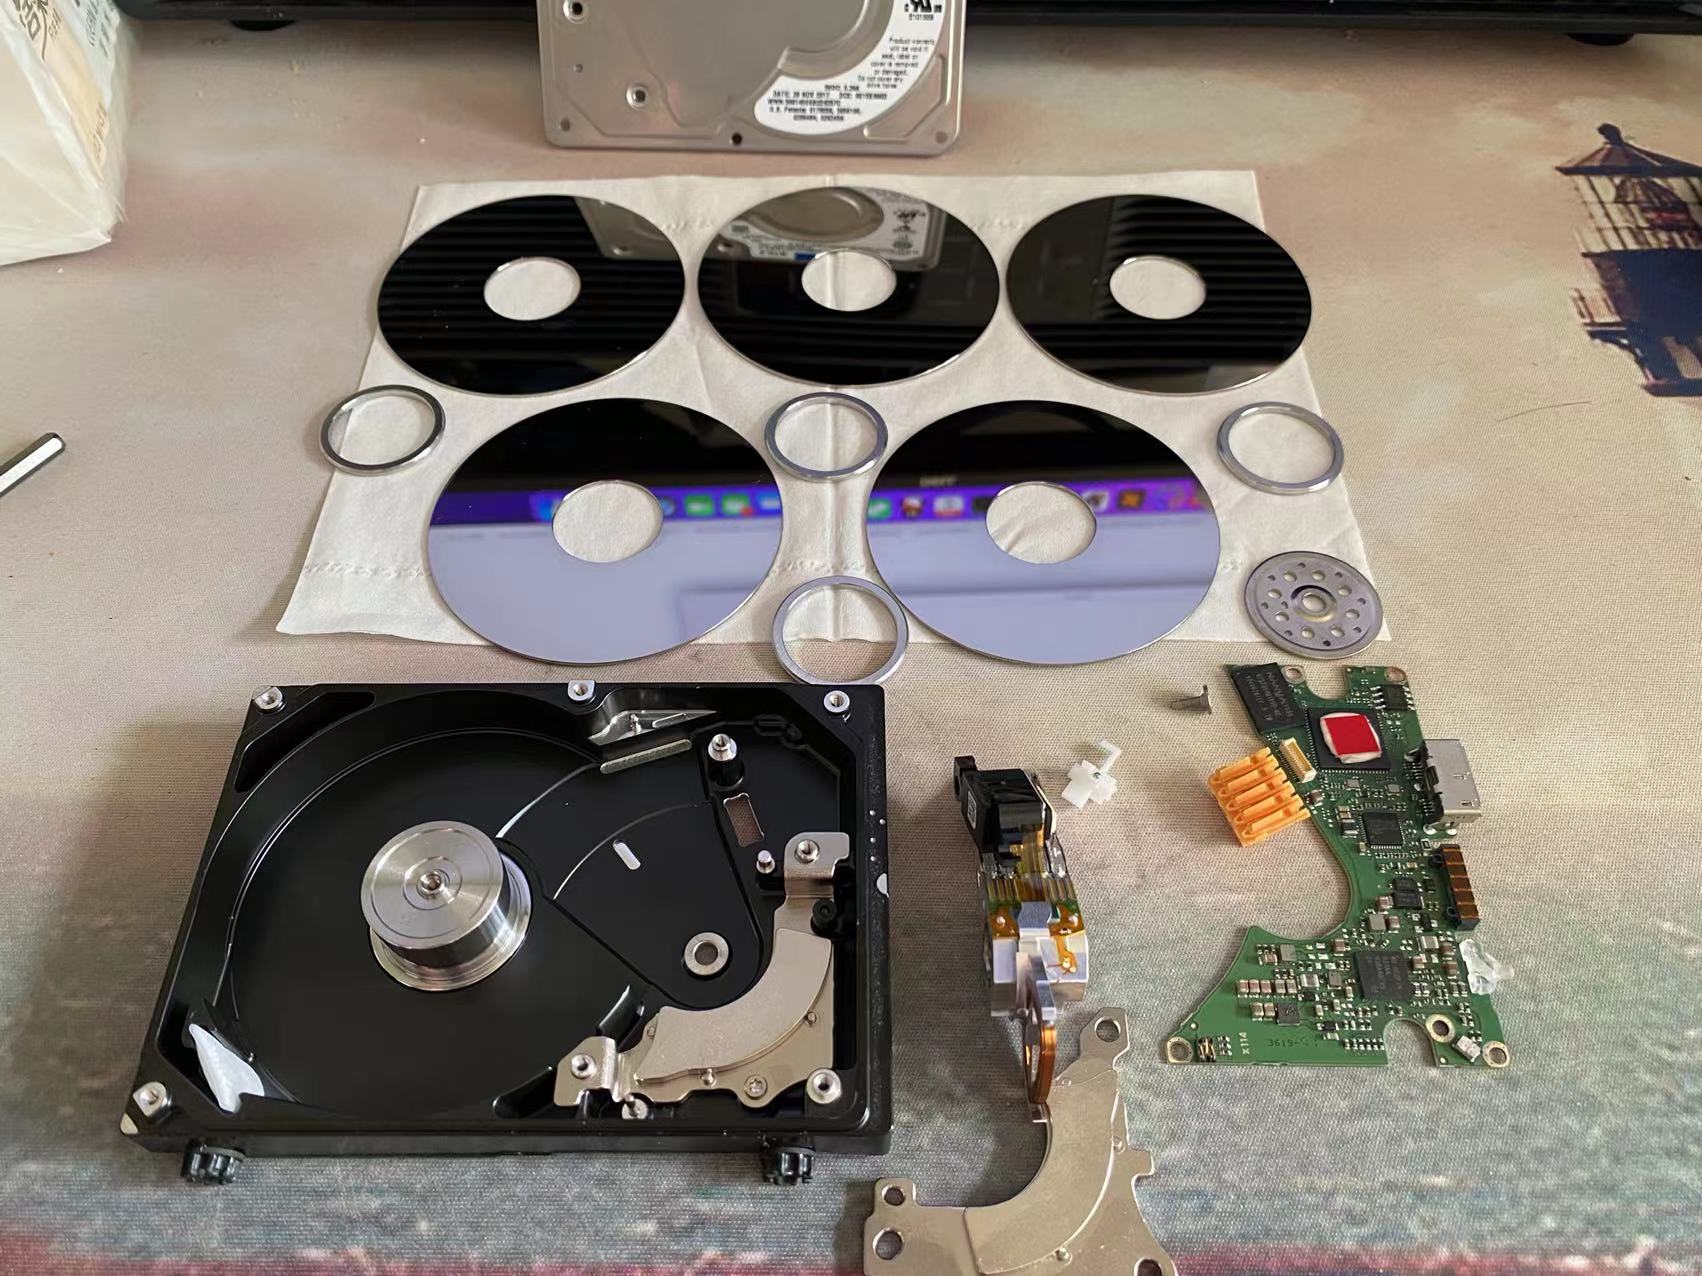
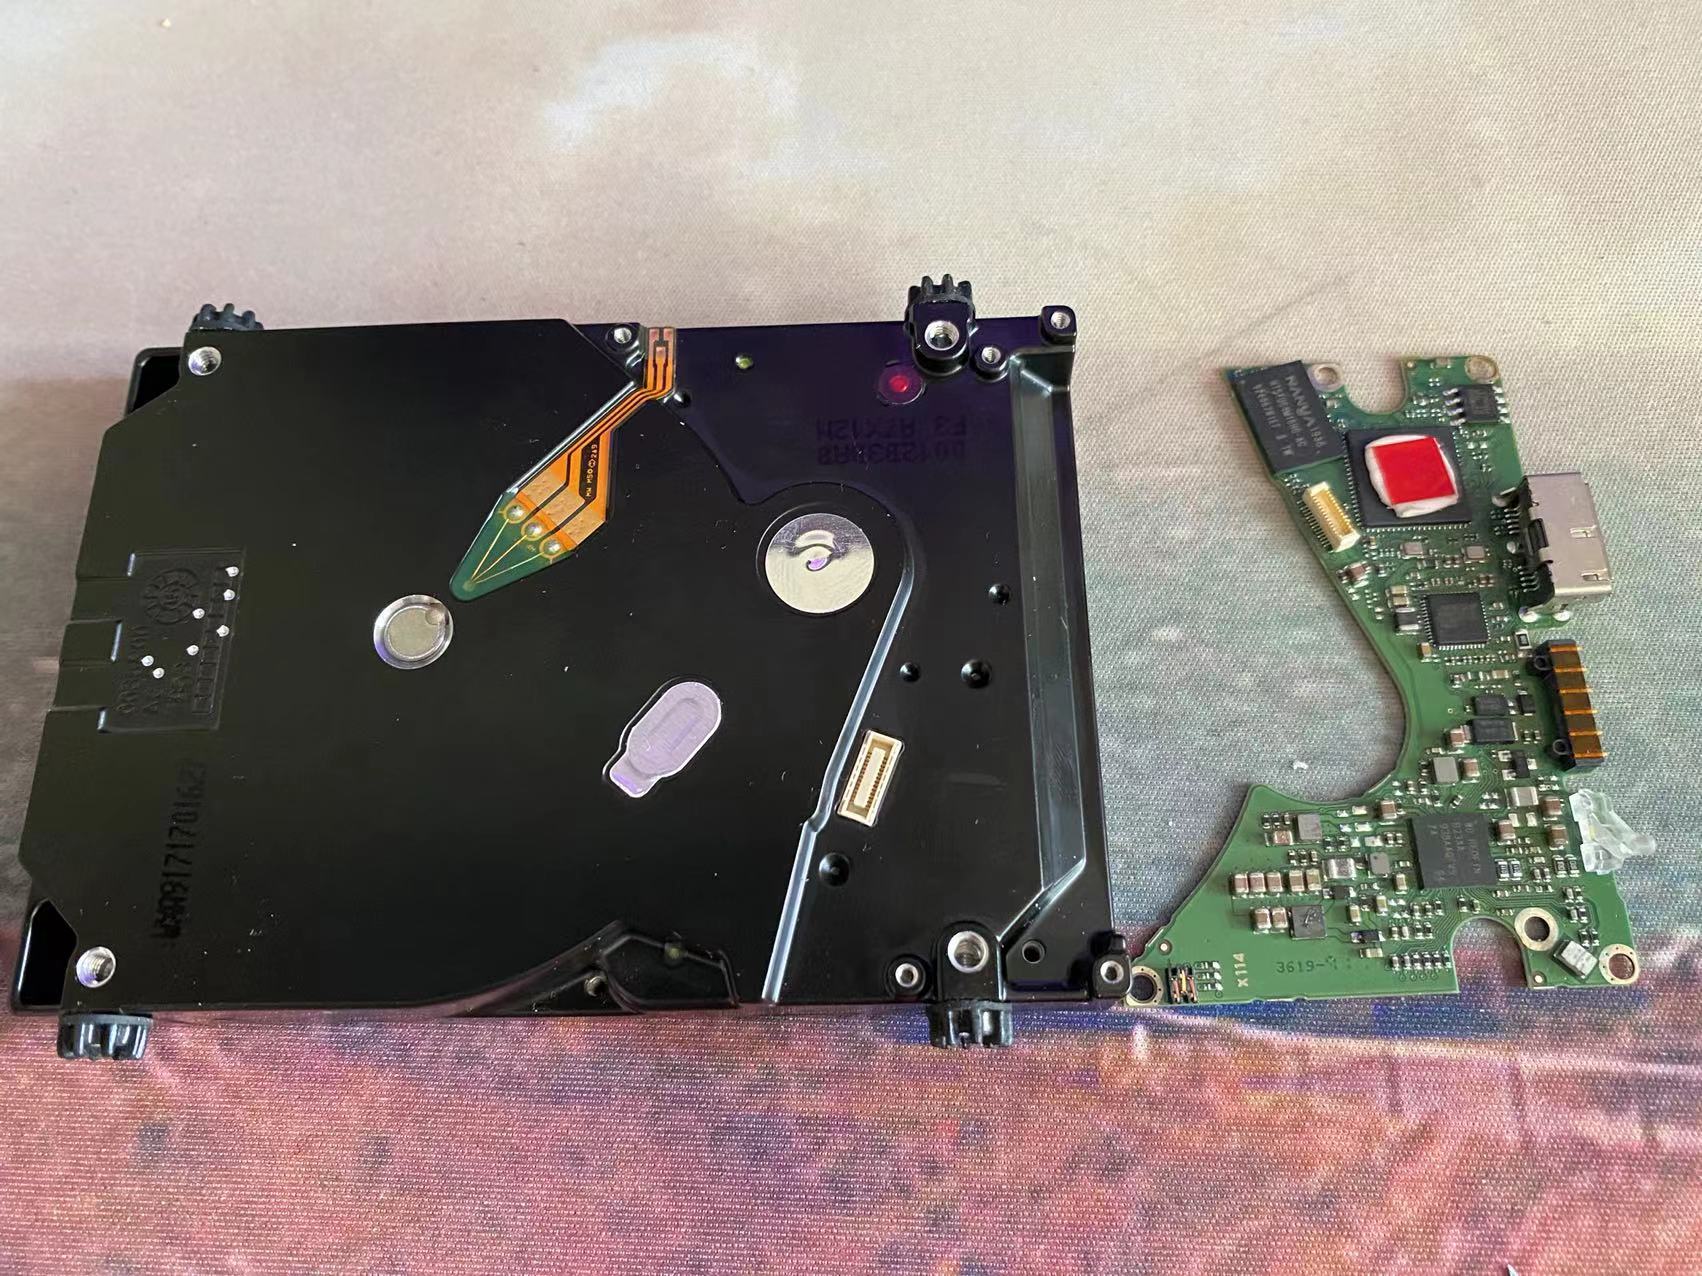
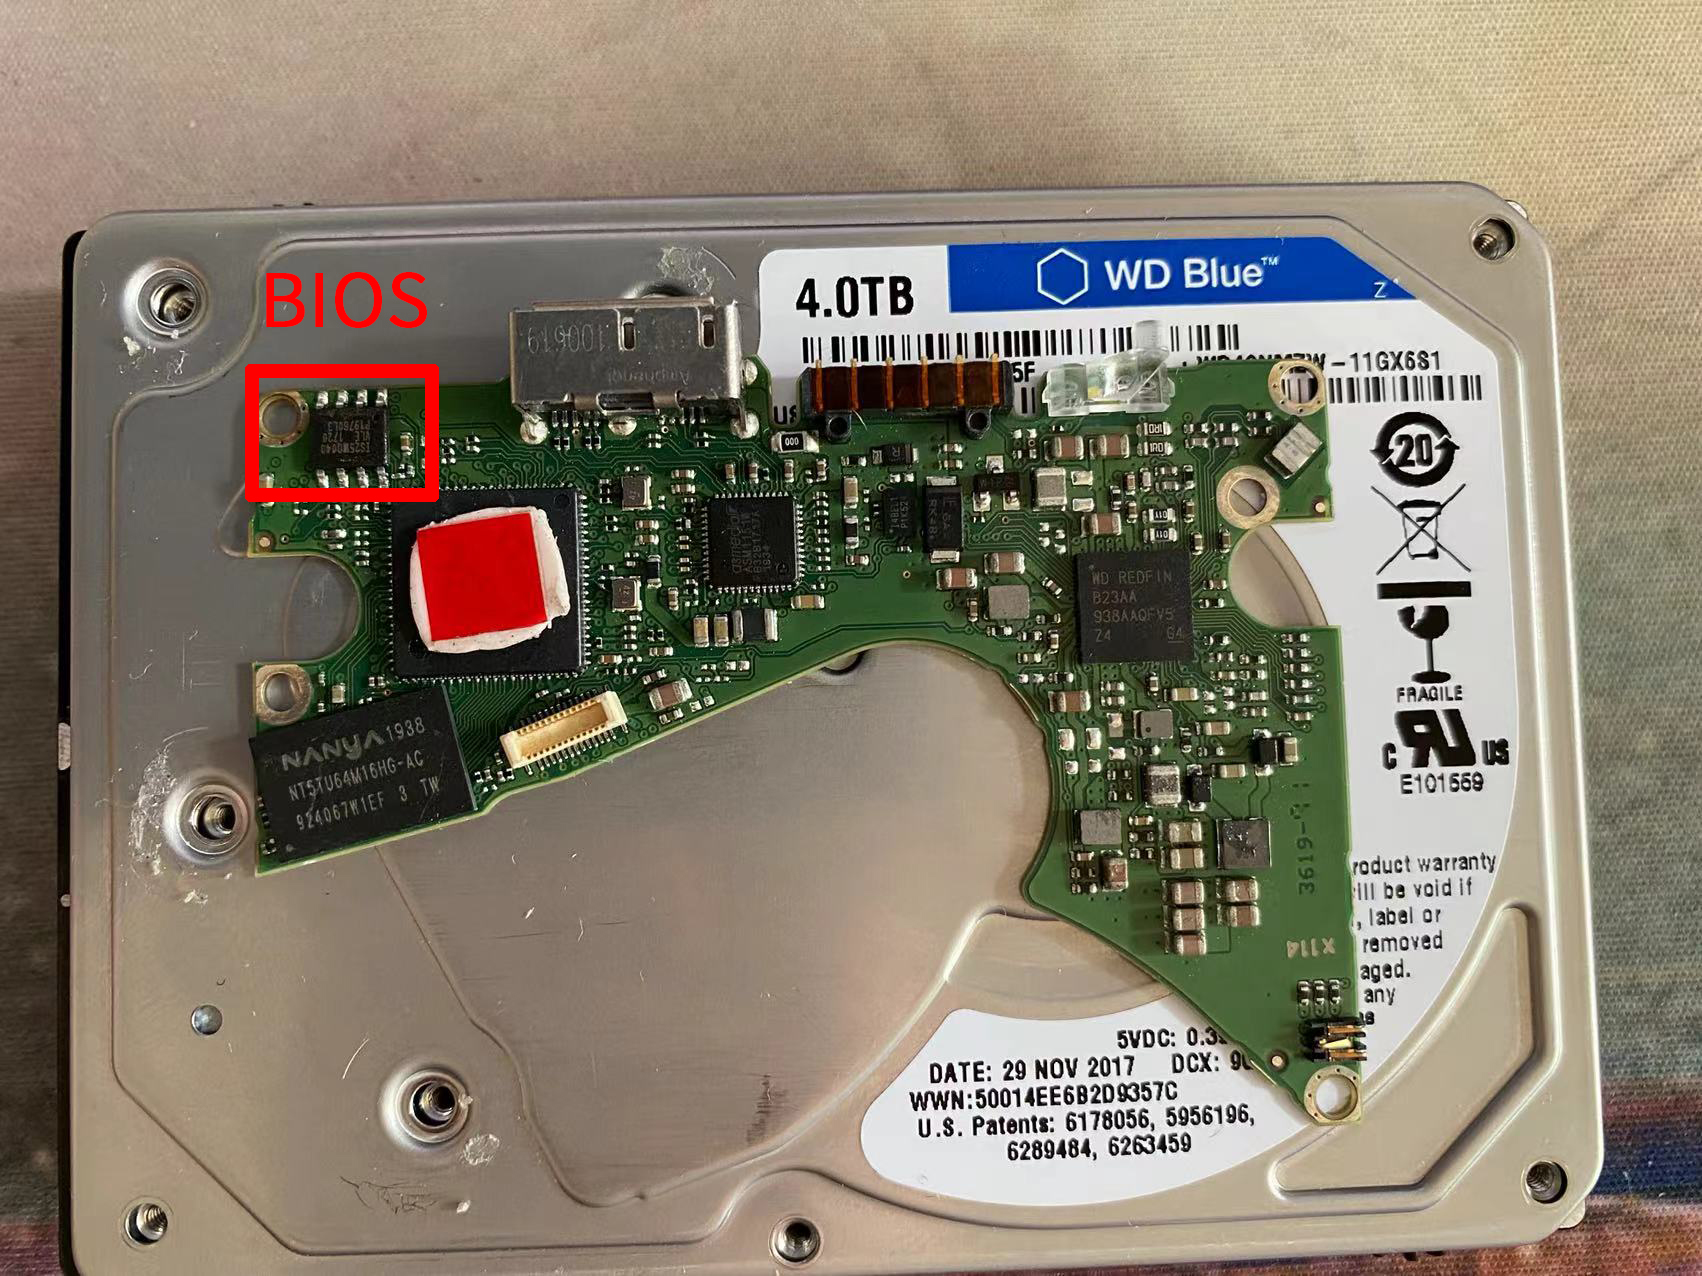
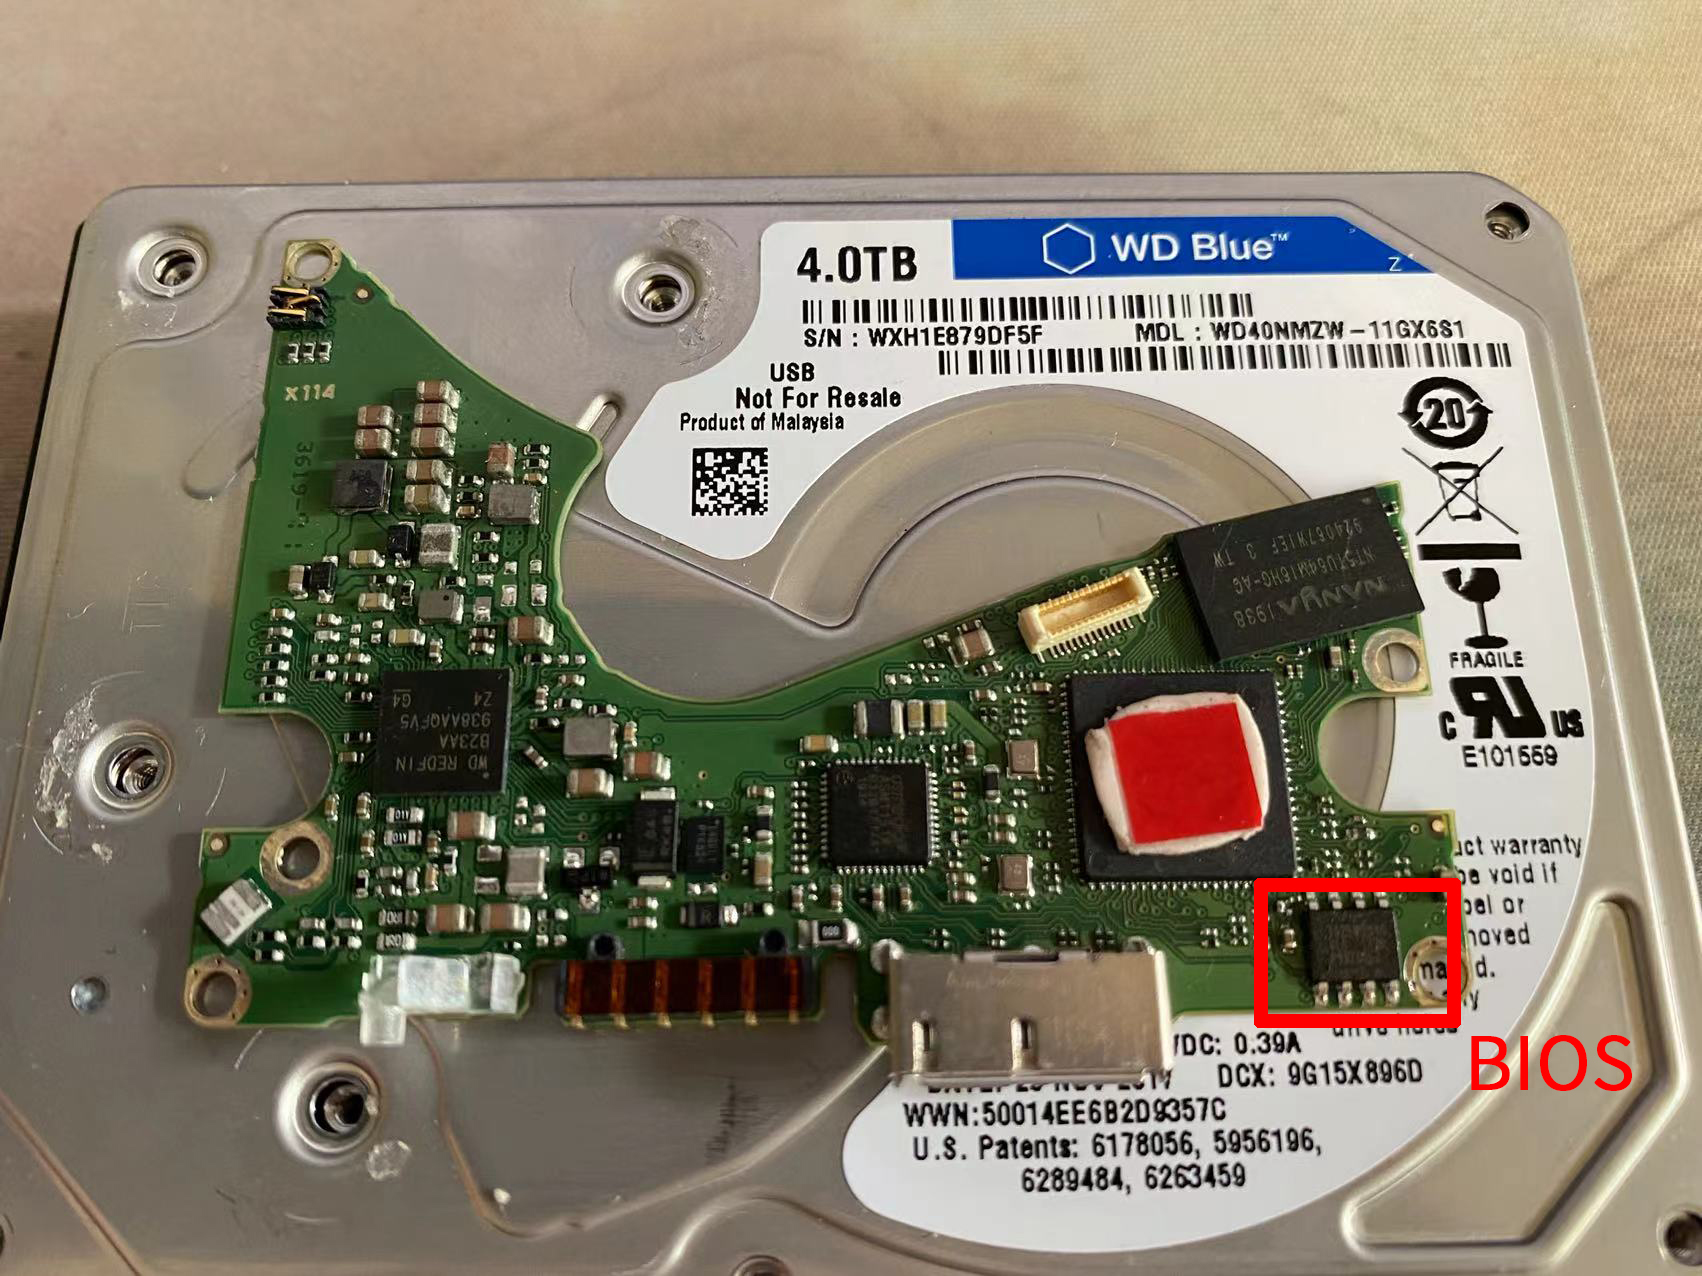
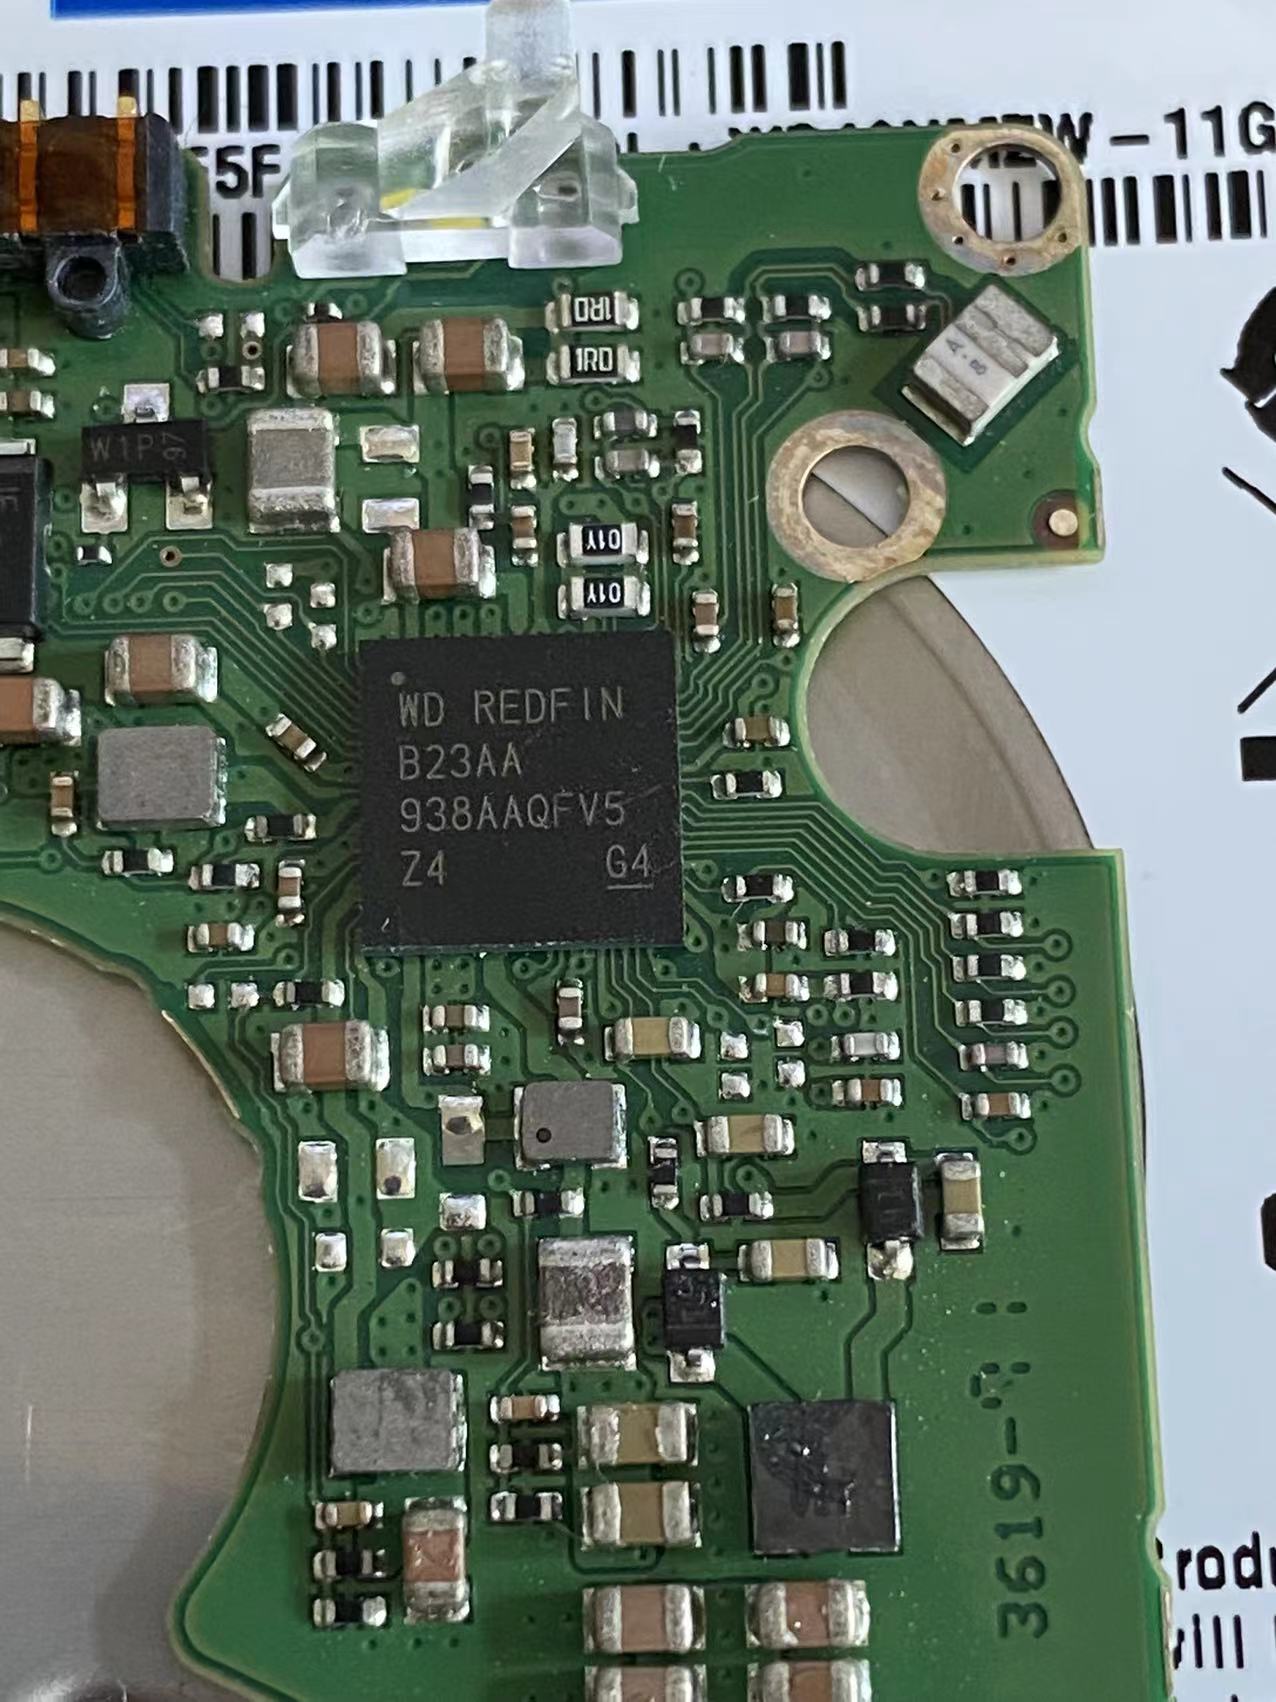
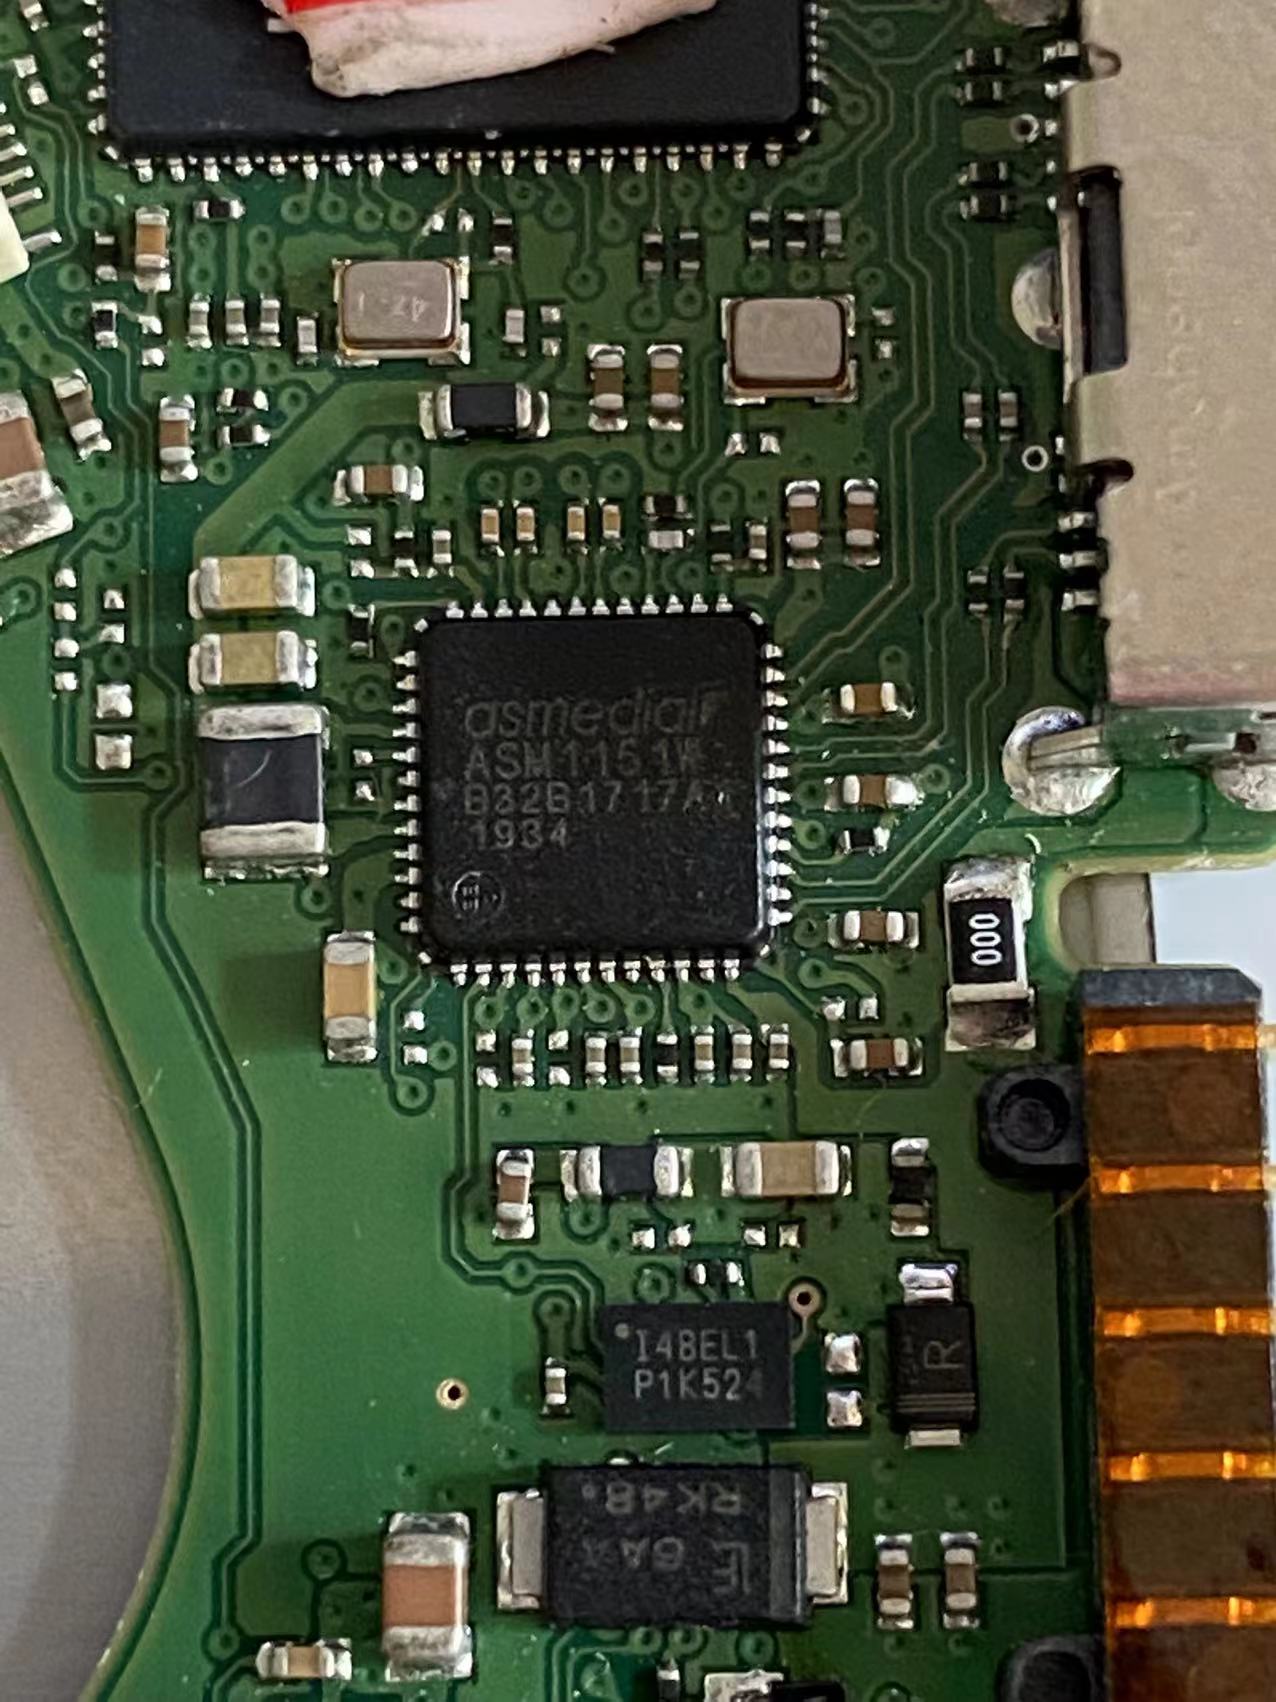
The easiest part to remove is the circuit board, part number 2060-800041-003 REV P1. The chips are:
- MCU: Marvell 88I1047-NDB2
- DDR: Nanya NT5TU64M16HG-AC
- Controller: WD Redfin B23AA
- USB: ASmedia ASM1151W
- BIOS: IS25WQ040
If you’re swapping the PCB, the BIOS chip has to be transplanted onto the new board — I’ll point it out below. If you have no hot air gun and no soldering experience, hand it to a repair shop. Anyone who fixes phones, computers, or circuit boards can do it.
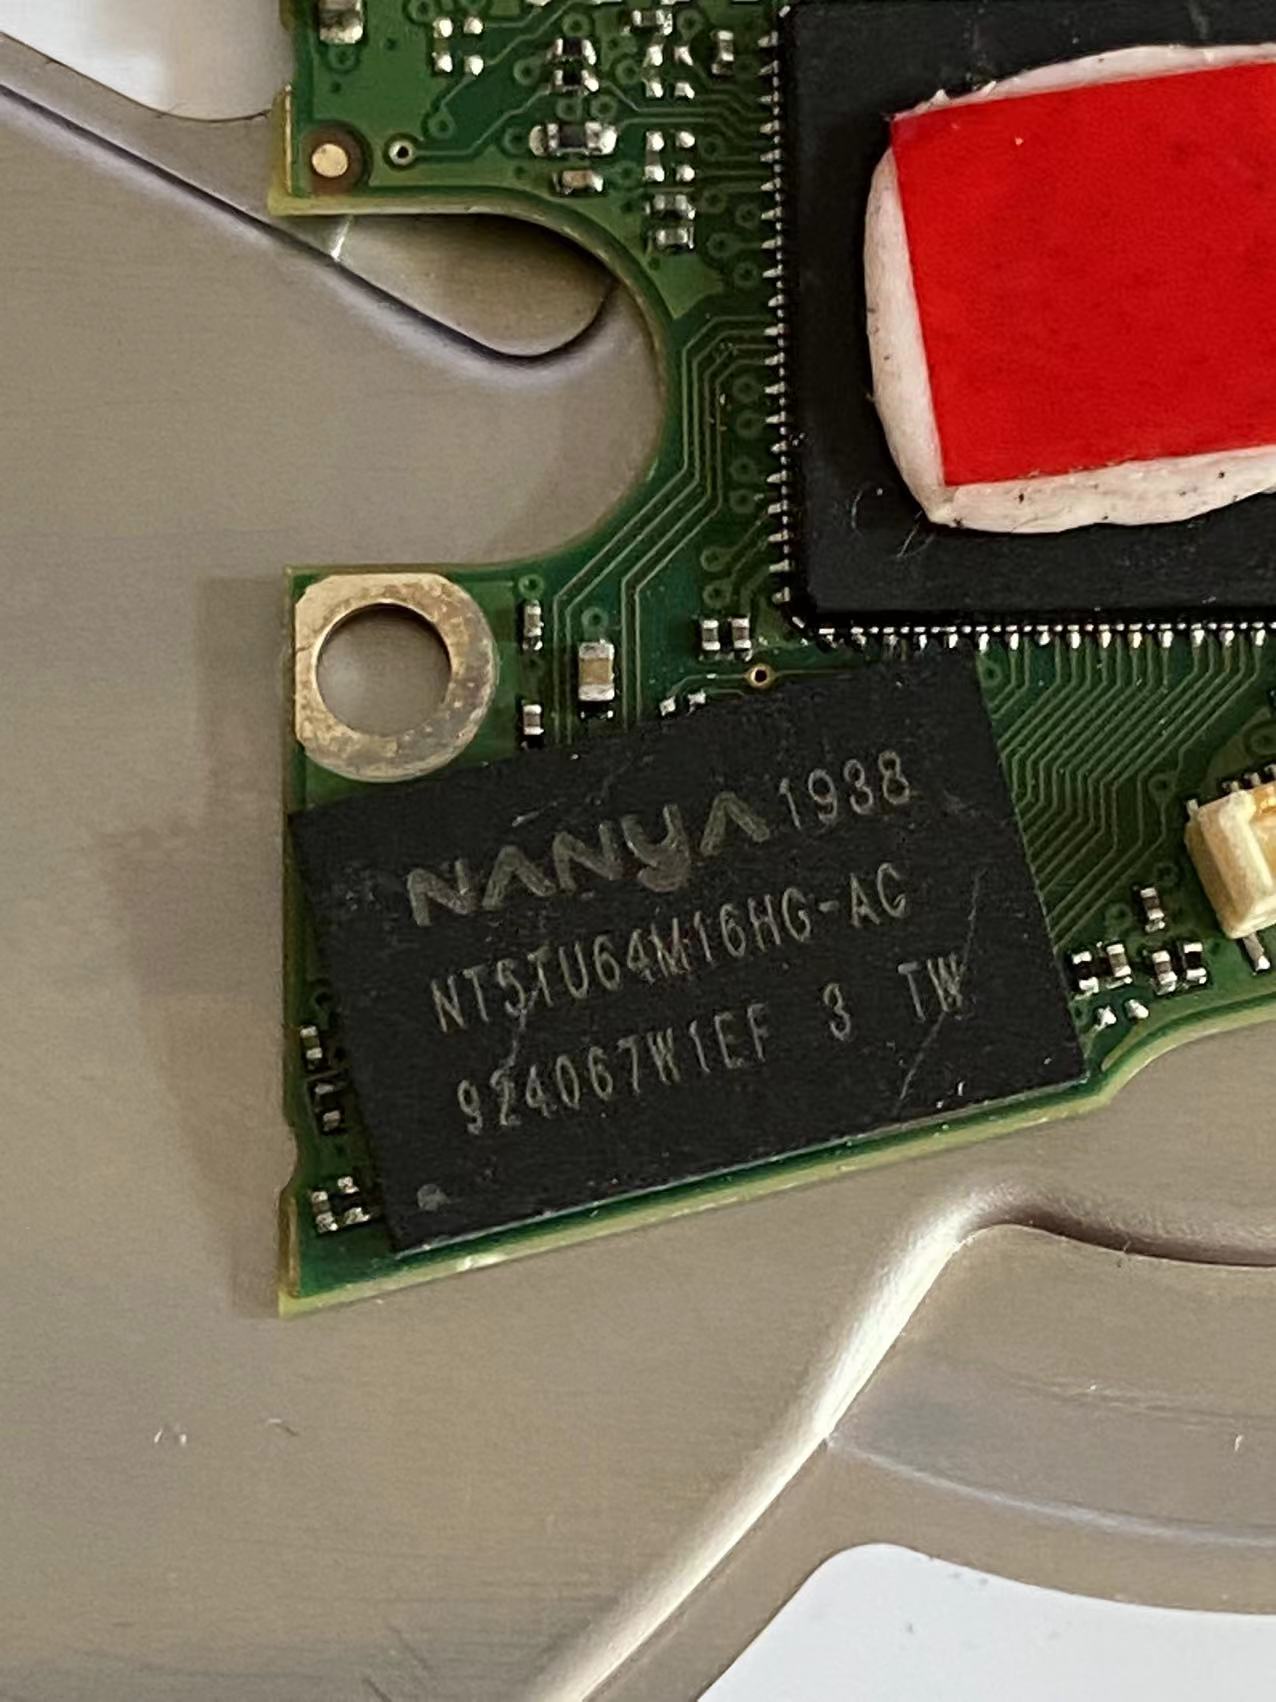
Opening the Drive
Ordinary people should not open this part. Opening a drive requires a dust-free workbench in a professional environment: drives spin at six to eight thousand RPM, and that high-speed rotation generates the airflow that floats the head a few tenths of a micron above the platter’s surface, so any dust particle landing on it is devastating! This drive was already dead, and the environment didn’t meet requirements — please don’t open drives yourself.
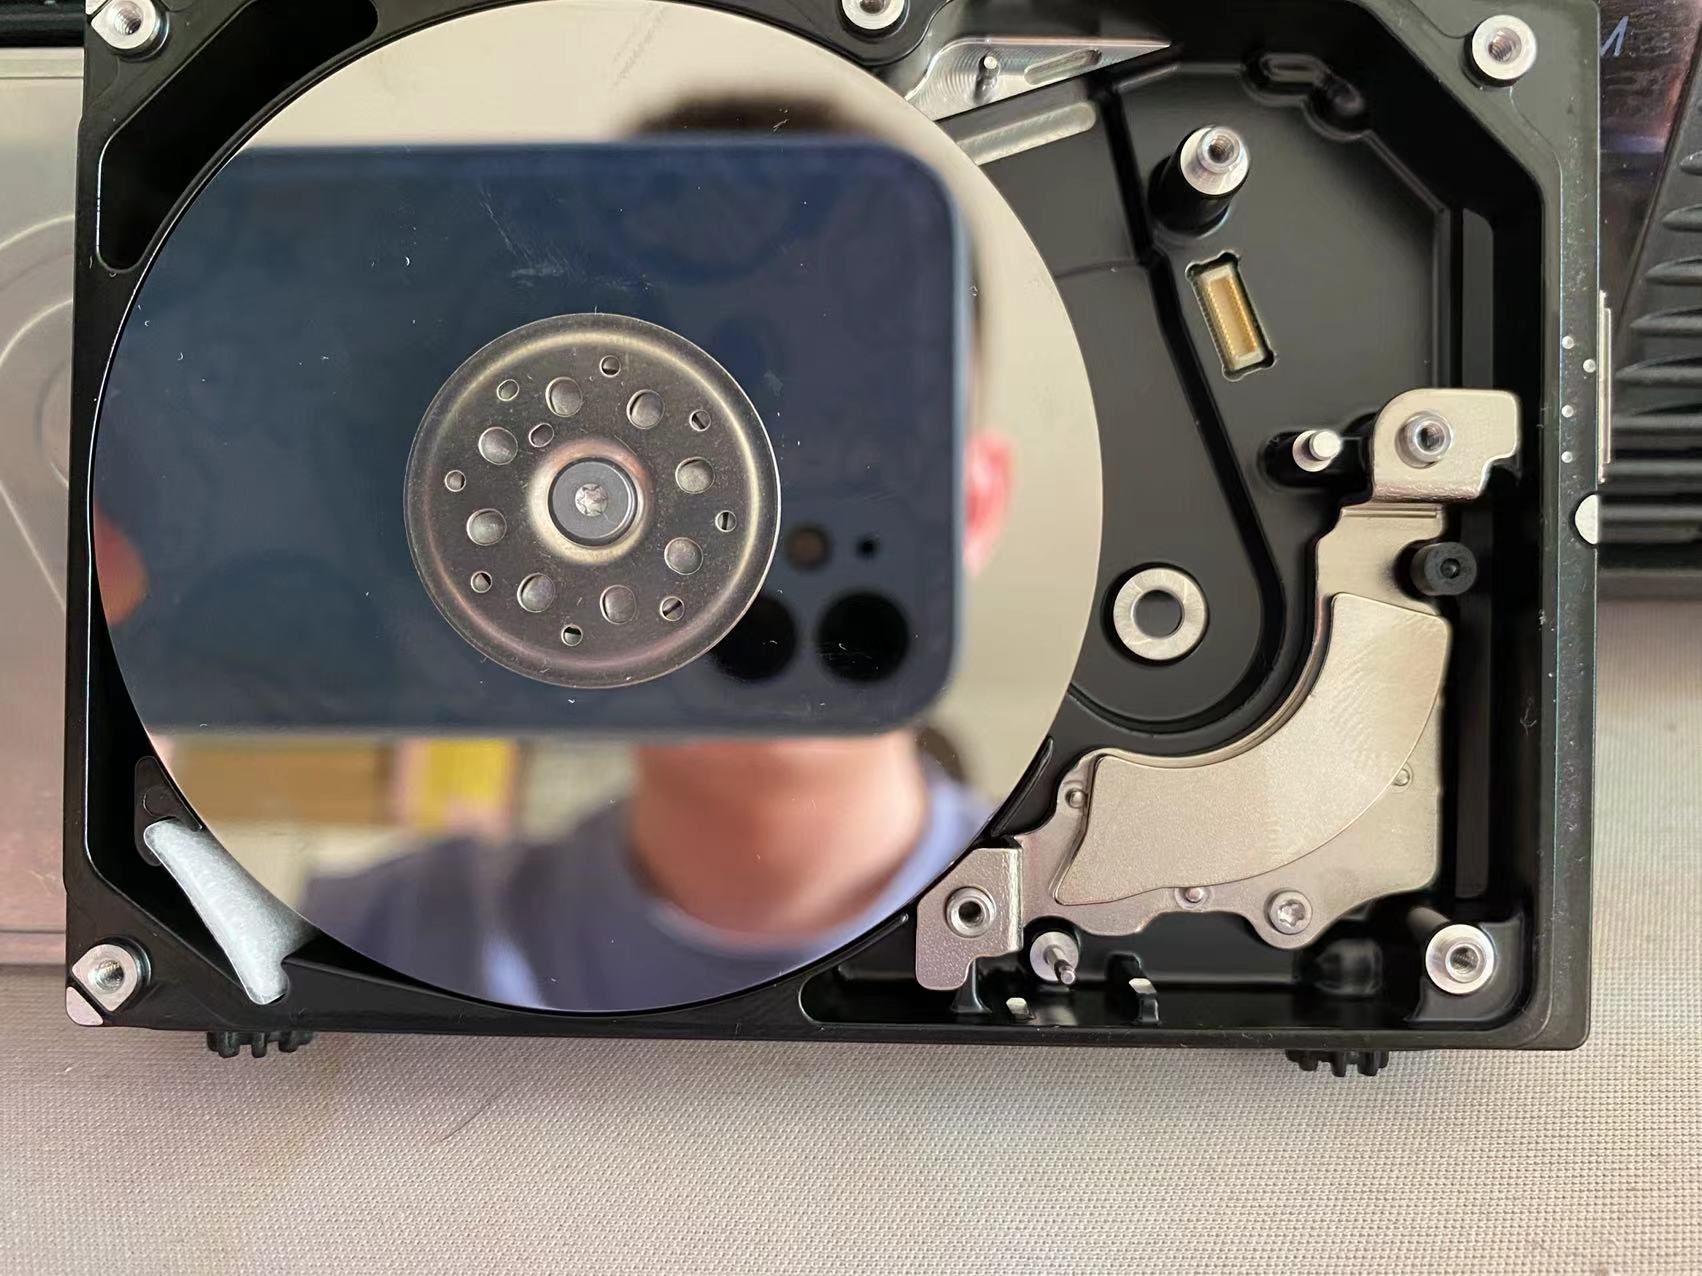
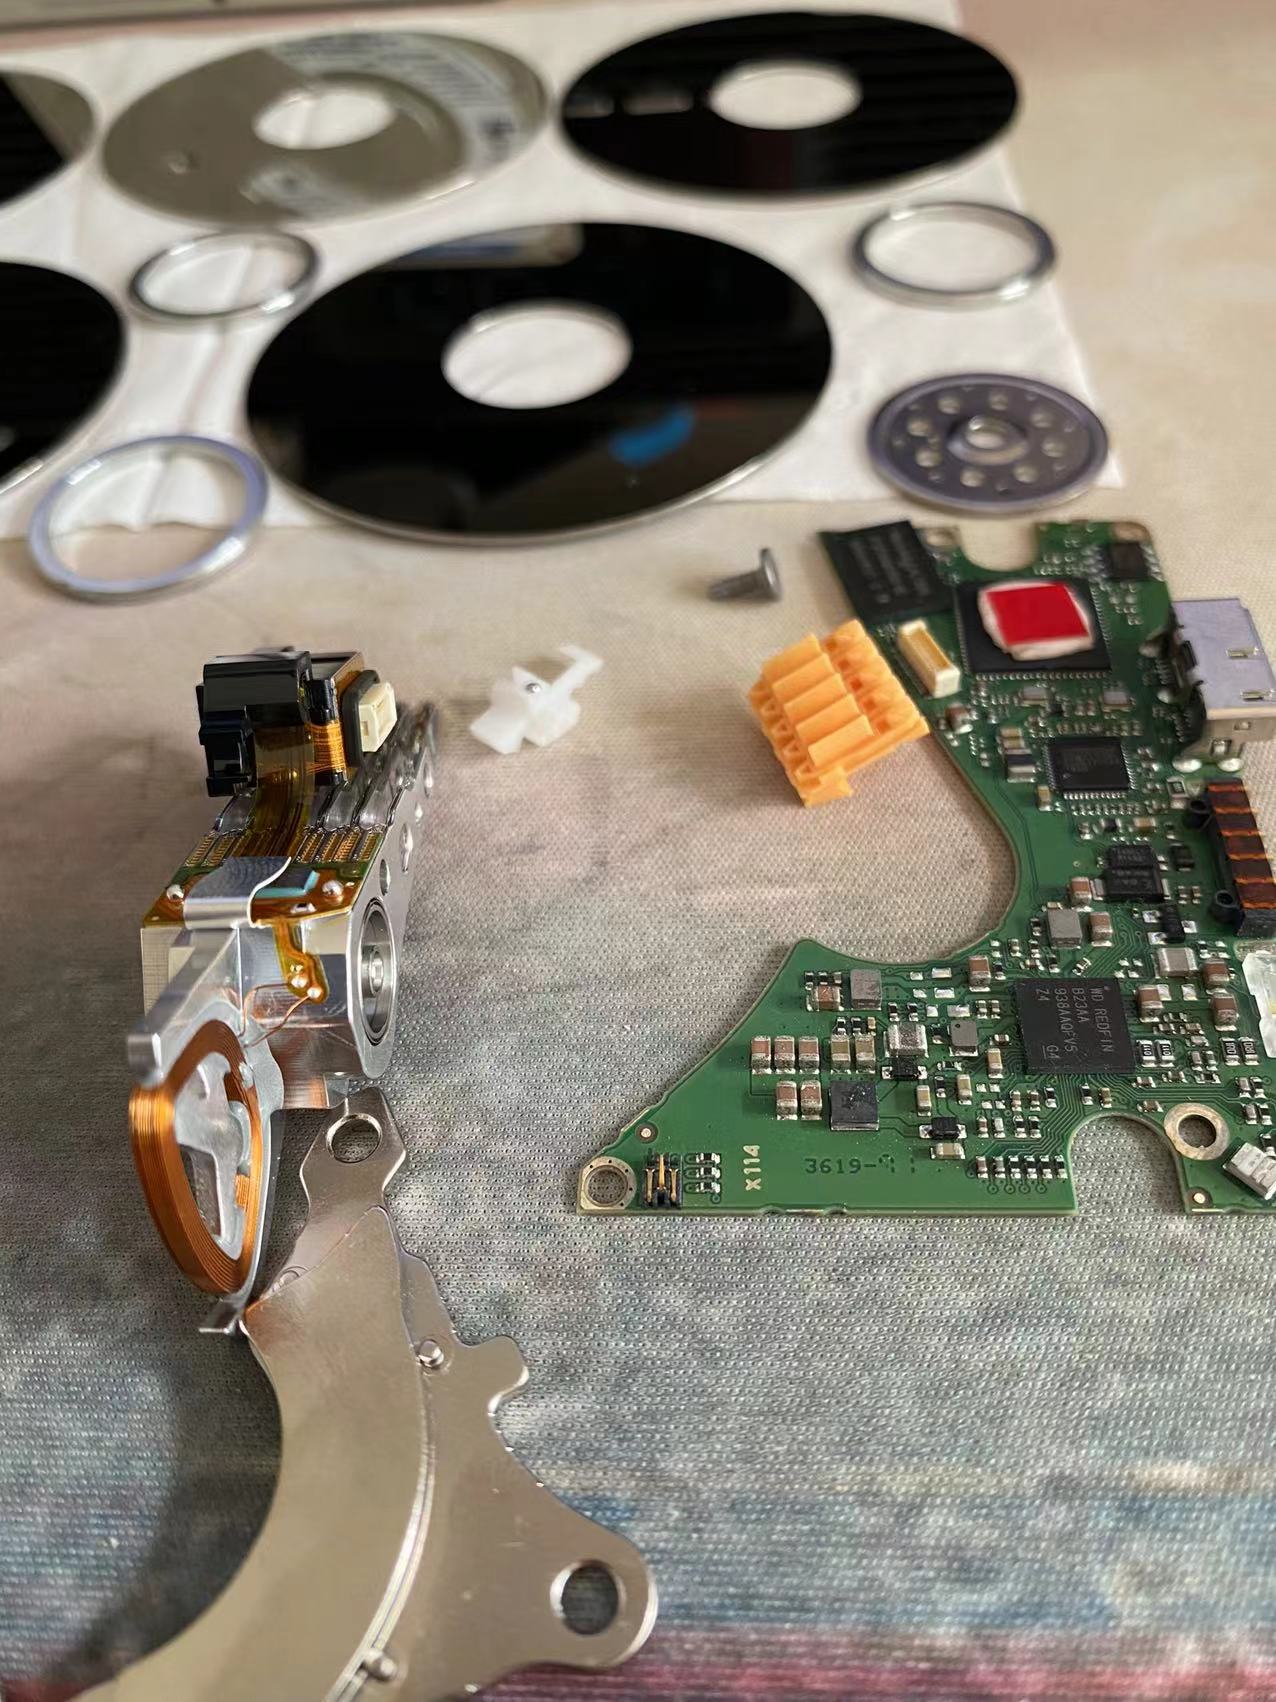
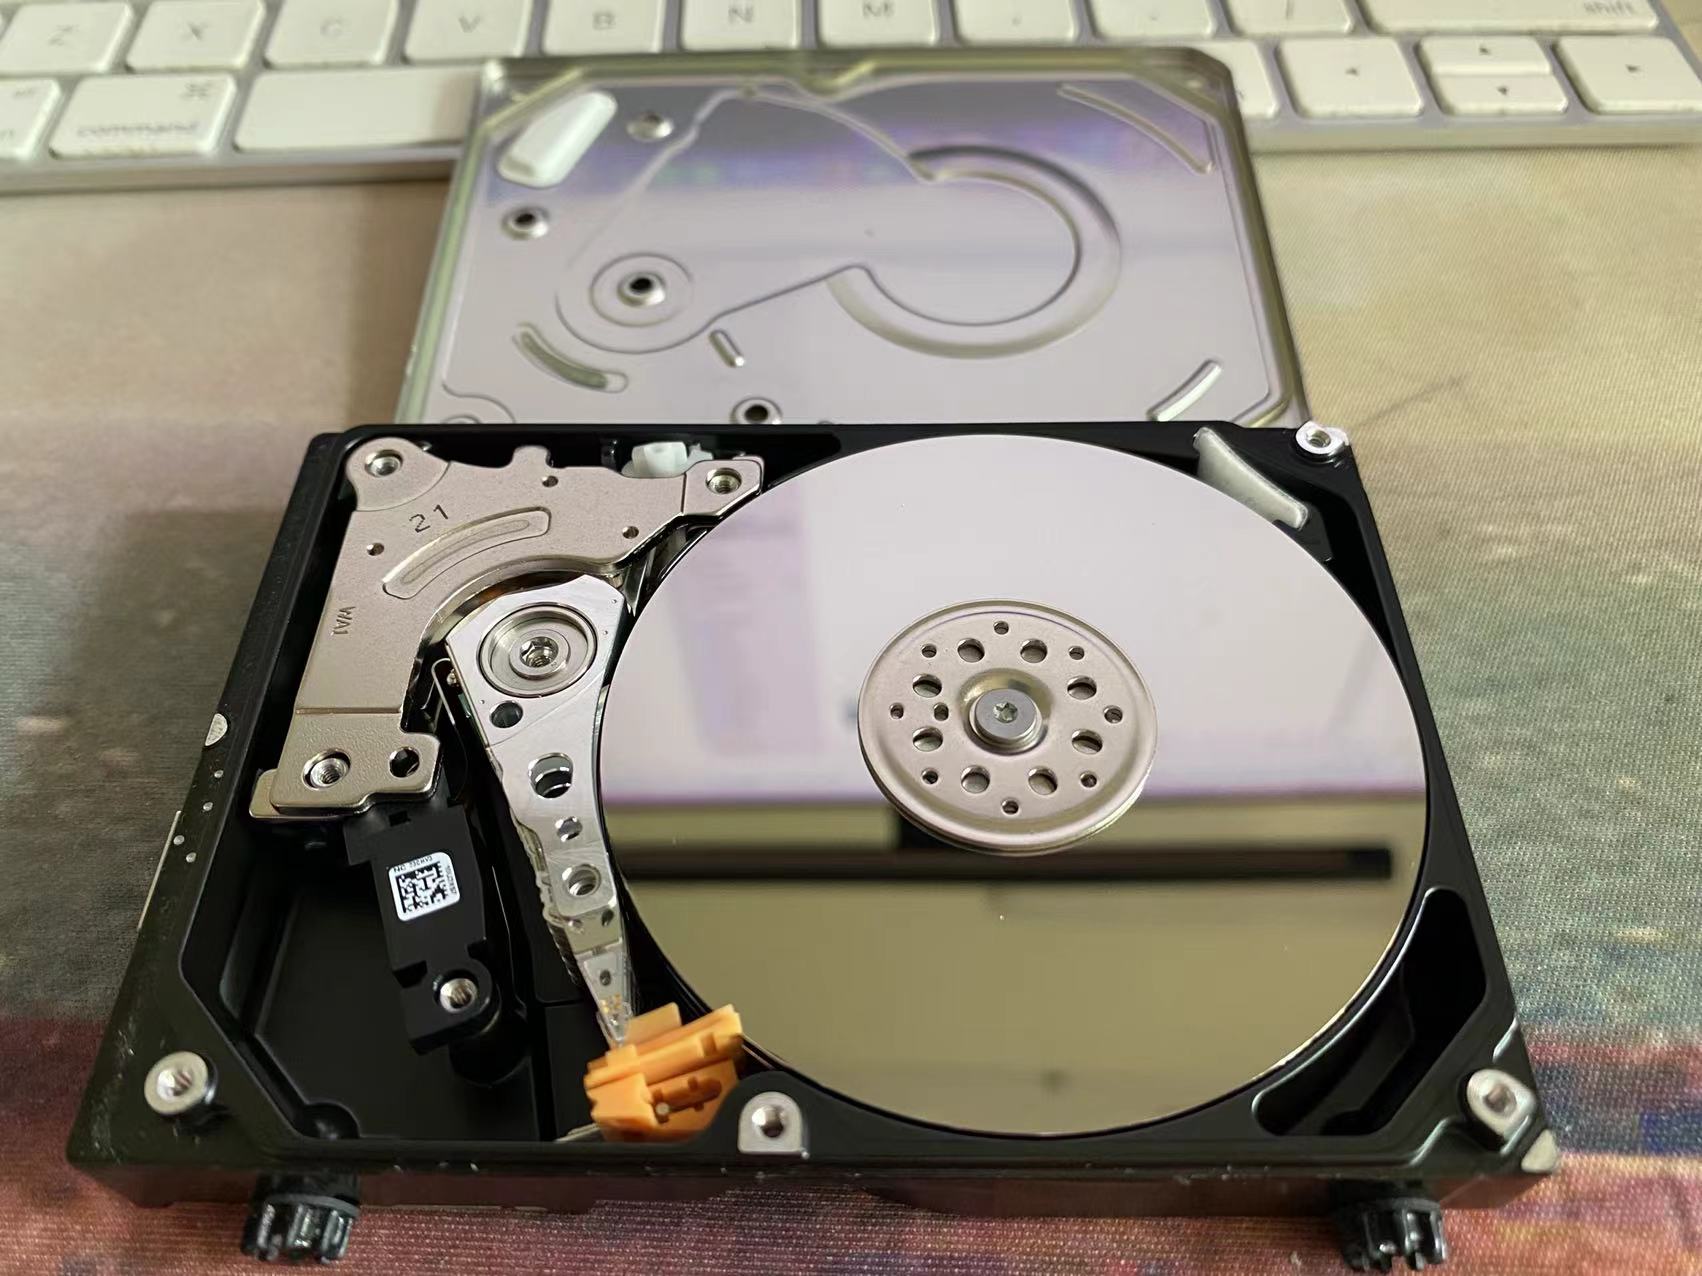
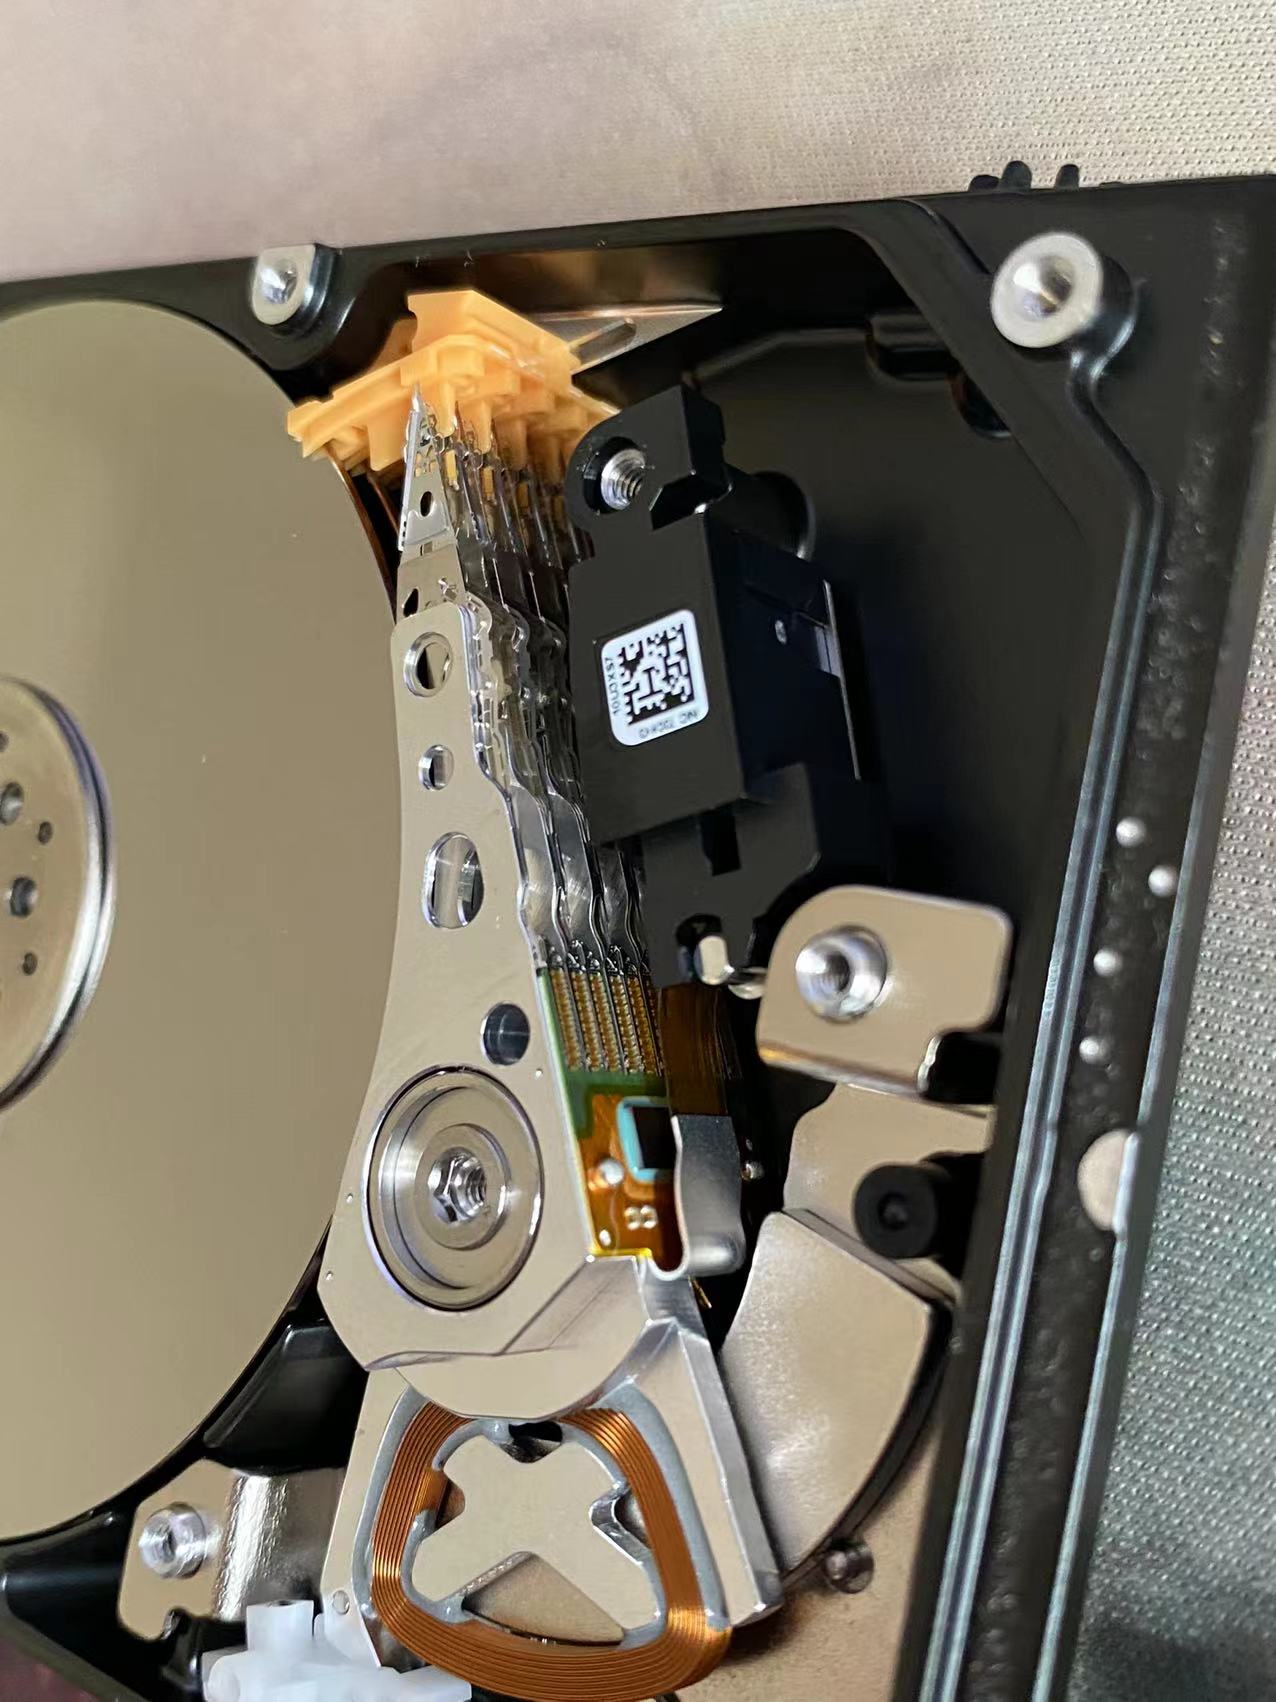
First, lift the lid. What greets you is the platter, the head, and the orange head-rest bracket; when the drive isn’t running, the head parks on that bracket.
Remove the permanent magnet behind the head — this is what drives the arm’s seek motion.
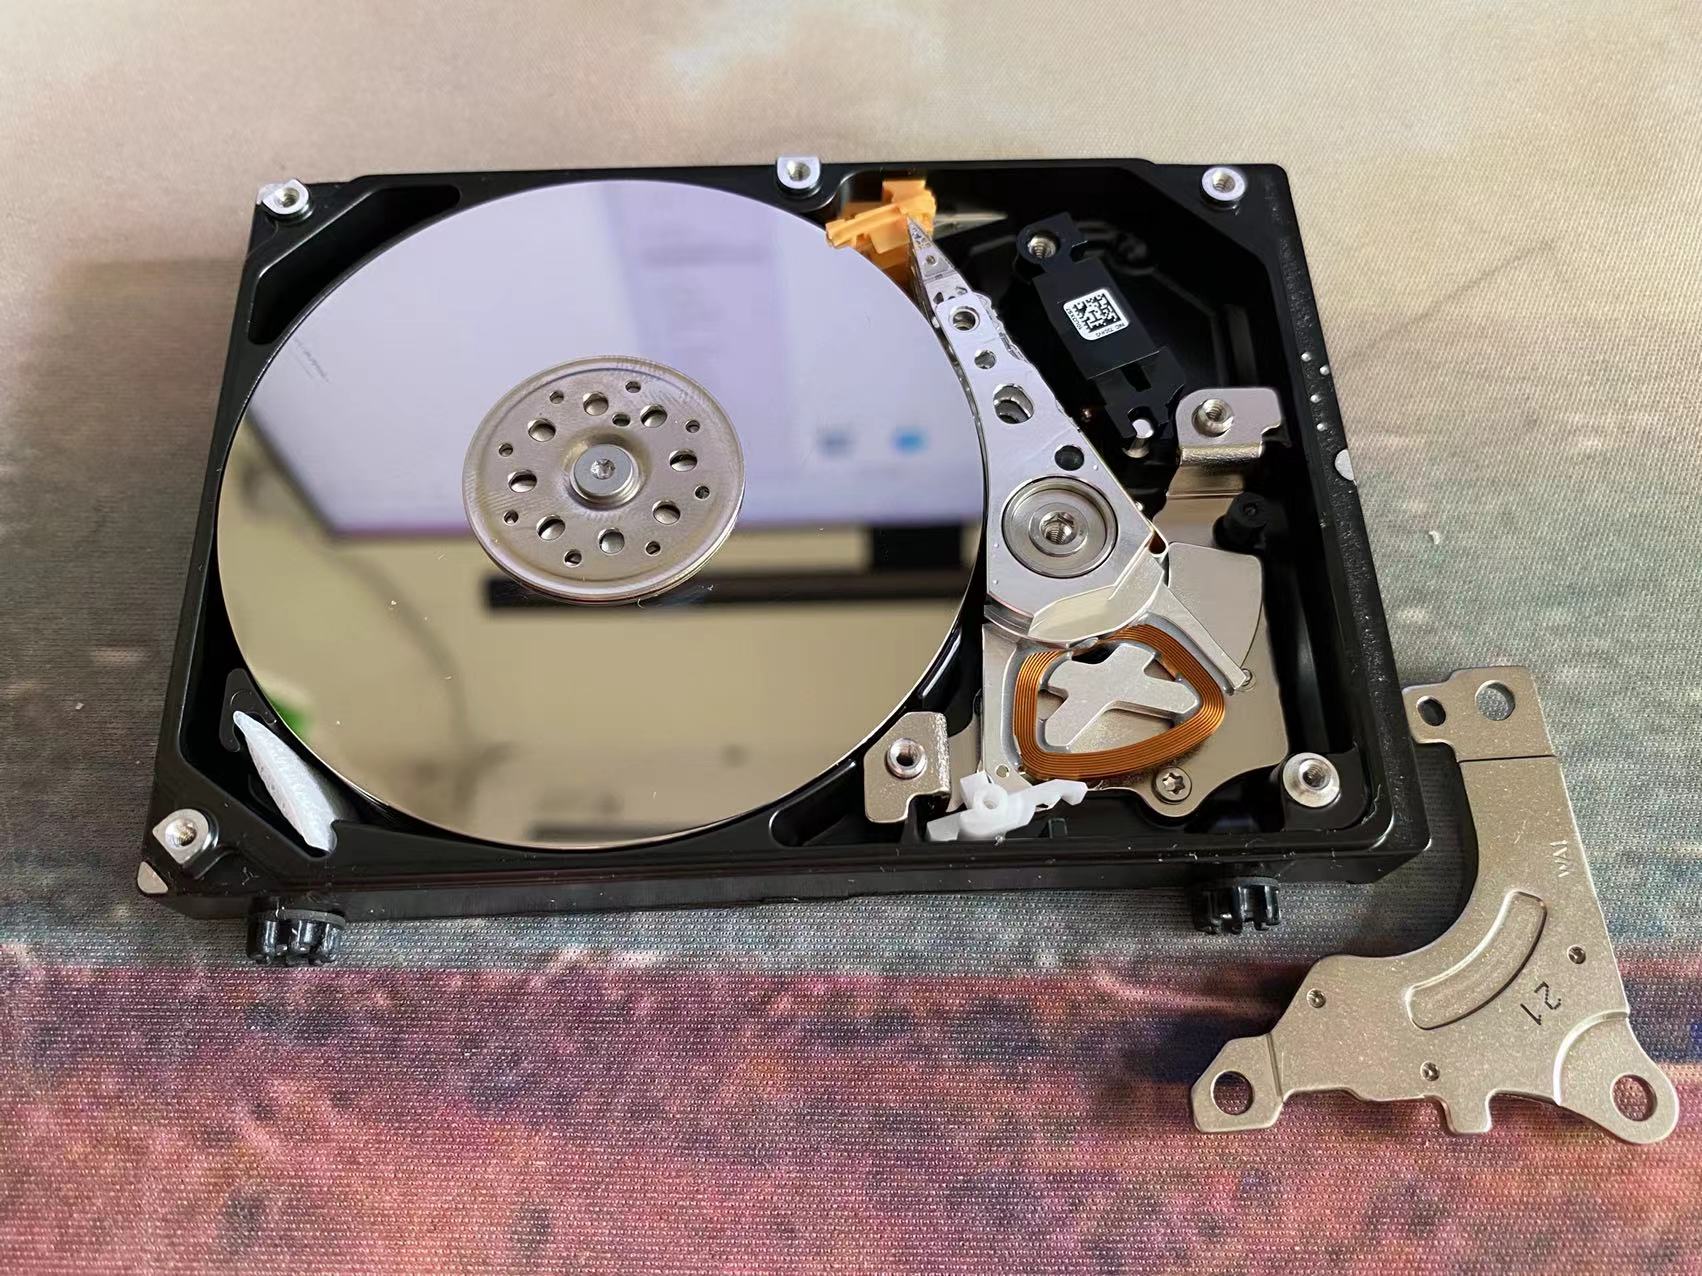
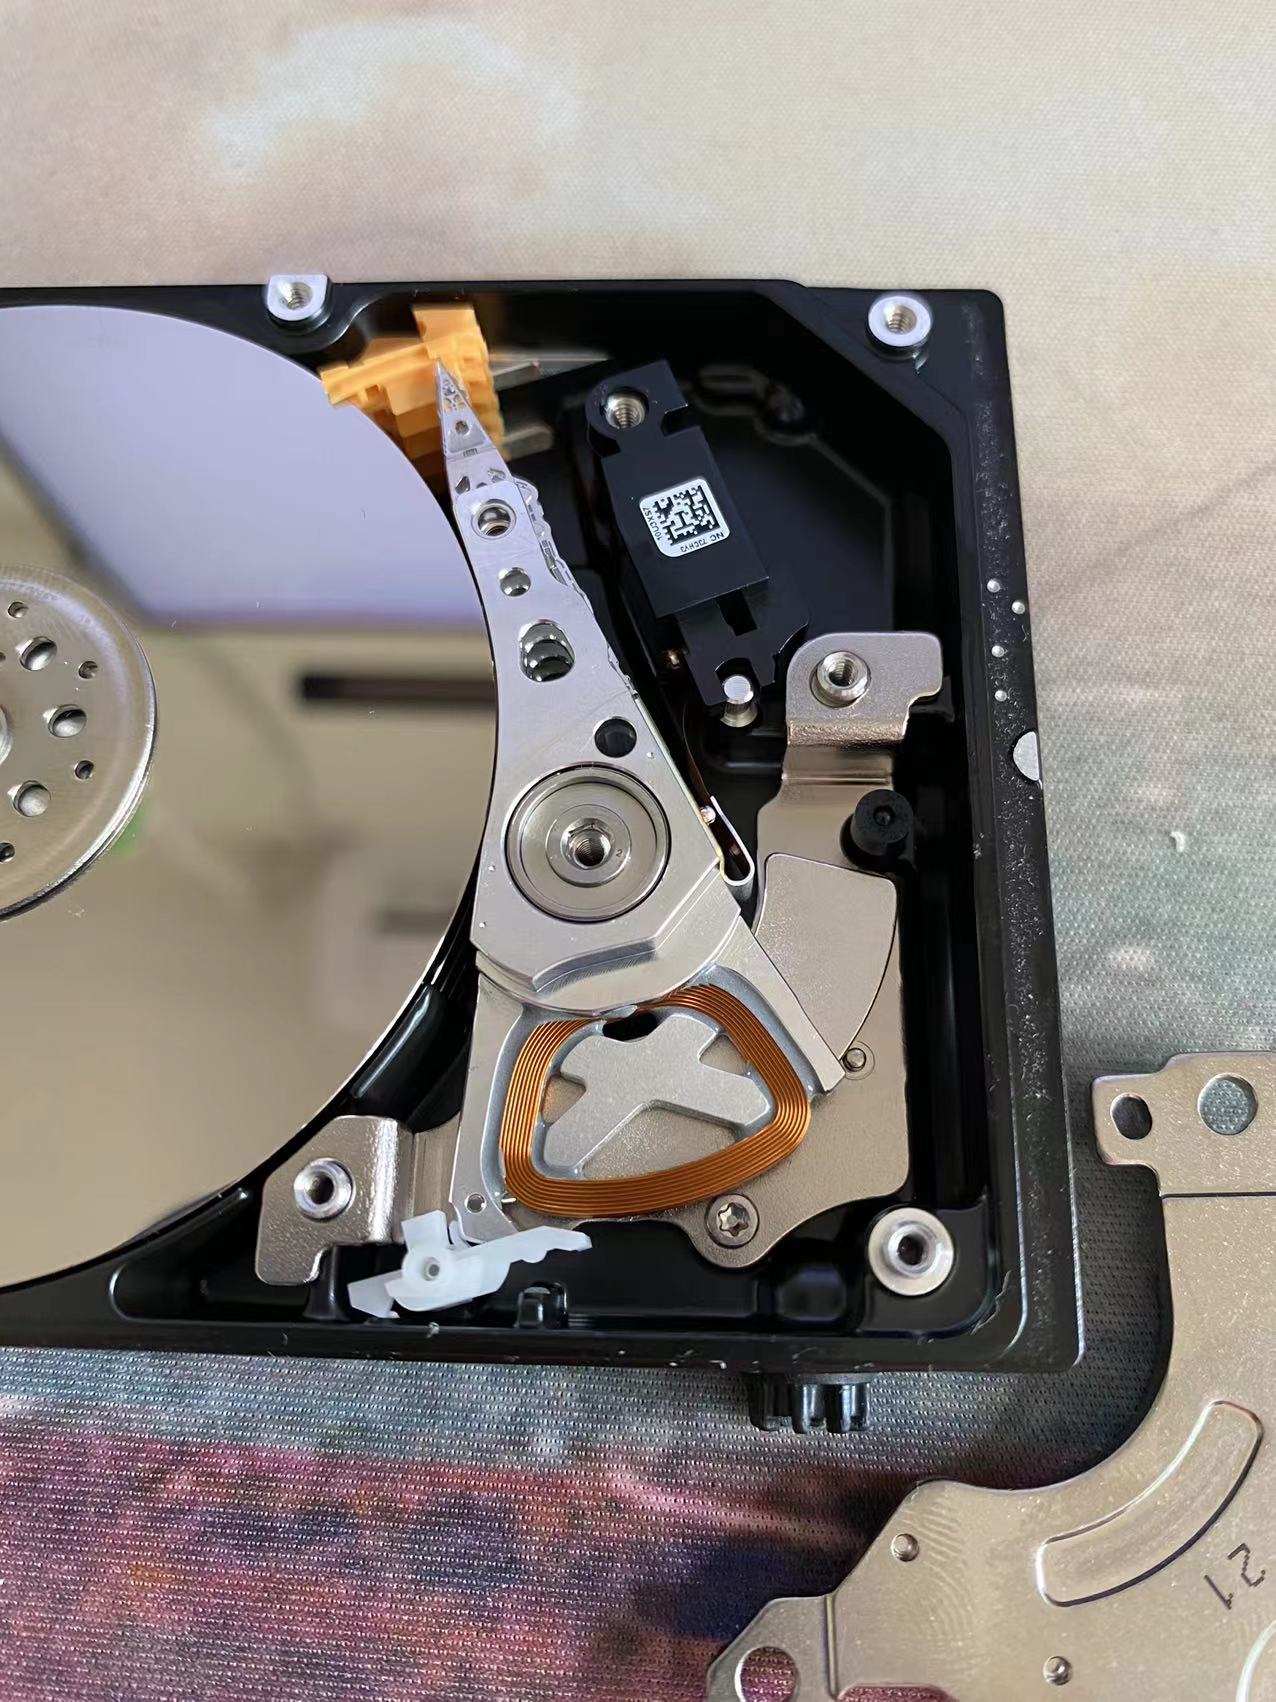
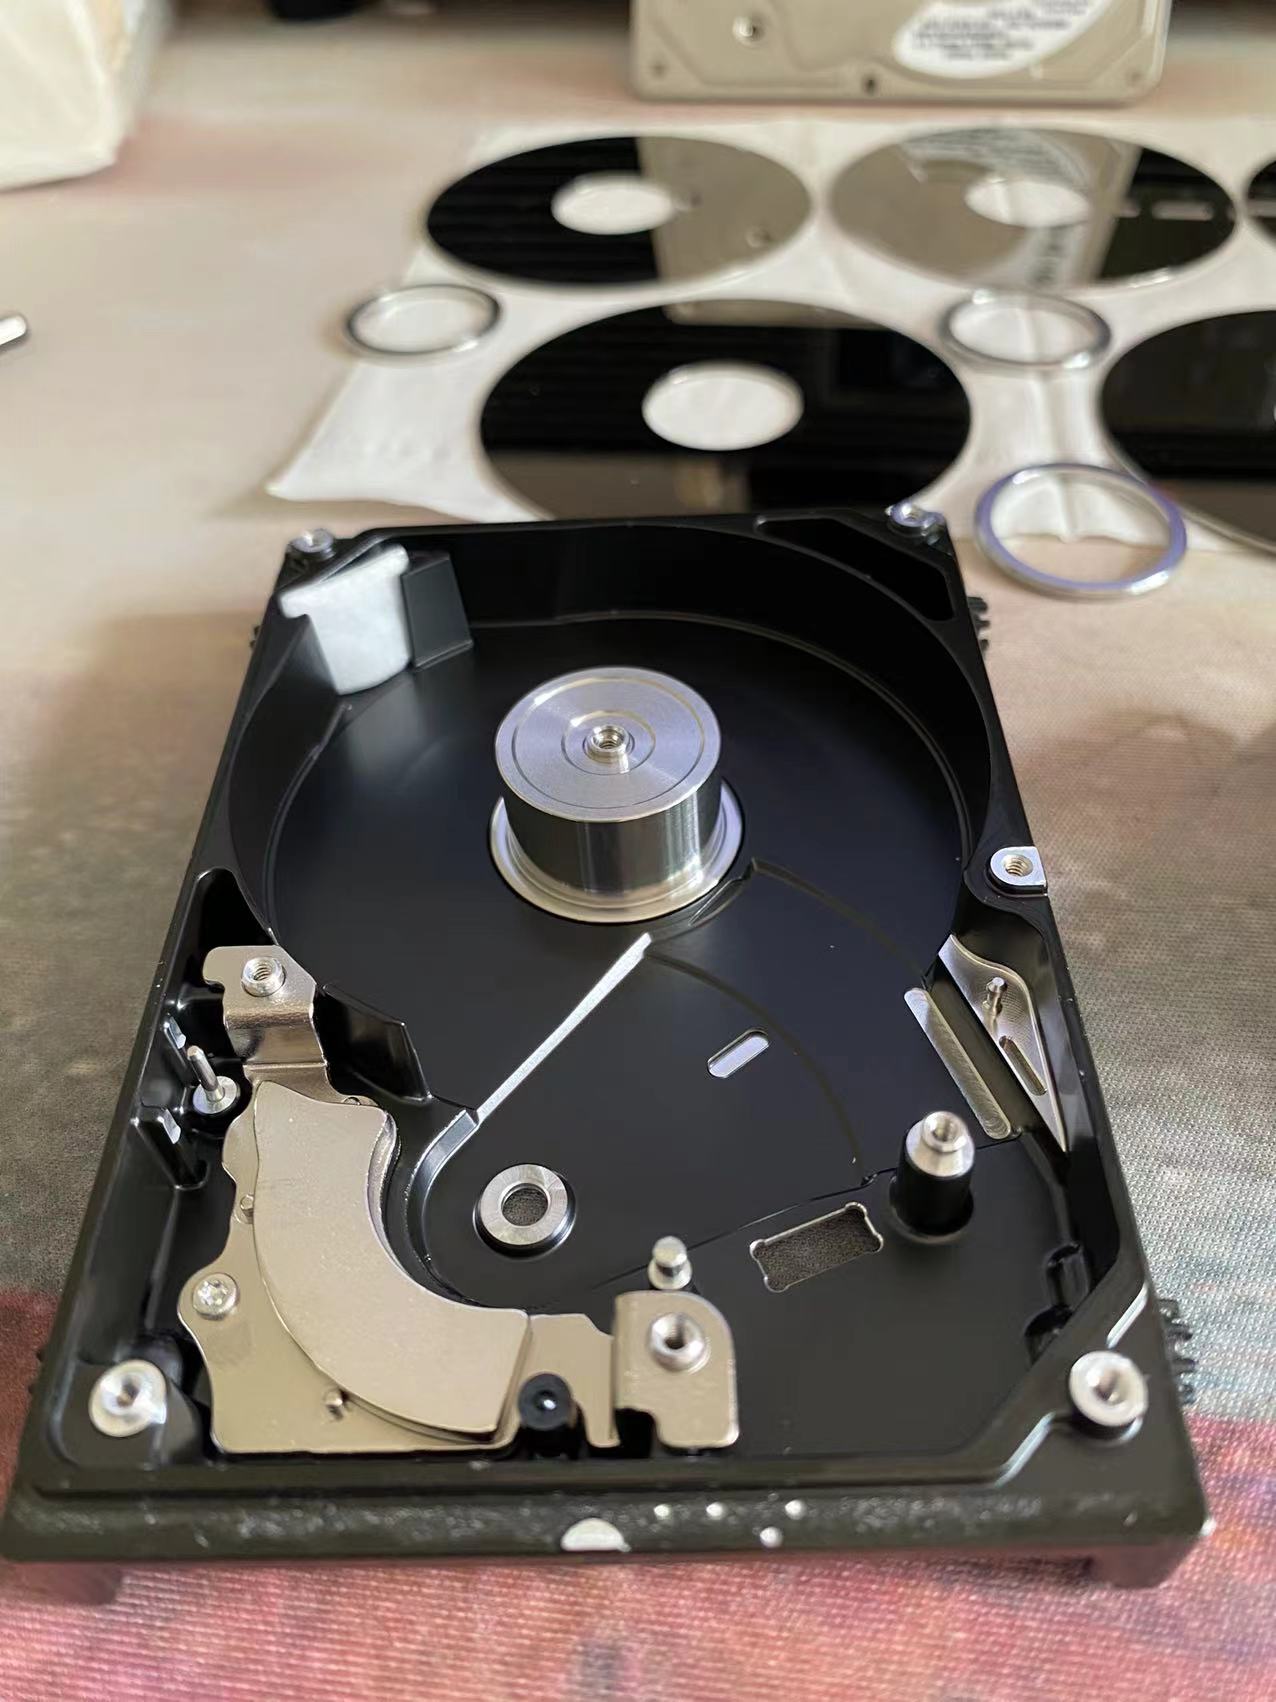
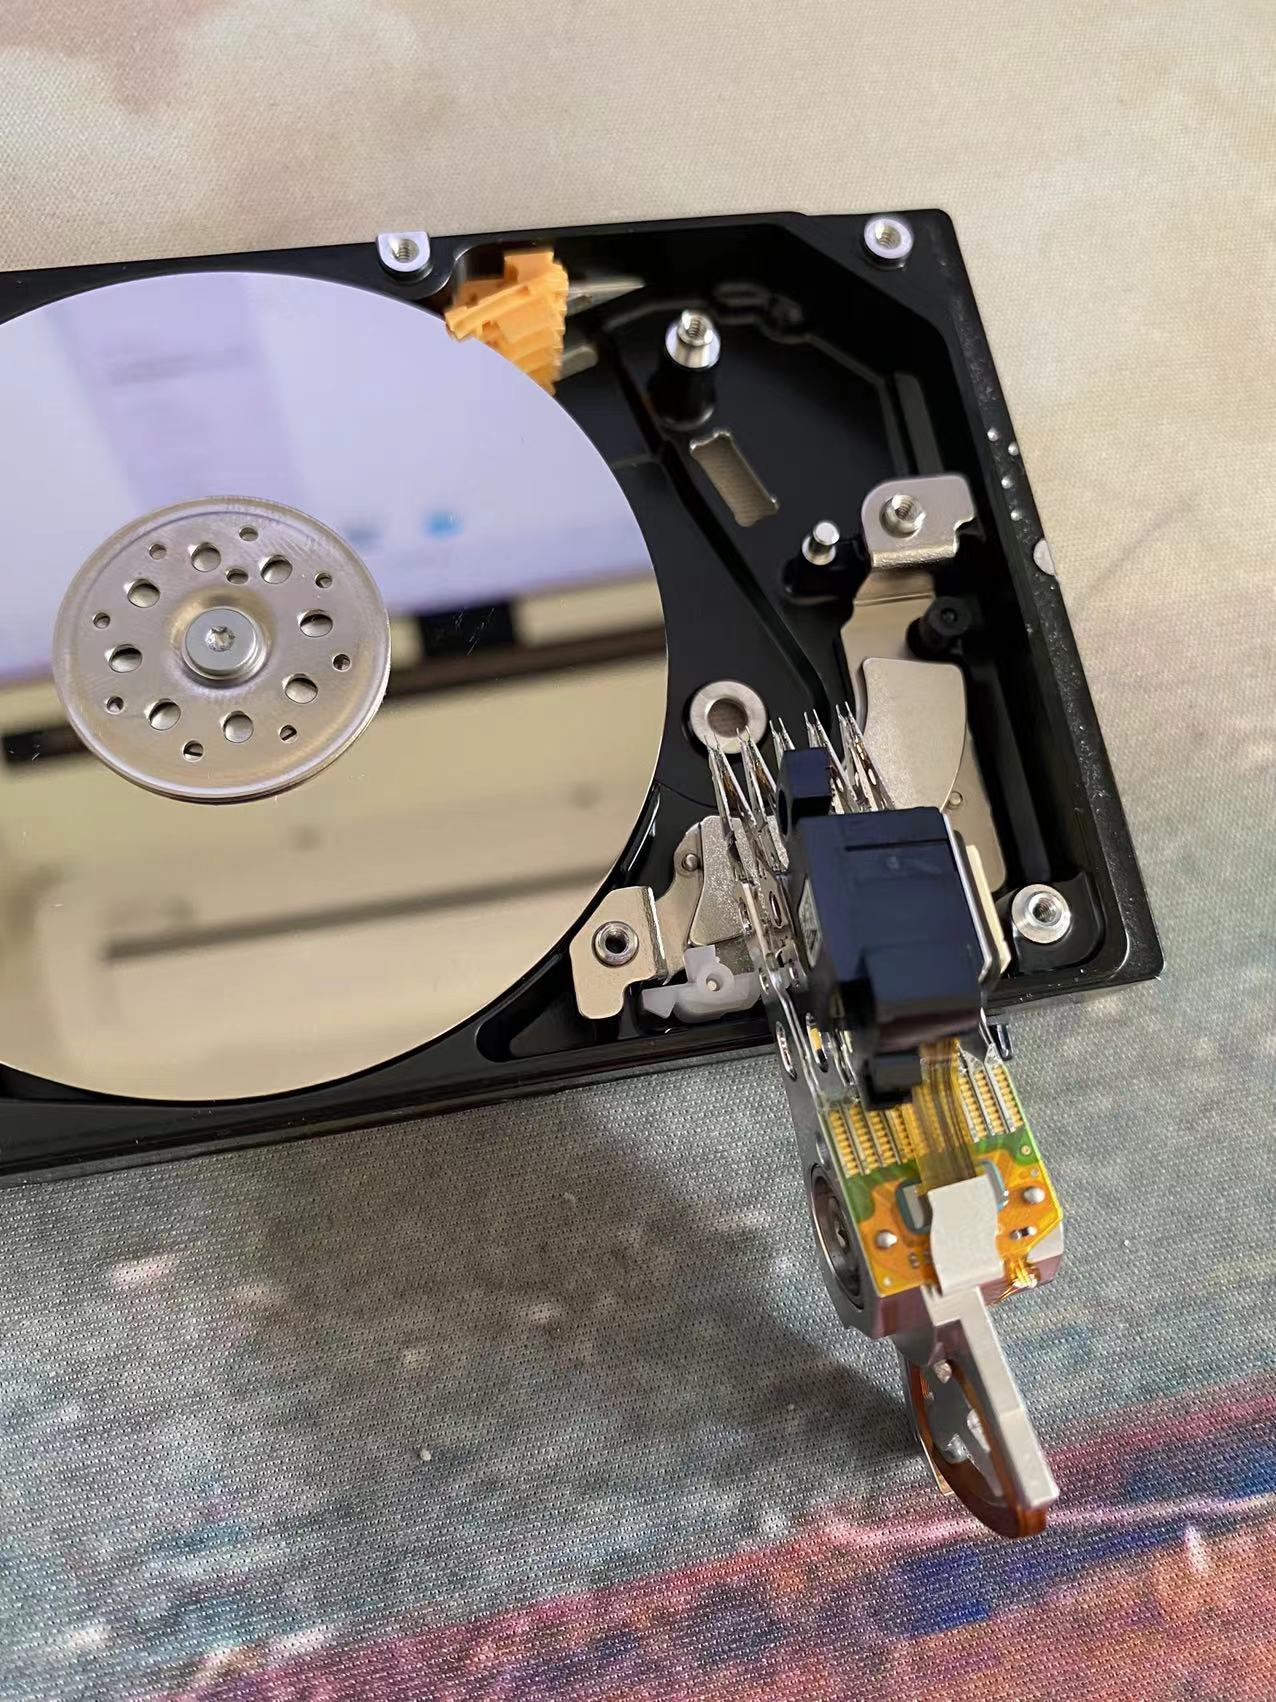
With the head removed:
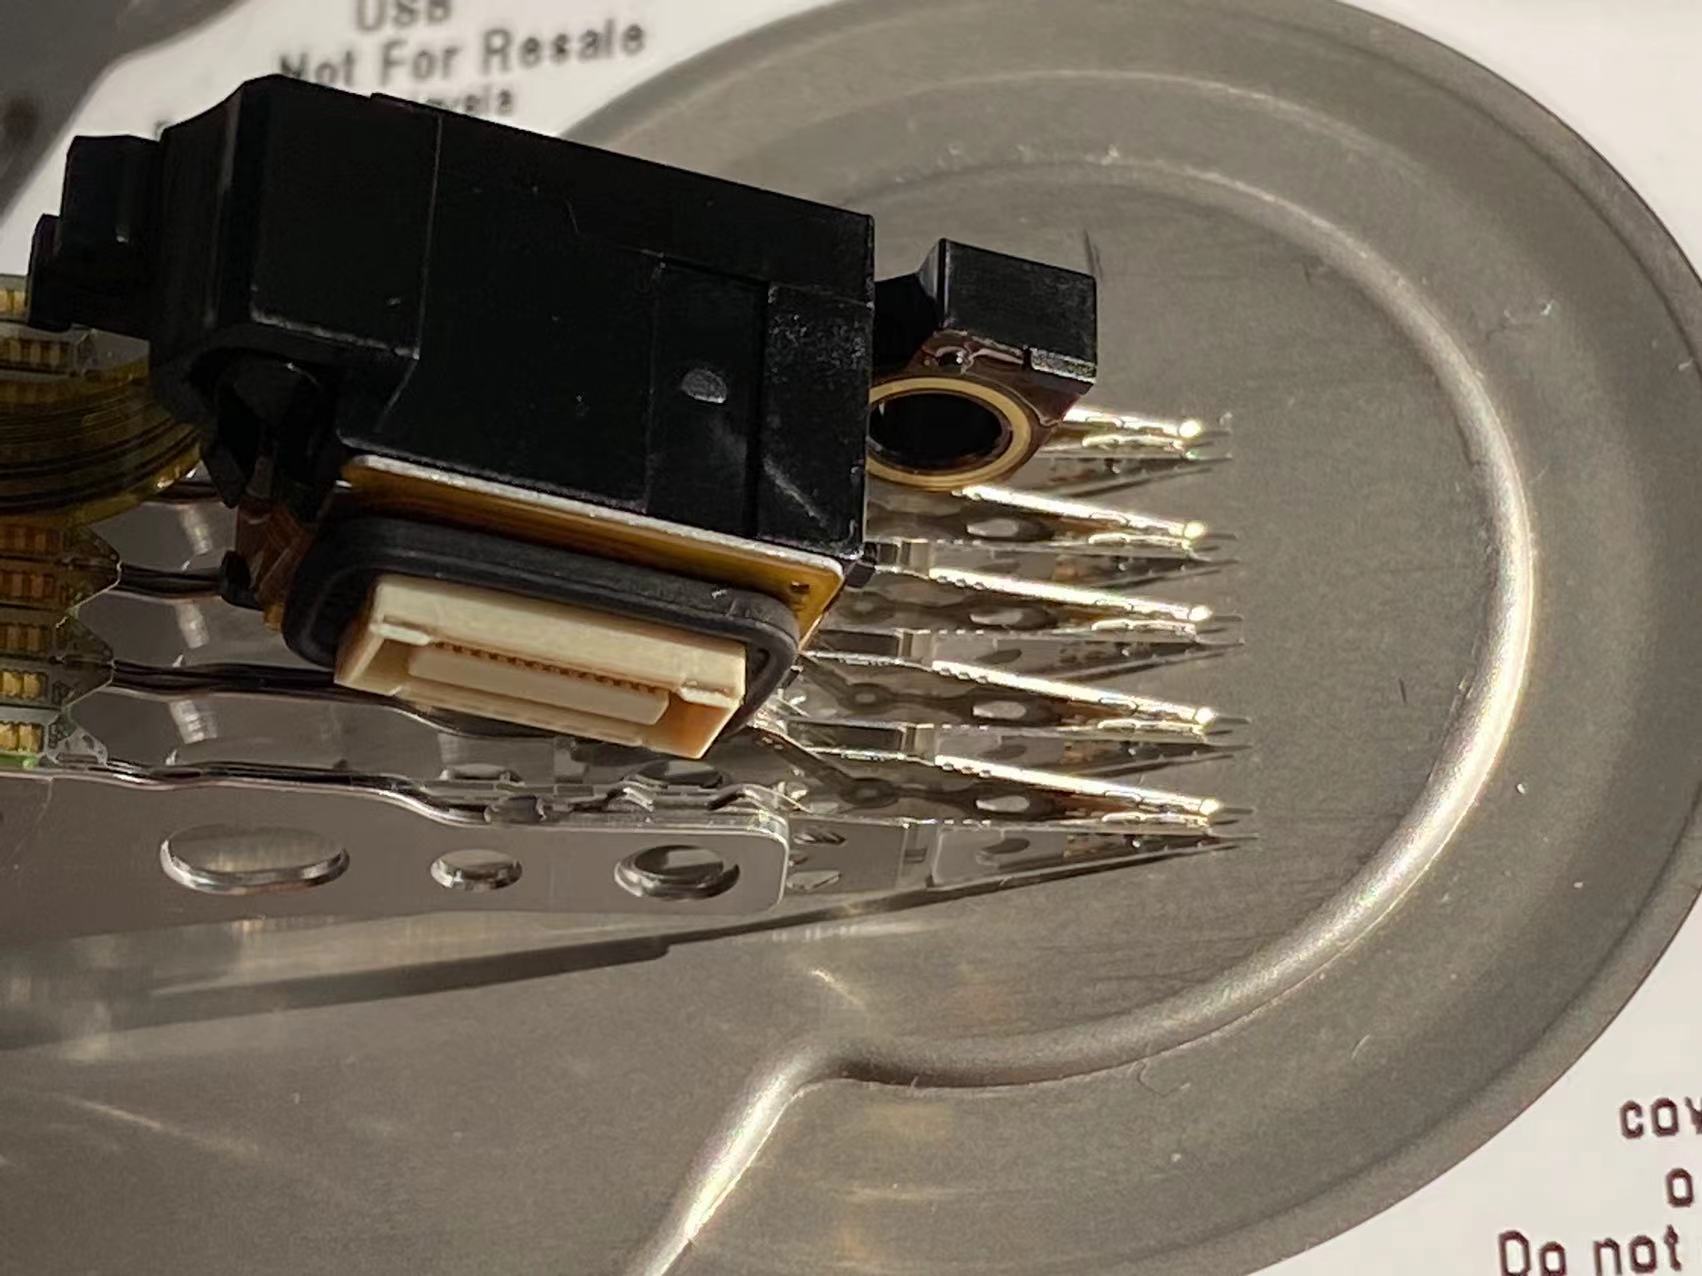
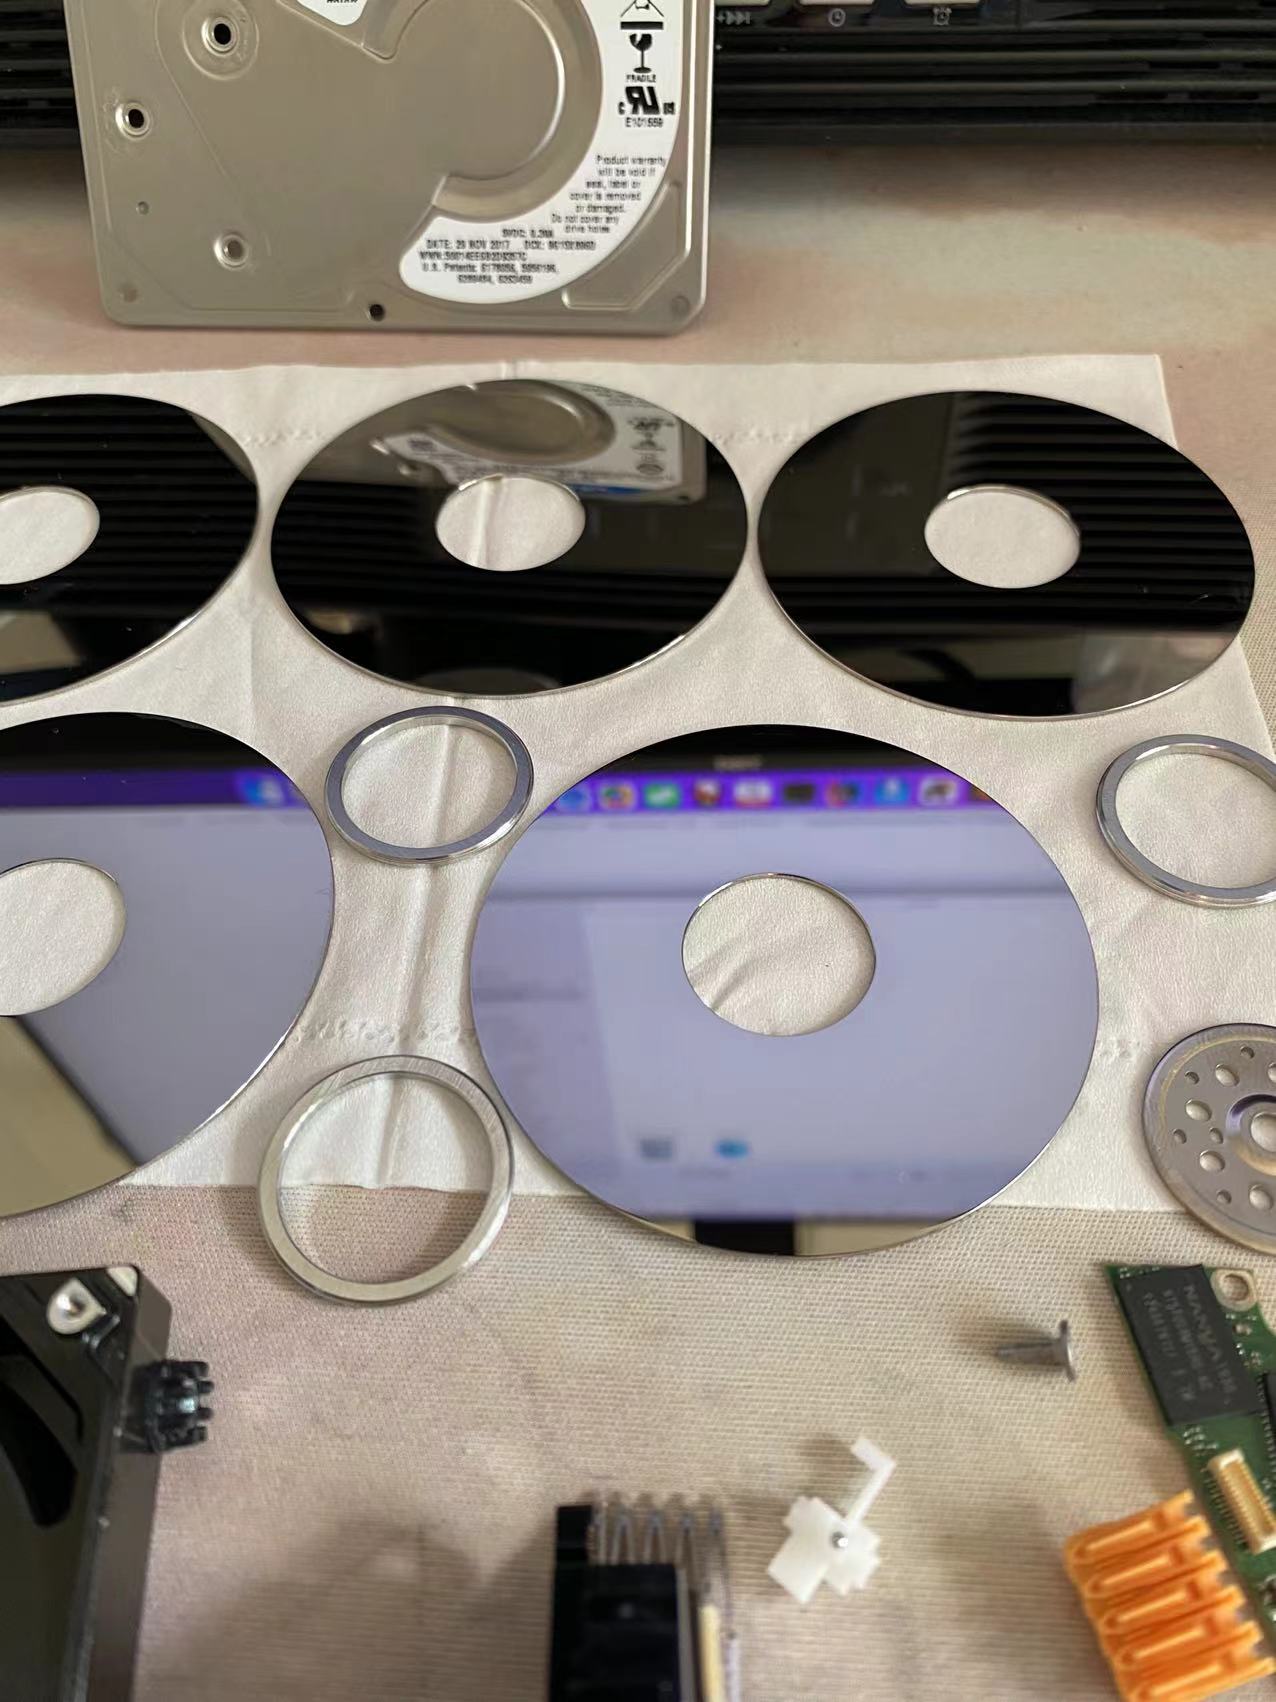
Remove the platters — this drive is built from five platters: