

Tutorial index: Big Data for Beginners: tutorial series
Since this is a beginner course and many people’s machines can’t handle a real cluster, let’s start with Hadoop’s single-node mode so you can run simple operations with Hadoop MapReduce and HDFS. This section is basically a Hello World for Hadoop — pulling the mystery off it.
Prerequisites
The content here comes from the official Apache Hadoop documentation: https://hadoop.apache.org/docs/r2.10.1/hadoop-project-dist/hadoop-common/SingleCluster.html — go read the original if you like.
The last post was Hadoop for Beginners (2): Installing Hadoop. If you haven’t installed it yet, do that before trying this tutorial.
Configuring the Hadoop Startup Script
Edit etc/hadoop/hadoop-env.sh first. Last tutorial installed Hadoop to /opt/module/hadoop-2.10.1, so the config sits at /opt/module/hadoop-2.10.1/etc/hadoop/hadoop-env.sh.
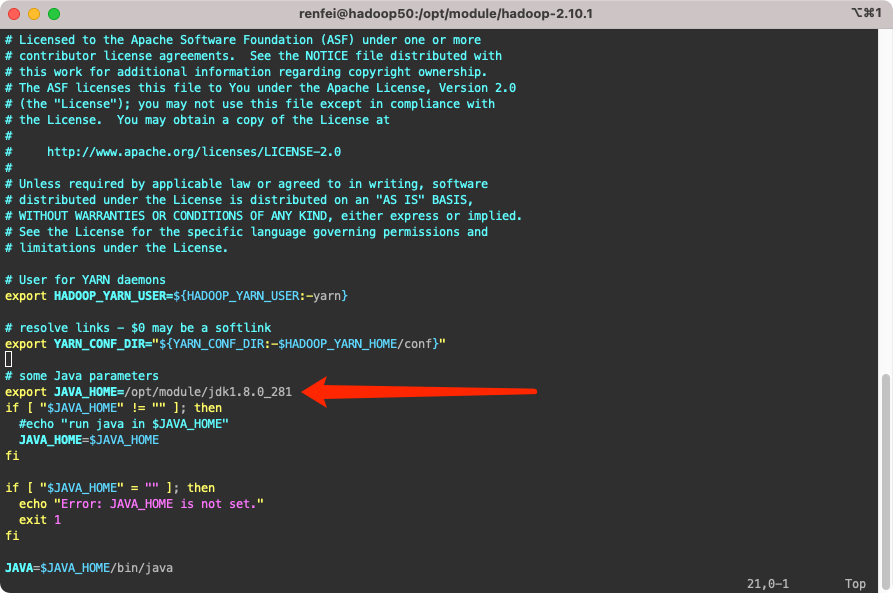
As the official docs require, set export JAVA_HOME=/usr/java/latest in that script. Last tutorial installed the JDK to /opt/module/jdk1.8.0_281, so my value is:
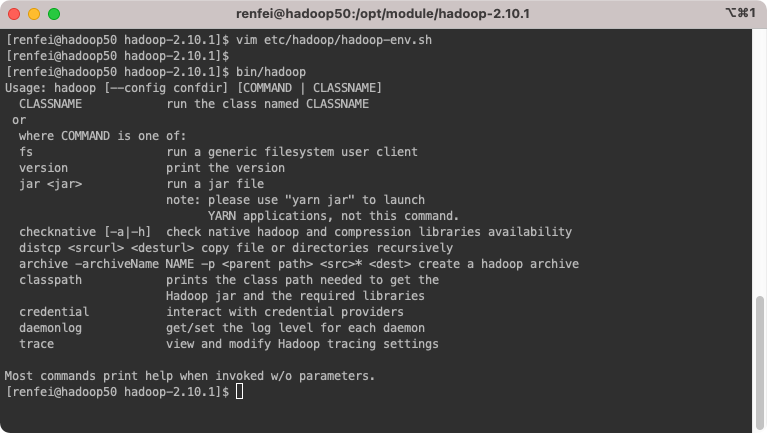
export JAVA_HOME=/opt/module/jdk1.8.0_281After configuring, run /opt/module/hadoop-2.10.1/bin/hadoop to test; it prints usage documentation for the hadoop script.
Single-Node Mode
By default Hadoop is configured to run in non-distributed mode as a single Java process, which is used for debugging. As noted, local mode is for debugging only and never used in production.
Let’s verify it per the official docs by running:
mkdir input
cp etc/hadoop/*.xml input
bin/hadoop jar share/hadoop/mapreduce/hadoop-mapreduce-examples-2.10.1.jar grep input output 'dfs[a-z.]+'
cat output/*
This is essentially Hello World: it takes the conf directory as input, then finds and displays every match of the given regular expression, writing output to the given output directory. That’s Hadoop executing a query for us.
Trying the Official WordCount Example
The distribution also ships WordCount, which counts words. Here’s how to try it:
Create a wcinput folder with a wc.input file inside, write some text into it, and let Hadoop count the words for us.
mkdir wcinput
touch wcinput/wc.input
vim wcinput/wc.input  # write our text, e.g. the following (strip the #):
#hadoop test
#hadoop renfei
#renfei yarn
# Run the wordcount example: input folder wcinput, output folder wcoutput
bin/hadoop jar share/hadoop/mapreduce/hadoop-mapreduce-examples-2.10.1.jar wordcount wcinput wcoutput
# View the results
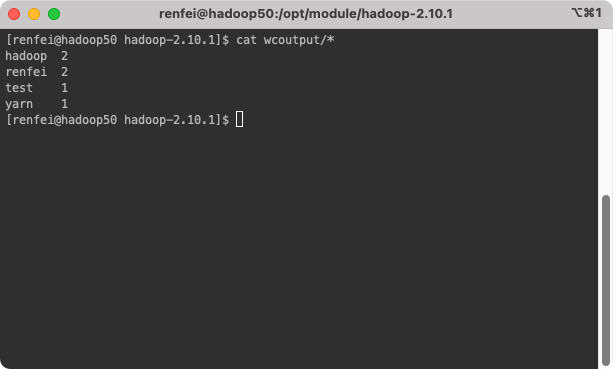
cat wcoutput/*
At this point you’ve once again seen Hadoop’s power: it counted the words for us.
Pseudo-Distributed Mode
Per the official docs: Hadoop can also run on a single node in pseudo-distributed mode, where each Hadoop daemon runs in its own Java process. We need to edit etc/hadoop/core-site.xml and etc/hadoop/hdfs-site.xml; here’s my configuration for my environment:
etc/hadoop/core-site.xml:
<configuration>
    <!-- The NameNode address in HDFS -->
    <property>
        <name>fs.defaultFS</name>
        <value>hdfs://localhost:9000</value>
    </property>
    <!-- Storage directory for files generated while Hadoop runs -->
    <property>
        <name>hadoop.tmp.dir</name>
        <value>/opt/module/hadoop-2.10.1/data/tmp</value>
    </property>
</configuration>etc/hadoop/hdfs-site.xml:
<configuration>
    <!-- Number of HDFS replicas -->
    <property>
        <name>dfs.replication</name>
        <value>1</value>
    </property>
</configuration>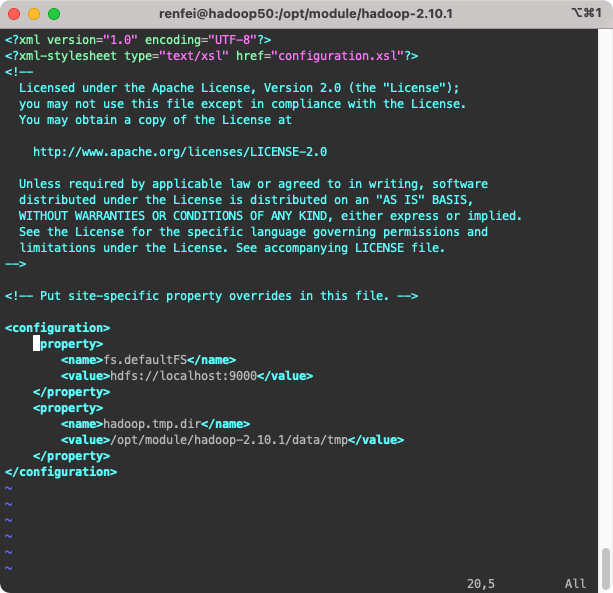
Formatting the Filesystem
Format it on first start — only the first time; repeated formatting causes problems:
bin/hdfs namenode -formatStarting the NameNode and DataNode Daemons
sbin/start-dfs.sh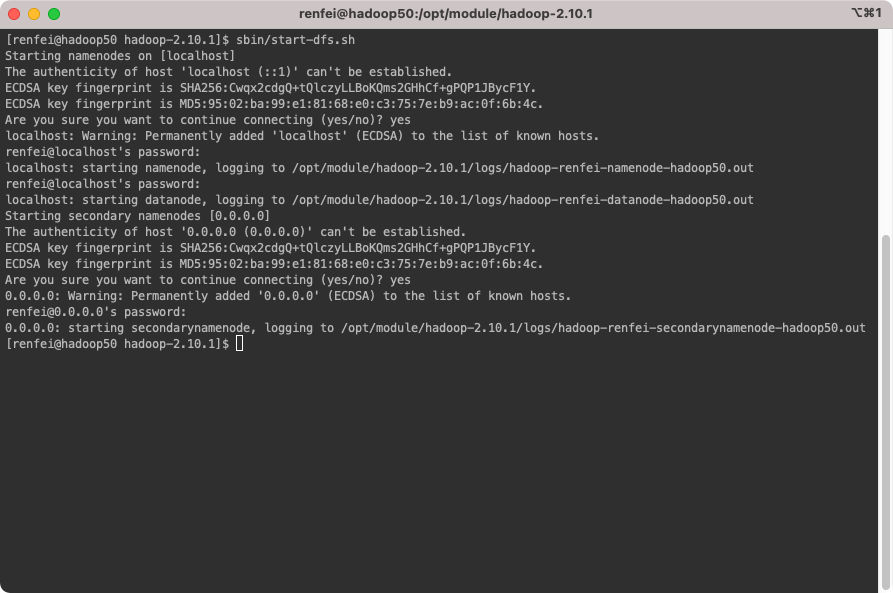
Browsing the NameNode Web Interface
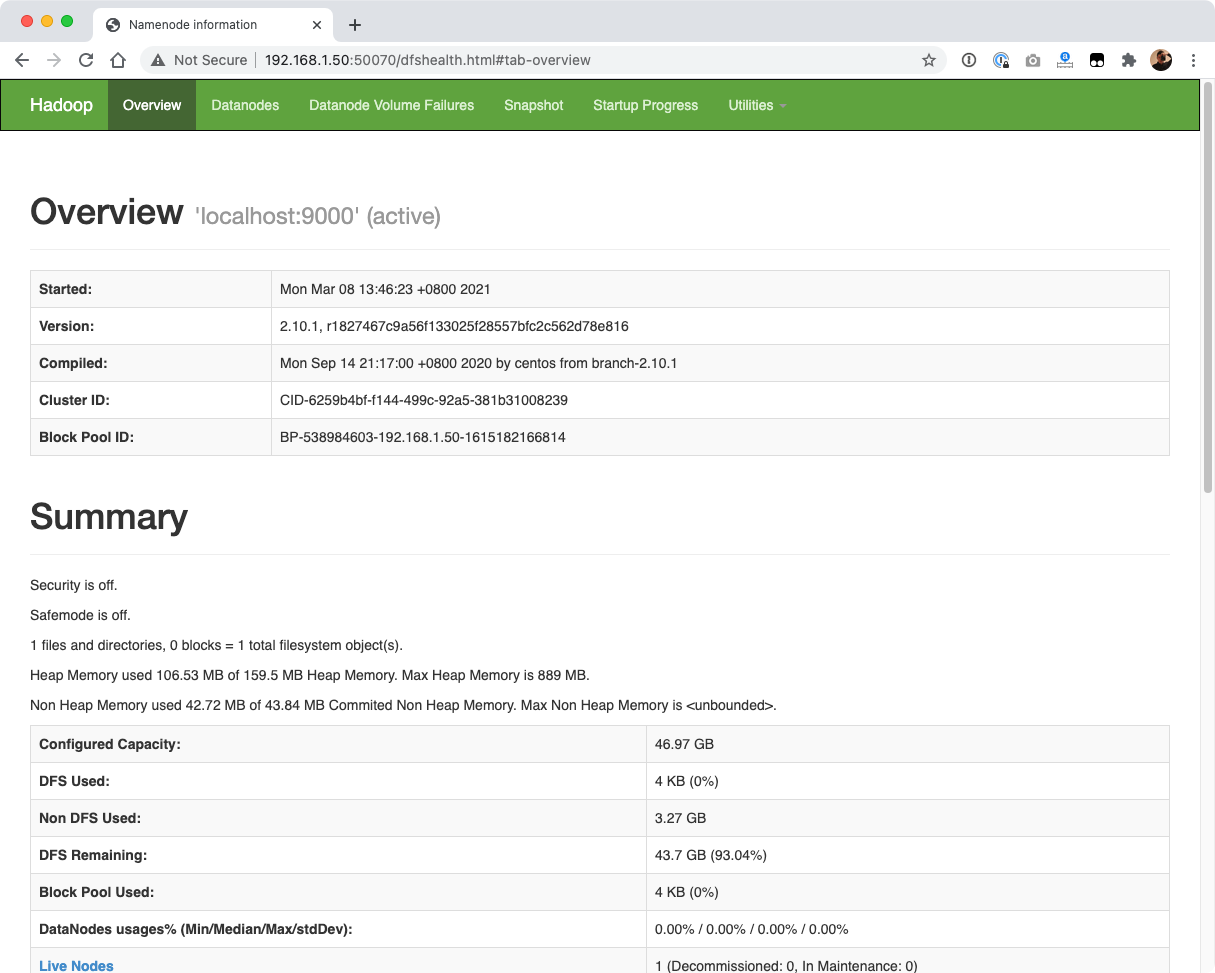
My IP here is 192.168.1.50 — substitute your own Hadoop IP and visit port 50070 at http://192.168.1.50:50070. You should see:
Yarn in Pseudo-Distributed Mode
Edit etc/hadoop/yarn-env.sh and etc/hadoop/mapred-env.sh and set JAVA_HOME; I won’t repeat the details.
Configure etc/hadoop/yarn-site.xml:
<configuration>
    <!-- How the Reducer obtains data -->
    <property>
        <name>yarn.nodemanager.aux-services</name>
        <value>mapreduce_shuffle</value>
    </property>
    <!-- Address of YARN's ResourceManager -->
    <property>
        <name>yarn.resourcemanager.hostname</name>
        <value>hadoop50</value>
    </property>
</configuration>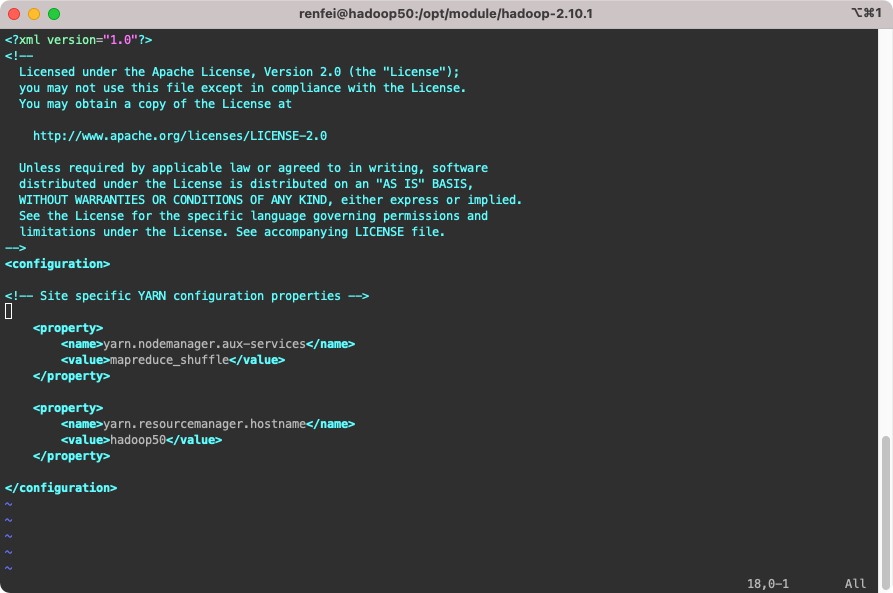
Rename etc/hadoop/mapred-site.xml.template to etc/hadoop/mapred-site.xml and edit it:
<configuration>
    <!-- Run MapReduce on YARN -->
    <property>
        <name>mapreduce.framework.name</name>
        <value>yarn</value>
    </property>
</configuration>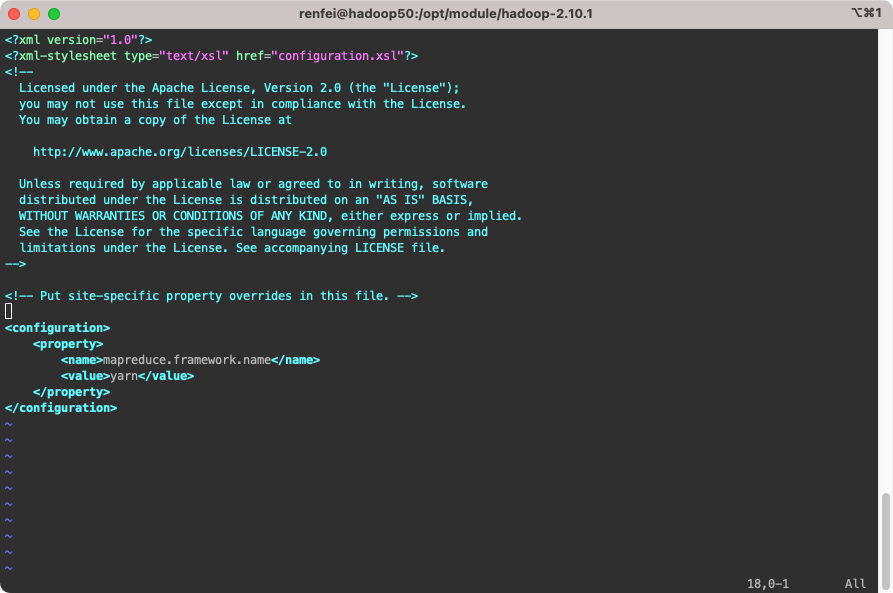
Starting the Cluster
First make sure the NameNode and DataNode are up, then start ResourceManager and NodeManager:
sbin/start-yarn.sh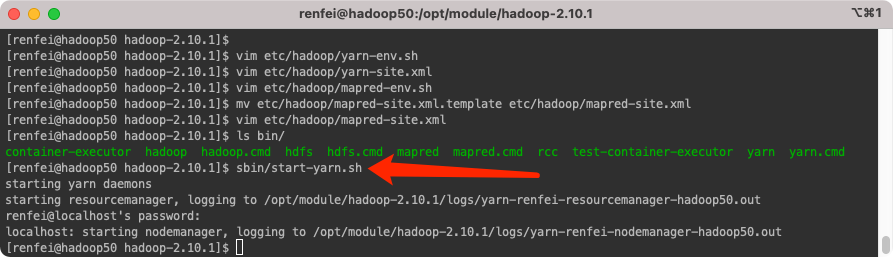
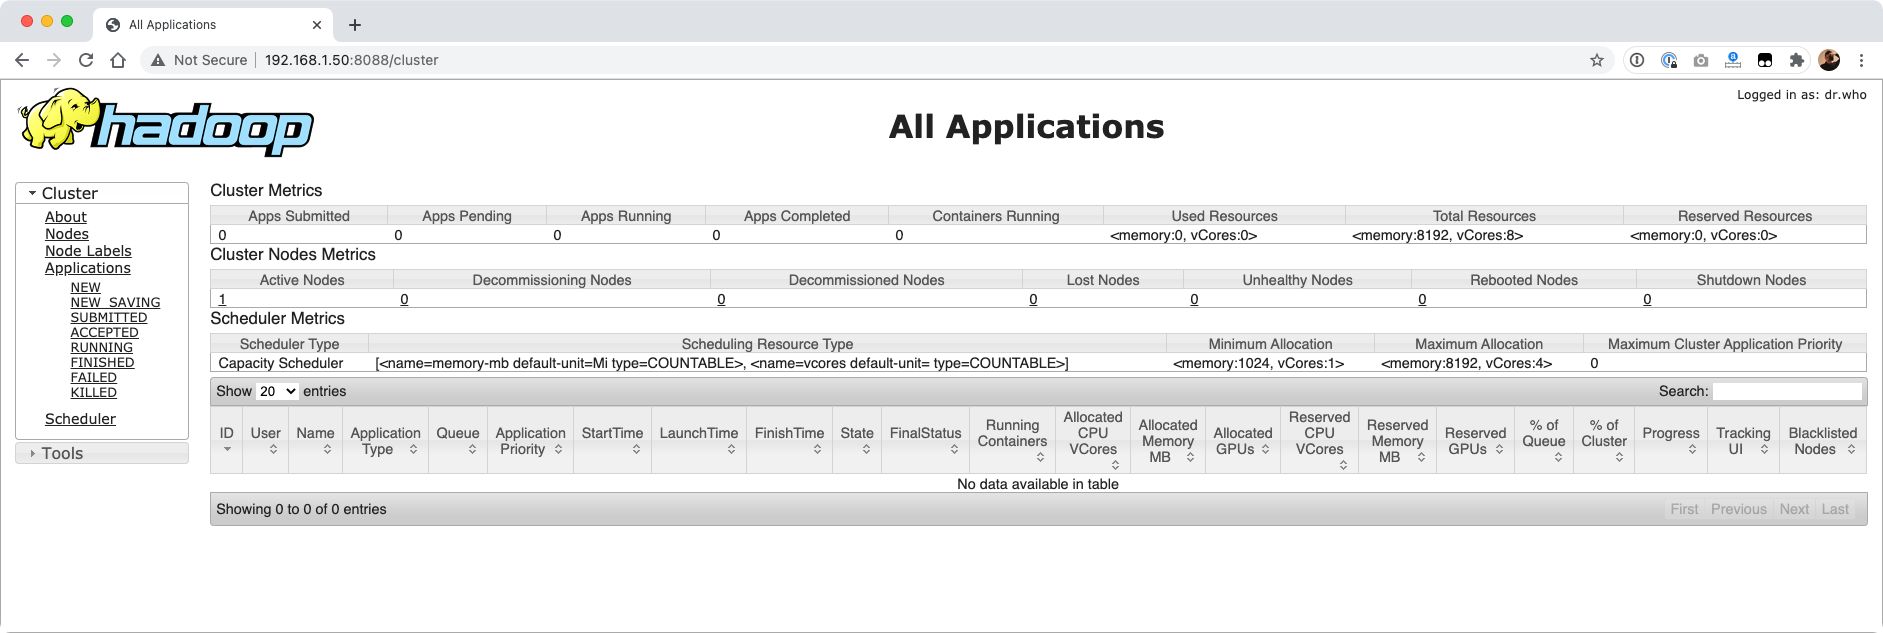
Then open a browser — again my IP is 192.168.1.50, replace it with yours — at port 8088: http://192.168.1.50:8088/cluster. You should see:
Trying Hadoop in Pseudo-Distributed Mode
To exercise it, upload our local file into HDFS:
hadoop fs -put wcinput /At http://192.168.1.50:50070/explorer.html we can see the uploaded file:
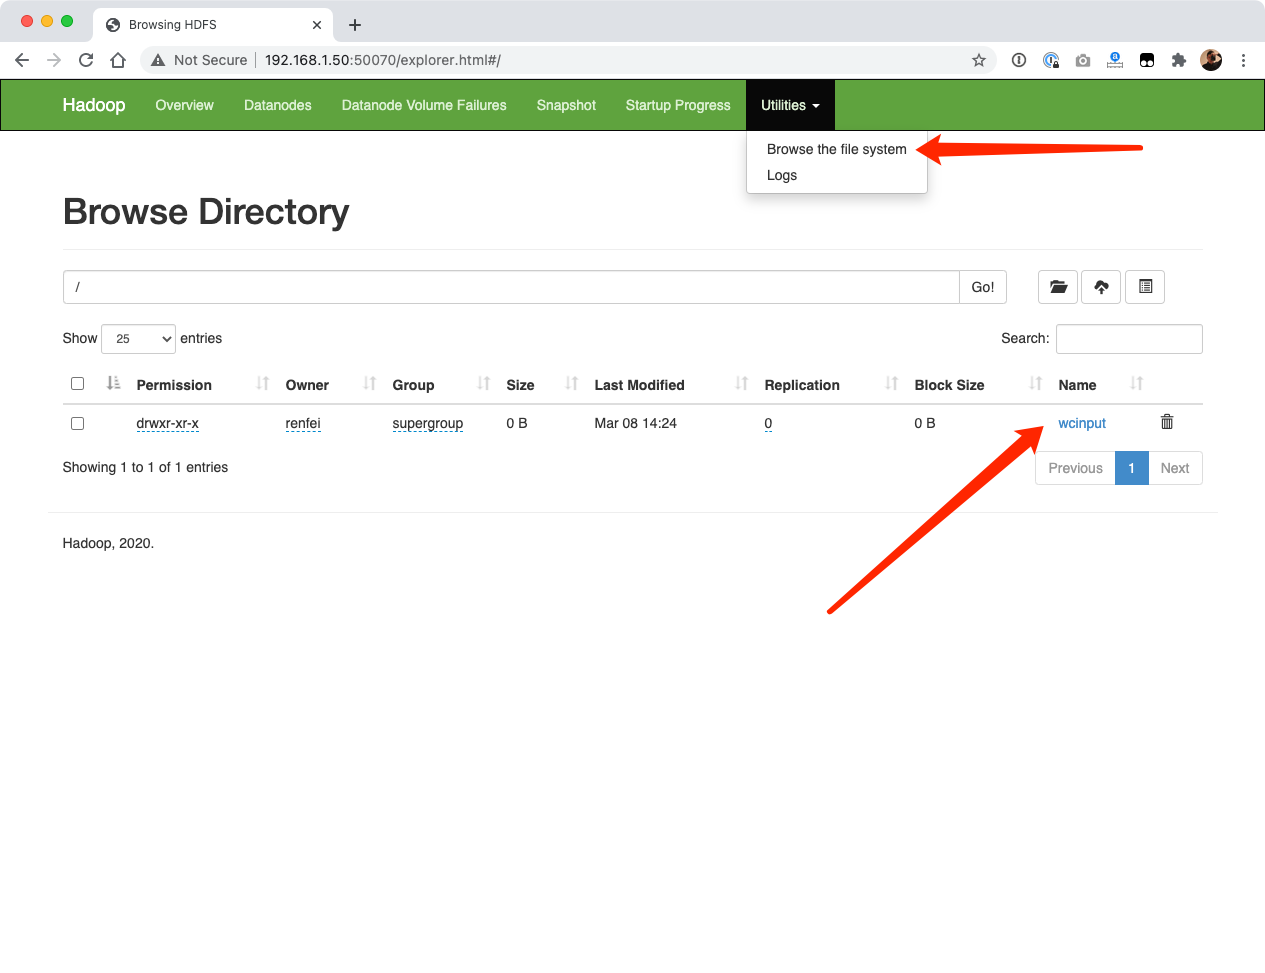
Run the WordCount example again — note the leading slash / on the input folder, which means HDFS root rather than the local filesystem:
hadoop jar share/hadoop/mapreduce/hadoop-mapreduce-examples-2.10.1.jar wordcount /wcinput /wcoutput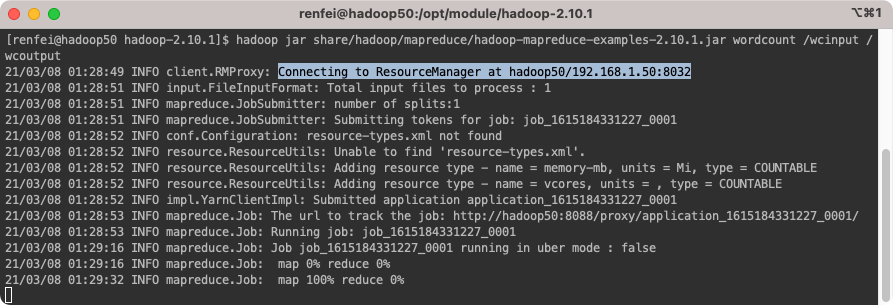
After it succeeds you’ll see the wcoutput folder appear in the browser. Let’s read its contents through HDFS:
hadoop fs -cat /wcoutput/*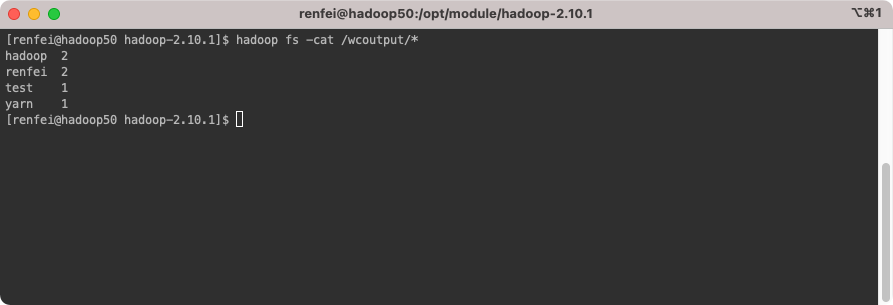
Fully Distributed
In real production nobody runs a single node, so distributed Hadoop is the point — next section we’ll build a fully distributed Hadoop cluster.