Tutorial index: Big Data for Beginners: tutorial series
Before we can start our Hadoop journey we need to know how to install it. Later we’ll experiment and learn across multiple Hadoop nodes; this post walks through the installation, which is quite simple.
What You Need Before Starting
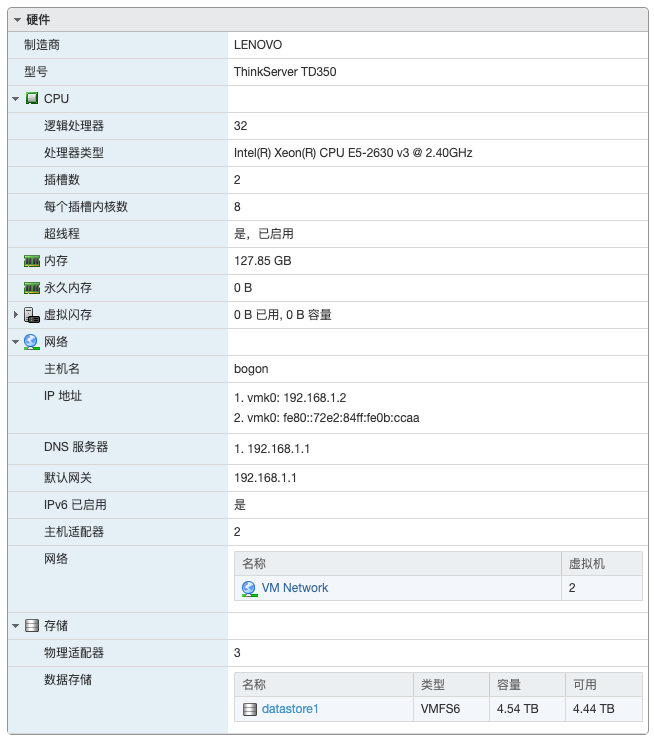
Before starting you should know basic Linux operations and have a Linux host ready. This post demonstrates on CentOS 7: adding a regular user account, installing the JDK, installing Hadoop, and configuring environment variables. Later we’ll use several Hadoop hosts for experimenting, and I run them as virtual machines on a server — my physical box has two Xeon E5-2630 v3 CPUs and 128 GB of RAM. If you build this on your own computer, learning big data needs at least 16 GB of RAM or you may not be able to run all the components.
Network IP, Hostname and Hosts File
Since we’ll build a Hadoop cluster later, each machine needs a fixed IP and the machines need to know each other’s addresses. So we set static IPs, configure hostnames, and edit the hosts file so Hadoop nodes can resolve one another.
First run ls /etc/sysconfig/network-scripts/ to see the interface name — mine is ifcfg-ens192 — then edit it with vi:

Set BOOTPROTO=static and ONBOOT=yes, and append the following, adjusted for your network:
IPADDR=192.168.1.50
NETMASK=255.255.255.0
GATEWAY=192.168.1.1
DNS1=192.168.1.1
DNS2=114.114.114.114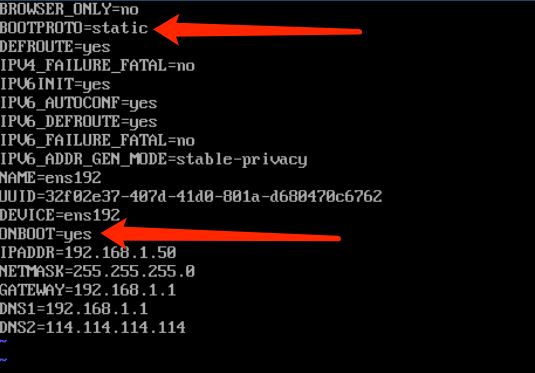
Restart networking to apply:
systemctl restart networkSetting the Hostname
hostnamectl set-hostname hadoop50Edit the hosts file — I’m planning 10 nodes for the Hadoop cluster:
vi /etc/hosts # write:
192.168.1.50 hadoop50
192.168.1.51 hadoop51
192.168.1.52 hadoop52
192.168.1.53 hadoop53
192.168.1.54 hadoop54
192.168.1.55 hadoop55
192.168.1.56 hadoop56
192.168.1.57 hadoop57
192.168.1.58 hadoop58
192.168.1.59 hadoop59
Disabling the Firewall
We disable it so cluster members can talk to each other freely — but only legitimate if an external firewall handles security. In production without an external firewall you’d keep the local one on and open each port you need. This is a beginner tutorial, so we turn it off to avoid mysterious networking failures.
systemctl stop firewalld.service           # stop firewalld
systemctl disable firewalld.service        # keep it off at boot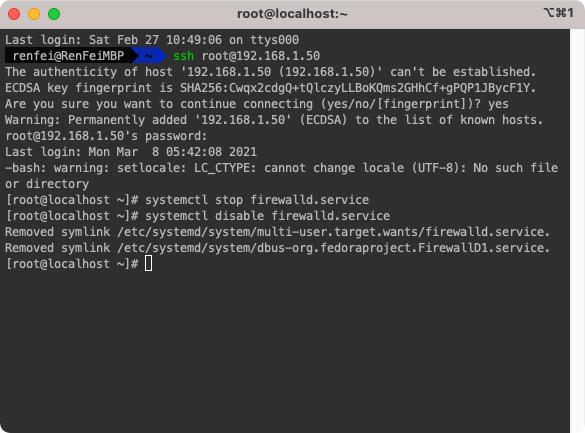
Adding a Regular User
In any Linux scenario you shouldn’t operate directly as root — programs running with root’s maximum privileges are unsafe — so always log in as a regular account.
useradd renfei  # add a regular user
passwd renfei   # set a password for the new user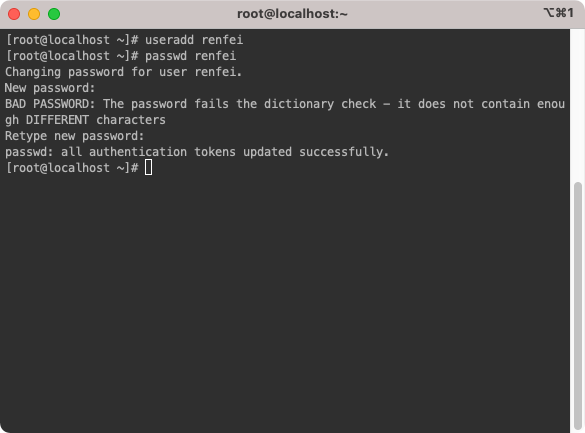
Granting sudo
Edit /etc/sudoers and add:
renfei ALL=(ALL) ALL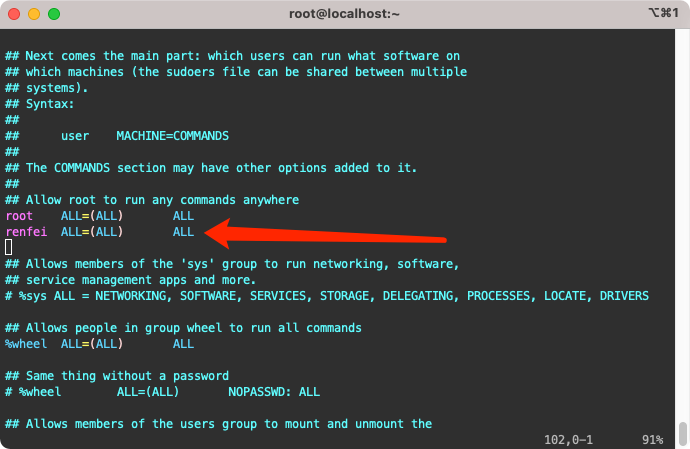
Creating Install and Storage Directories
To keep things tidy we create two folders: /opt/software for installation packages and /opt/module for software installation targets. Then give ownership to our new regular user.
mkdir /opt/module /opt/software
chown renfei:renfei /opt/module /opt/software
Installing the JDK and Hadoop
Switch to the regular user and install the JDK and Hadoop.
Installing the JDK
Download the JDK, drop it into /opt/software, extract it into /opt/module, and configure the JAVA_HOME environment variable:
tar -zxvf /opt/software/jdk-8u281-linux-x64.tar.gz -C /opt/module/  # extract JDK to /opt/module/
sudo vi /etc/profile  # edit environment variables, add the following (strip the leading #, shown here only for display):

#export JAVA_HOME=/opt/module/jdk1.8.0_281
#export PATH=$PATH:$JAVA_HOME/bin

source /etc/profile  # apply the variables
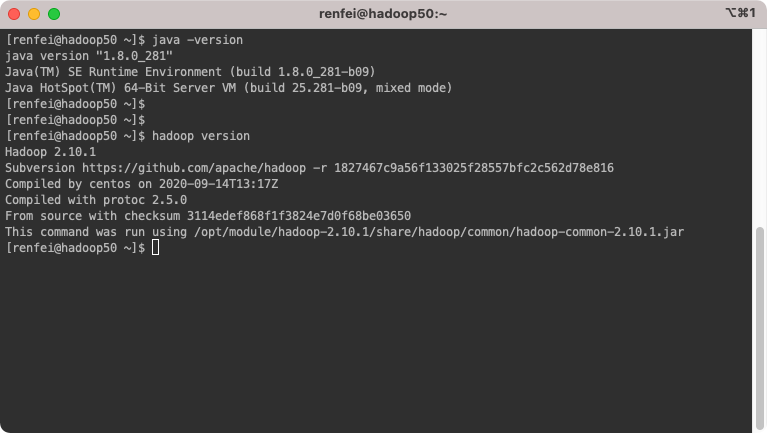
java -version        # verify the JDK install
Installing Hadoop
Same as the JDK: extract first, then configure HADOOP_HOME:
tar -zxvf /opt/software/hadoop-2.10.1.tar.gz -C /opt/module/  # extract Hadoop to /opt/module/hadoop-2.10.1
sudo vi /etc/profile  # edit environment variables, add the following (strip the leading #, includes the JDK lines above, shown here only for display):

#export JAVA_HOME=/opt/module/jdk1.8.0_281
#export HADOOP_HOME=/opt/module/hadoop-2.10.1
#export PATH=$PATH:$JAVA_HOME/bin:$HADOOP_HOME/bin:$HADOOP_HOME/sbin

source /etc/profile  # apply the variables
hadoop version       # verify the Hadoop install
That’s it — Hadoop is installed, and next we’ll start using it.