This is part of an ongoing series. Based on Renfei’s Blog 2020 Major Update, I’m covering each area separately: region selection, cloud server configuration, environment setup (JVM), caching strategy, Spring Boot configuration, and front-end page optimization.
Note: this is my personal experience, not a professional benchmark. Some of it isn’t rigorous — please bear with me.
The last post covered buying and configuring the server. This one is about Spring Boot optimization and technology choices: I switched to the more efficient FreeMarker, added Redis caching, added performance statistics, and added GitHub Actions workflows.
Choosing FreeMarker Over Thymeleaf for the Template Engine
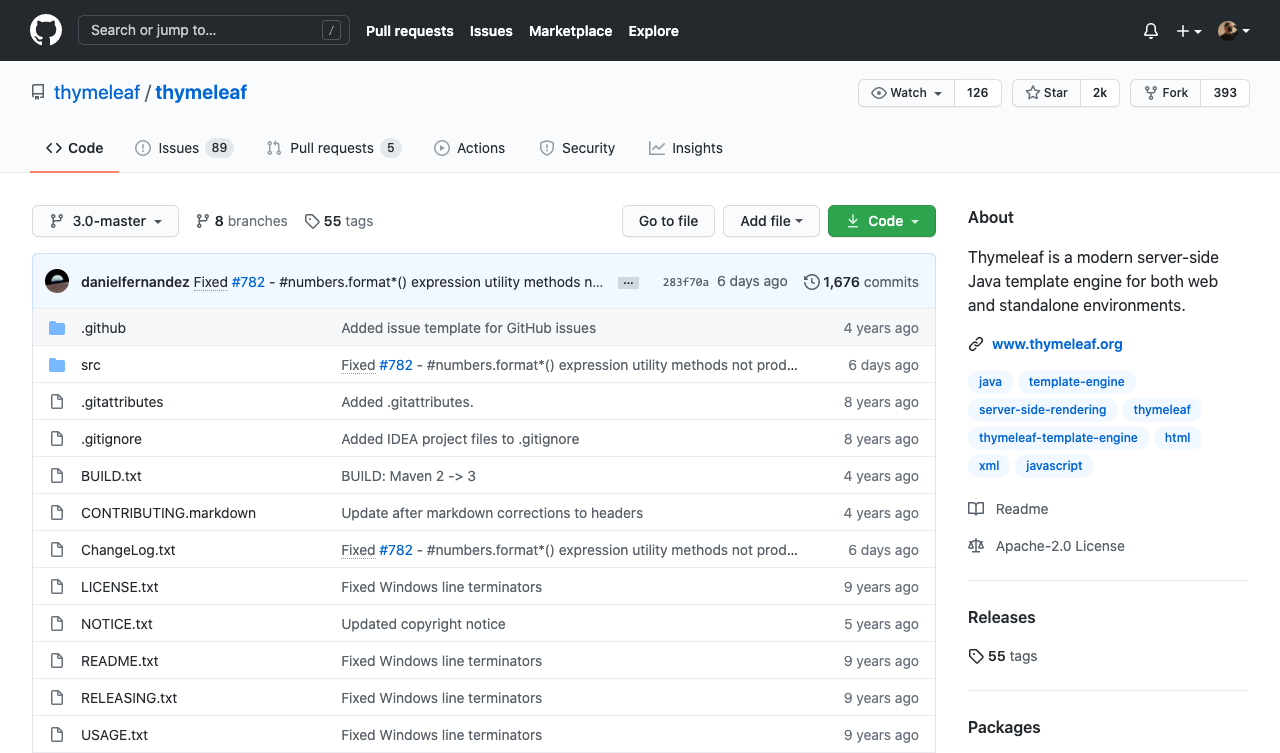
In previous versions I used Thymeleaf as my front-end view engine. It preserves the character of static HTML files nicely — you can open the HTML directly, and it decouples cleanly from Java code. But — as of this writing — the Thymeleaf folks haven’t shipped a release in four years (see the screenshot below), and its execution speed always felt slow to me; pages never seemed to open instantly. So I went and looked at FreeMarker, which I’ll continue with below.
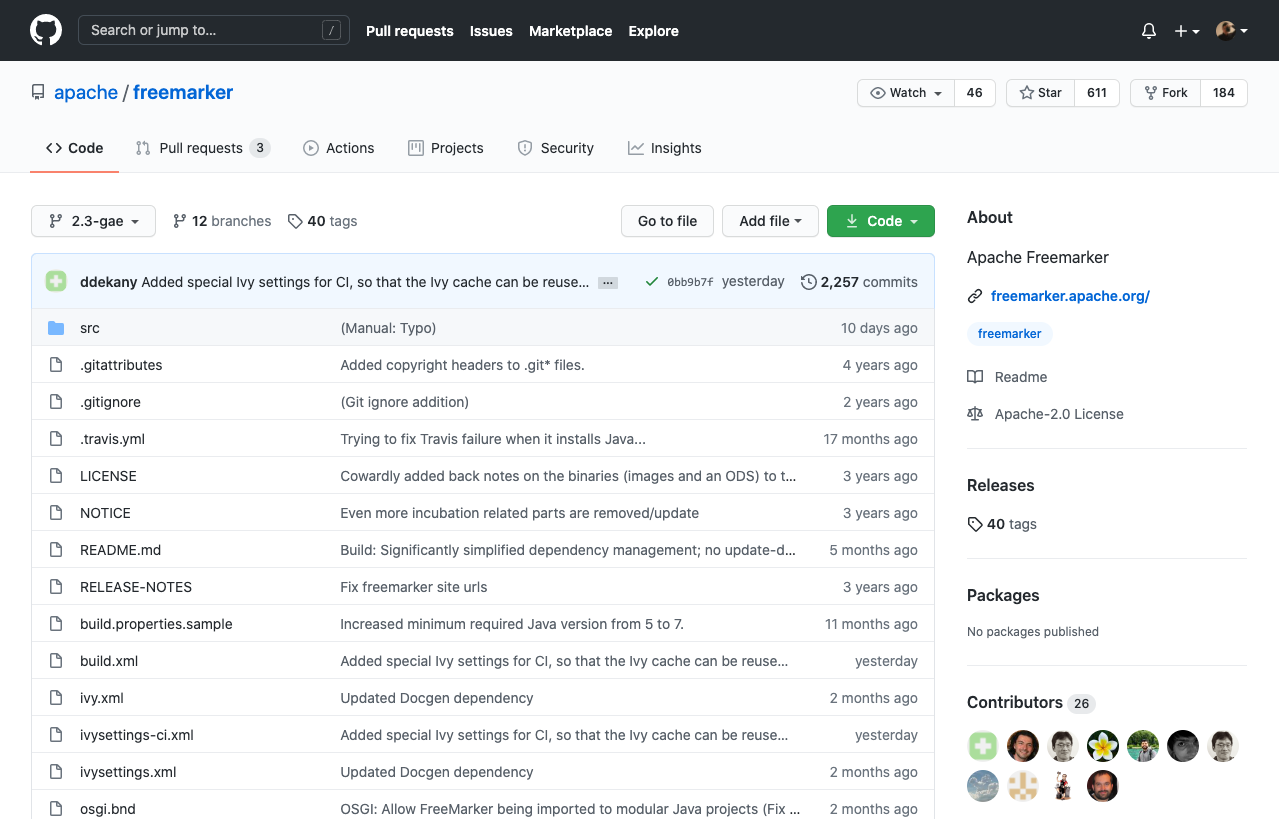
FreeMarker’s release cadence is in the next screenshot. You can’t call it daily, but at least you can tell someone is managing and updating it. I also tried comparing FreeMarker’s and Thymeleaf’s execution speed, and FreeMarker felt nearly instant. Searching around, I found more people using FreeMarker, so I went with FreeMarker as my template engine for its better performance.
Using Redis for Caching
Before talking about caching I have to talk about the scenario, because caching isn’t right everywhere. Slapping a cache on without considering the use case is just nonsense.
The point of this update was to make pages open faster, so on the caching side I first analyzed my own scenario. My personal blog is almost entirely reads: there’s no heavy business logic and no need for transactions. The only write is the article view counter, and that number doesn’t need to be exact or real-time, so caching is perfectly acceptable. Disk I/O is slow next to memory, so you might as well load hot data into memory and read it whenever you need it.
Then there’s the choice of cache. I used Memcache early on, and later Redis became popular. Both store data in memory, but Redis has more data types, Redis can periodically write data back to a database, and Redis can persist to disk on a schedule, so you can recover from AOF after data loss — whereas if something happens to Memcache, the data is just gone. Comparing popularity and Spring Boot support, I went with Redis as my cache database for its wider adoption.
Everyone has their own view on cache duration, since everyone’s traffic differs. With low traffic, a short TTL defeats the purpose of caching; too long and you worry that changing data — view counts, comments — won’t update in time. I currently use two hours. Based on my site’s traffic, someone visits at least every hour, so I settled on two hours as a compromise.
Adding Performance Statistics
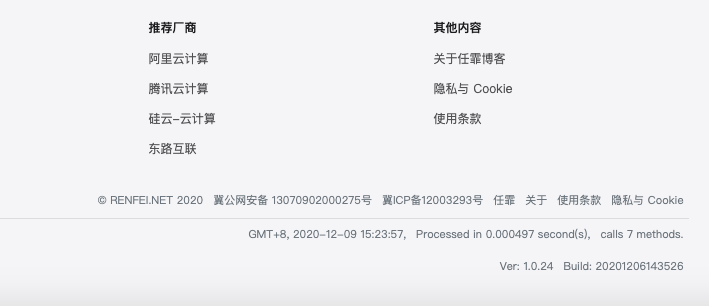
Some of you may have noticed a line in the bottom right of my pages, something like “Processed in 0.001055 second(s), calls 6 methods.” That’s timing collected through Spring’s AOP. The back end can print how many methods were called and how long each took, which lets me quickly pinpoint which method is the problem and optimize slow ones. This post is only about the back end — front-end performance optimization and evaluation are coming later in the series.
Using GitHub Actions Workflows
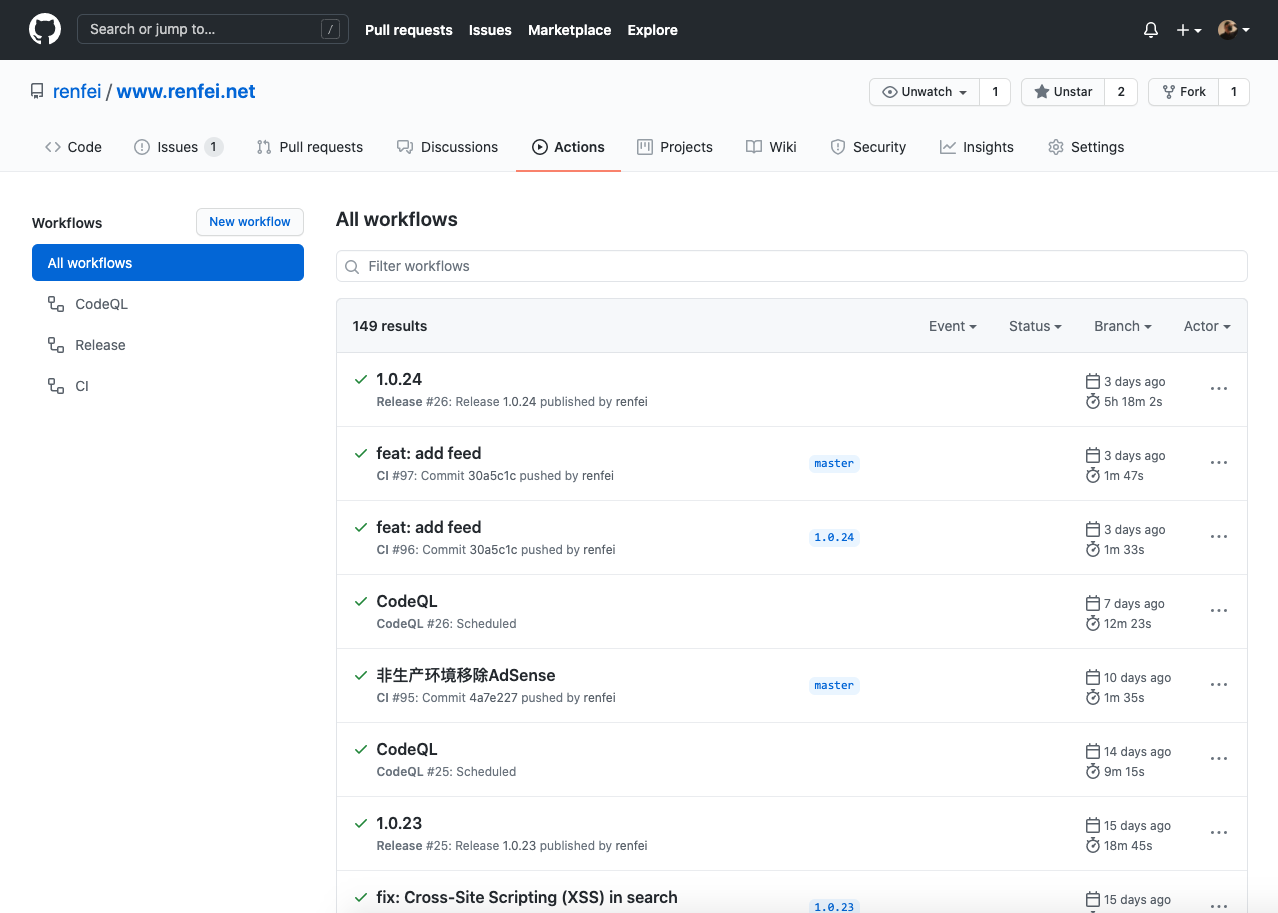
Speaking of the bottom right of the page, some of you may also have noticed a line like “Ver: 1.0.24 Build: 20201206143526”. This update was mainly about efficiency, and every release — packaging and deploying — also costs a lot of time and effort. That’s when I happened on GitHub Actions Workflows, GitHub’s CI/CD-style automation. GitHub is quite generous here: the Travis-CI I used before was very slow, while GitHub’s Actions perform very well — seemingly unthrottled — and builds are fast. So I’d recommend GitHub Actions Workflows.
With GitHub Actions, publishing a release triggers a workflow that compiles, packages, and uploads the Docker image automatically, which is why the current version and build timestamp show up at the bottom of the page.