
Preface
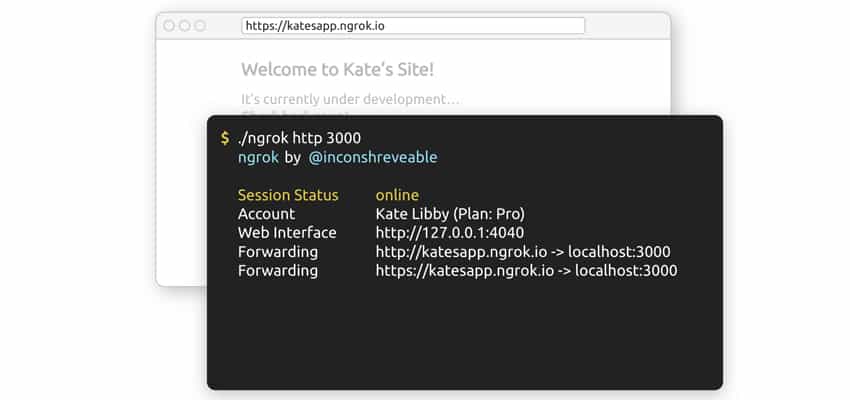
Not long ago my site connected to the WeChat Official Account platform. Debugging was inconvenient — deploy the code to the server to test? That’s unlikely, and could even affect the live system. So I used the intranet penetration service provided by ngrok to map my computer to the internet. Today I’ll share how to use ngrok for intranet penetration and map your computer to the internet.
Register for ngrok
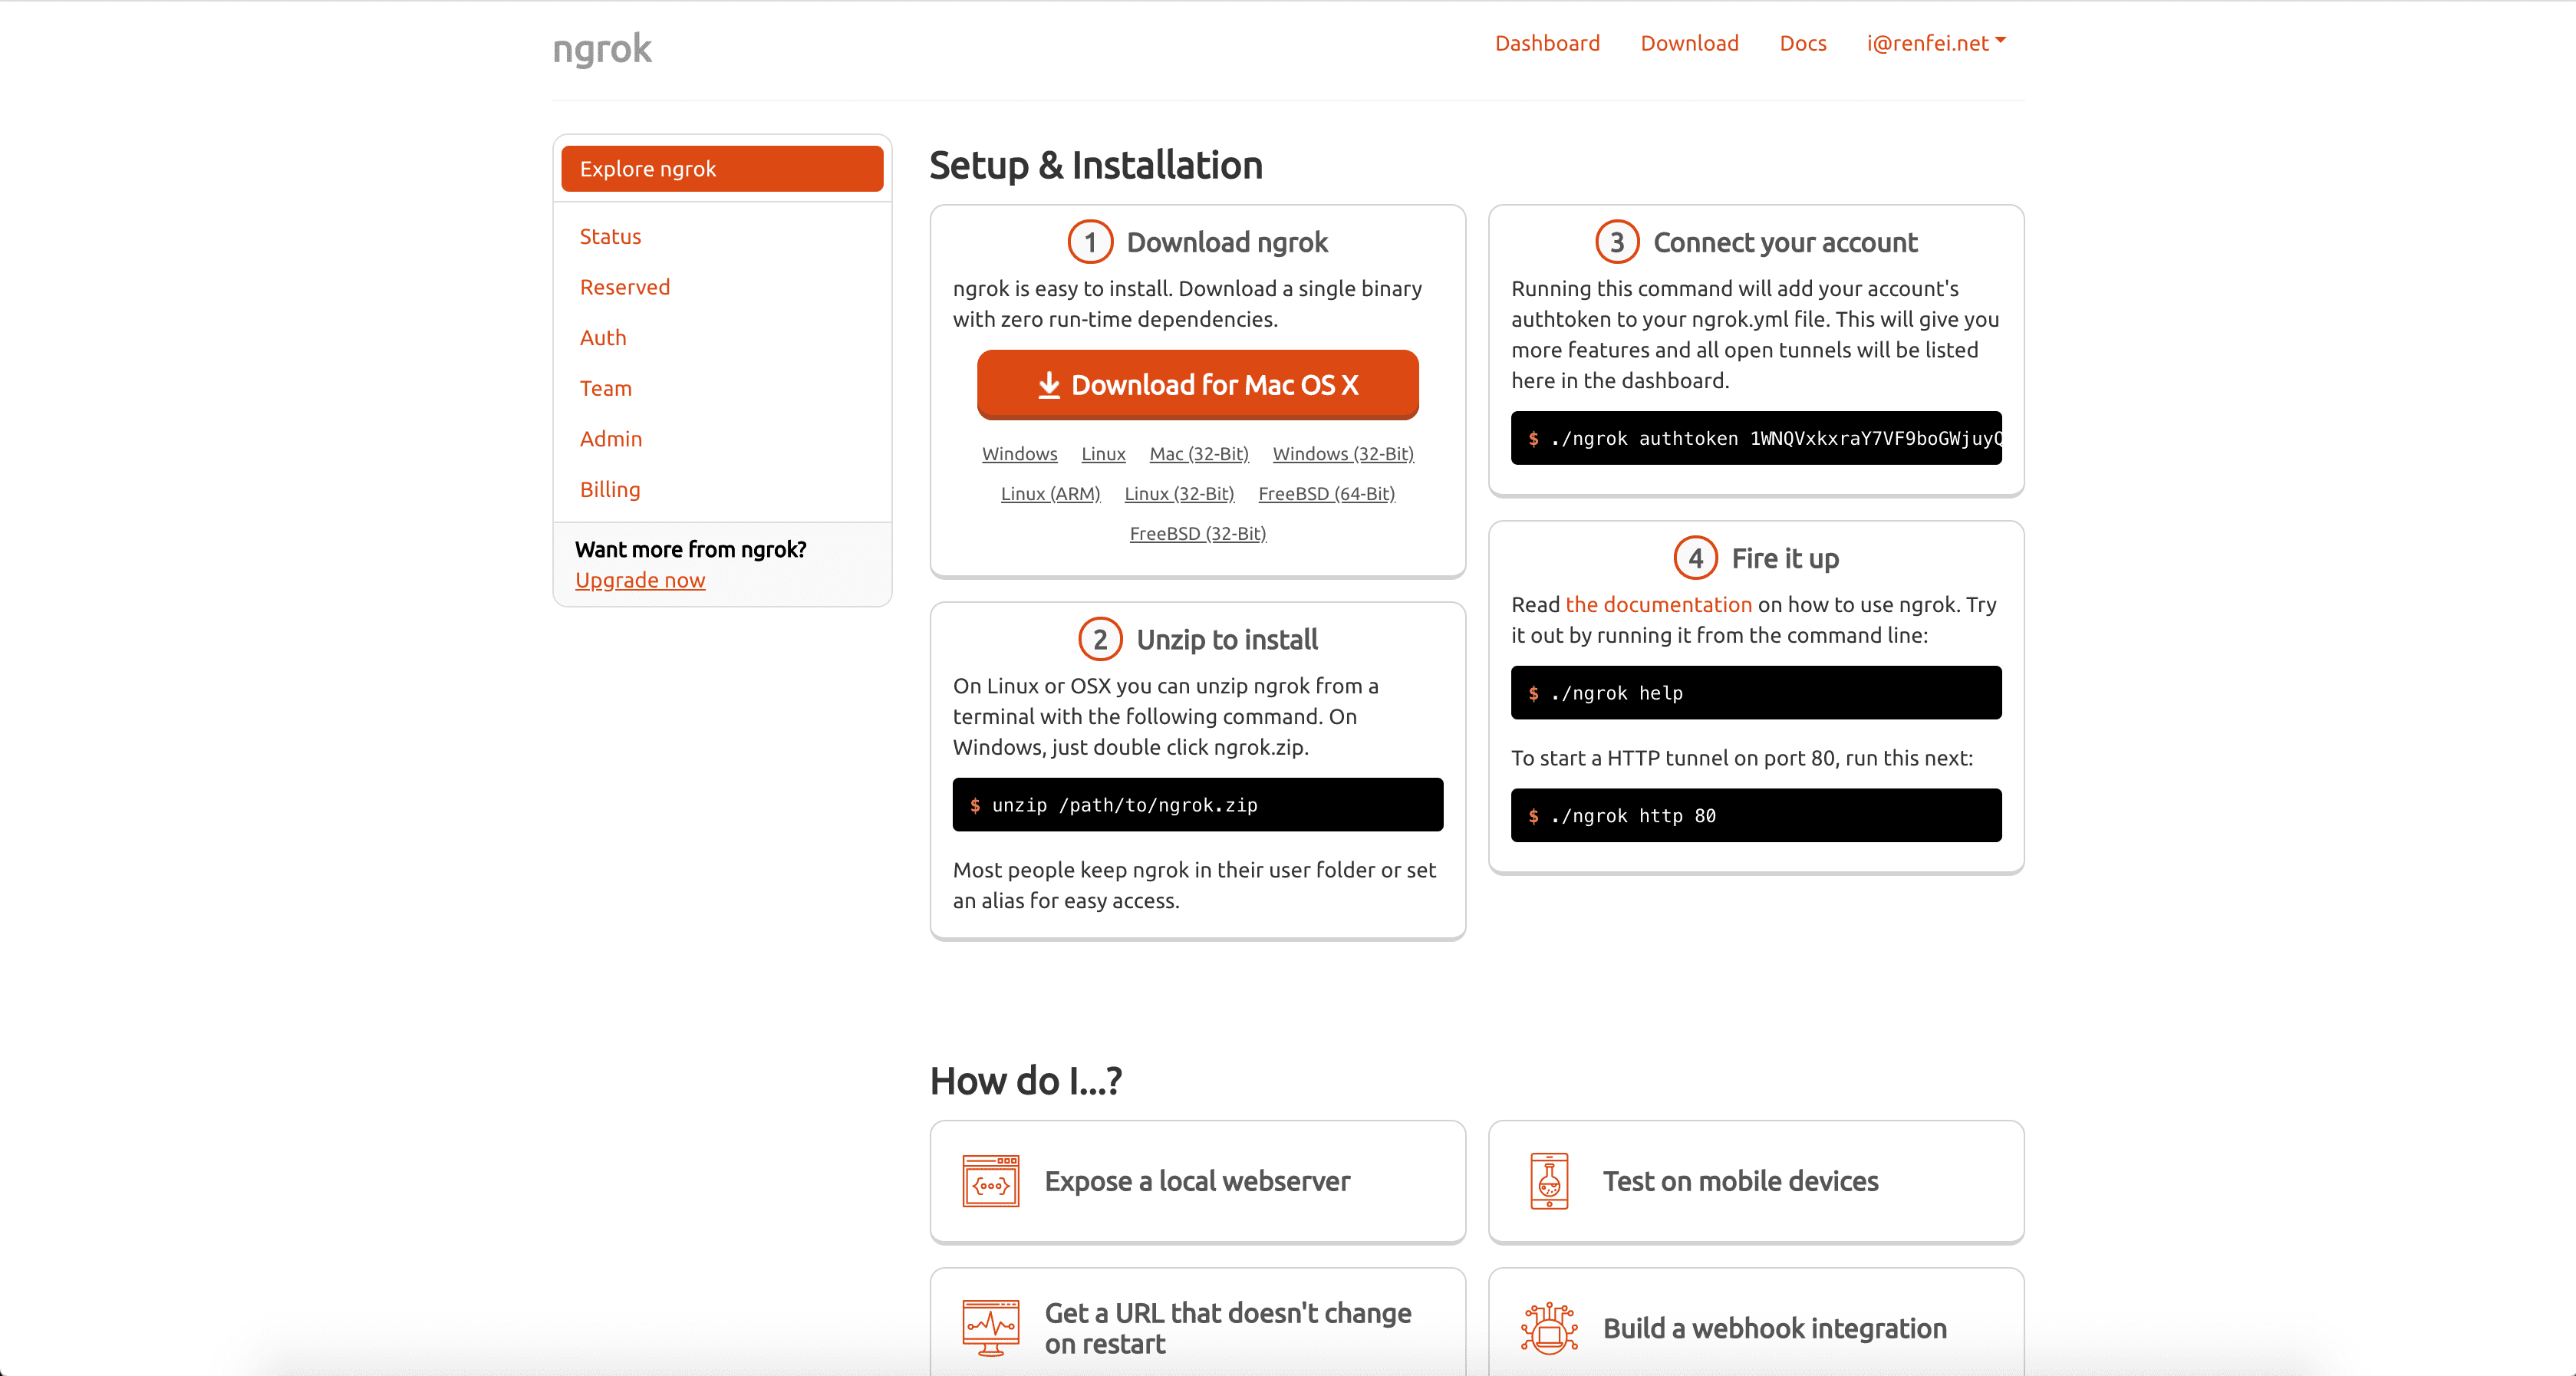
First, you need to register an account at ngrok. It’s very simple: after entering the homepage, click “SIGN UP →” at the top right to register. After registering, log into your ngrok account and you’ll be redirected to https://dashboard.ngrok.com/get-started.
View Your Token
After successful login you’ll be redirected to the “dashboard” at https://dashboard.ngrok.com/get-started, where you can see your token — the 48-character string after “Connect your account”: ”$ ./ngrok authtoken 1WNQVxkxraY7VF9boGWjuyQJtRpG4FMzFAYL69XGhJtoHaXT”. Keep it safe like a password.
Download ngrok
You can download ngrok at https://ngrok.com/download. Whether you’re on Windows, Linux, or Mac, you’ll find the corresponding client; almost all common operating systems are supported. My computer is a Mac, so the following demo is in a Mac environment, but the commands are the same for other OSes.
After downloading ngrok, you need to unzip it. Windows unzip is straightforward, so I won’t cover it. On Linux and Mac, use the unzip command. Assuming you put the downloaded ngrok.zip in your Downloads folder and my username is renfei, the unzip command is:
unzip /Users/renfei/Downloads/ngrok.zipStart ngrok
Windows uses the command line; Linux and Mac type the command in the terminal, assuming we’ve already entered the unzipped location.
Connect to Your Account
This step connects your account with your client by adding your account authentication to the ngrok.yml file. Replace the 48-character token here with yours; the command is:
./ngrok authtoken 1WNQVxkxraY7VF9boGWjuyQJtRpG4FMzFAYL69XGhJtoHaXT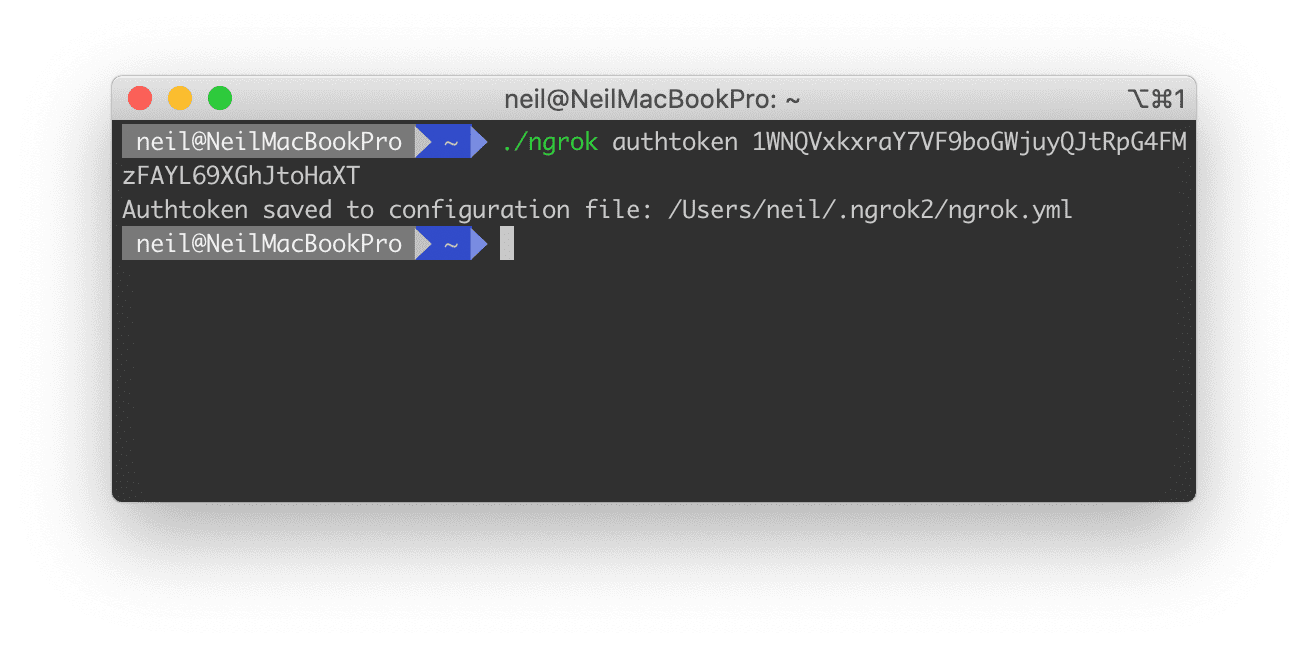
Start ngrok and Map a Port to the Internet
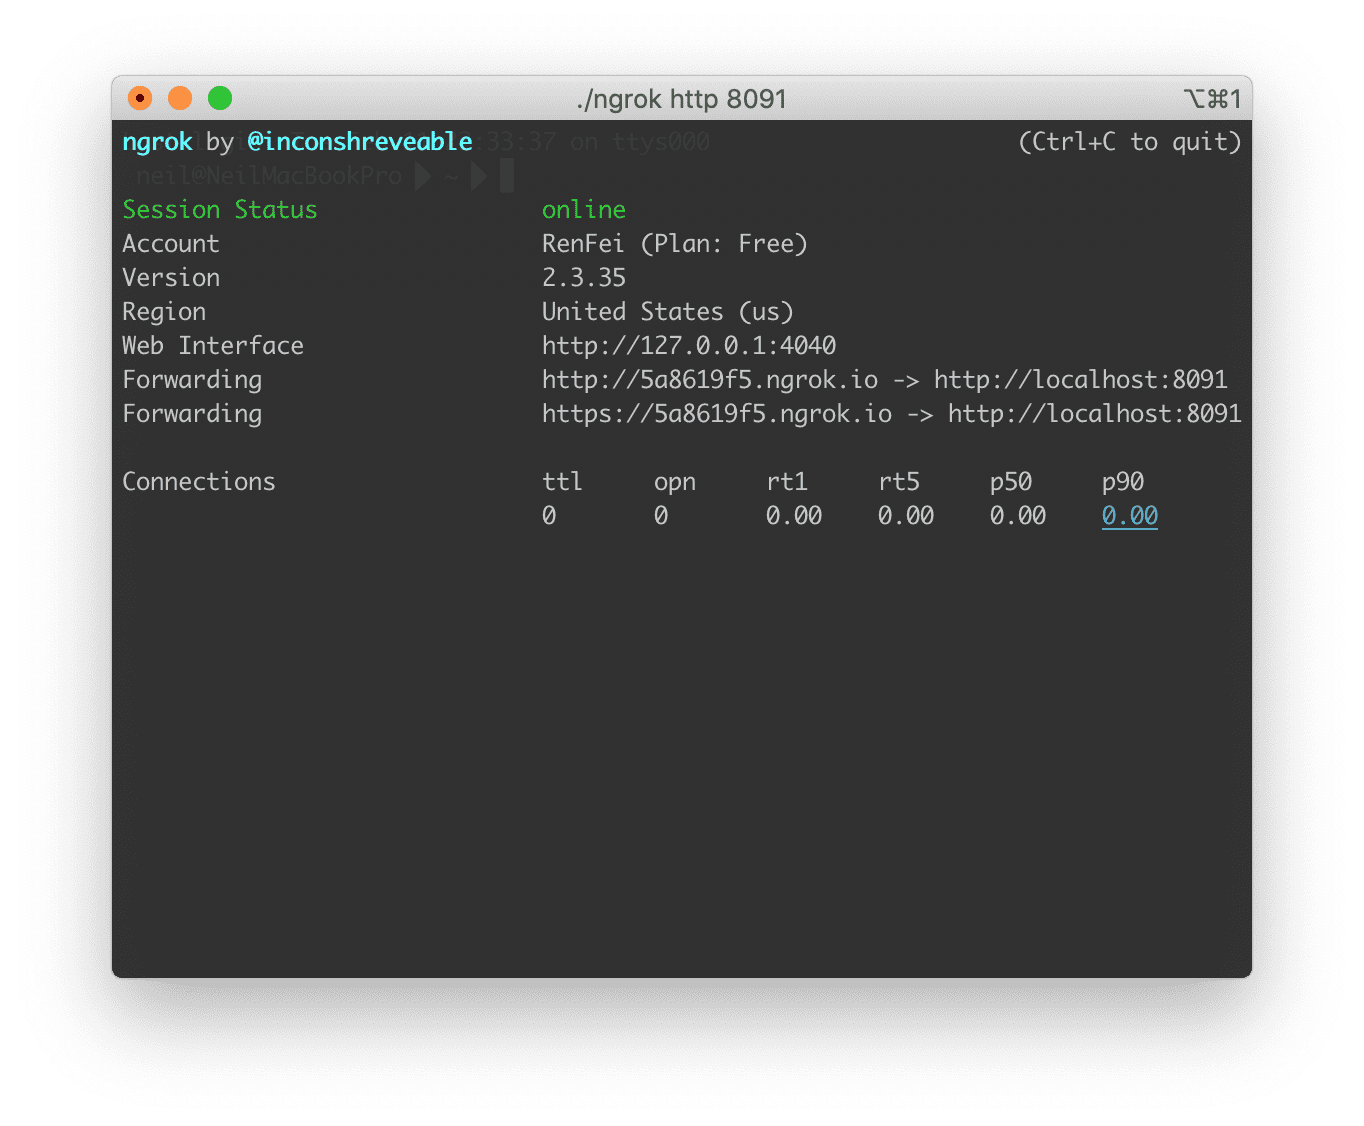
Starting ngrok is very simple. First decide which port to map to the internet. In my demo it’s port 8091, which is the port my program listens on. The command is:
./ngrok http 8091It then shows the following information:
-
Session Status: status; online means connected
-
Account: account, RenFei (Plan: Free) free plan
-
Version: version, 2.3.35
-
Region: region, United States (us)
-
Web Interface: local visual monitoring UI, http://127.0.0.1:4040
-
Forwarding: the externally exposed address, including HTTP and HTTPS
Access from the Internet
Forwarding provides the internet address through which you can reach your local port. The demo here is: http://5a8619f5.ngrok.io. Note that on the free plan this address is random and changes every time you start; a fixed address requires a paid plan. You can also add a subdomain parameter to try to claim a specific domain for this session, but it won’t be reserved for you permanently — you’d need to request it each time. For example, if I want the domain renfei:
./ngrok http -subdomain=renfei 8091Region defaults to the US. If you need a different region, add a region parameter at startup. For example, to request the Asia region:
./ngrok http -region ap 8091Supported regions:
-
us - United States (Ohio)
-
eu - Europe (Frankfurt)
-
ap - Asia/Pacific (Singapore)
-
au - Australia (Sydney)
-
sa - South America (Sao Paulo)
-
jp - Japan (Tokyo)
-
in - India (Mumbai)
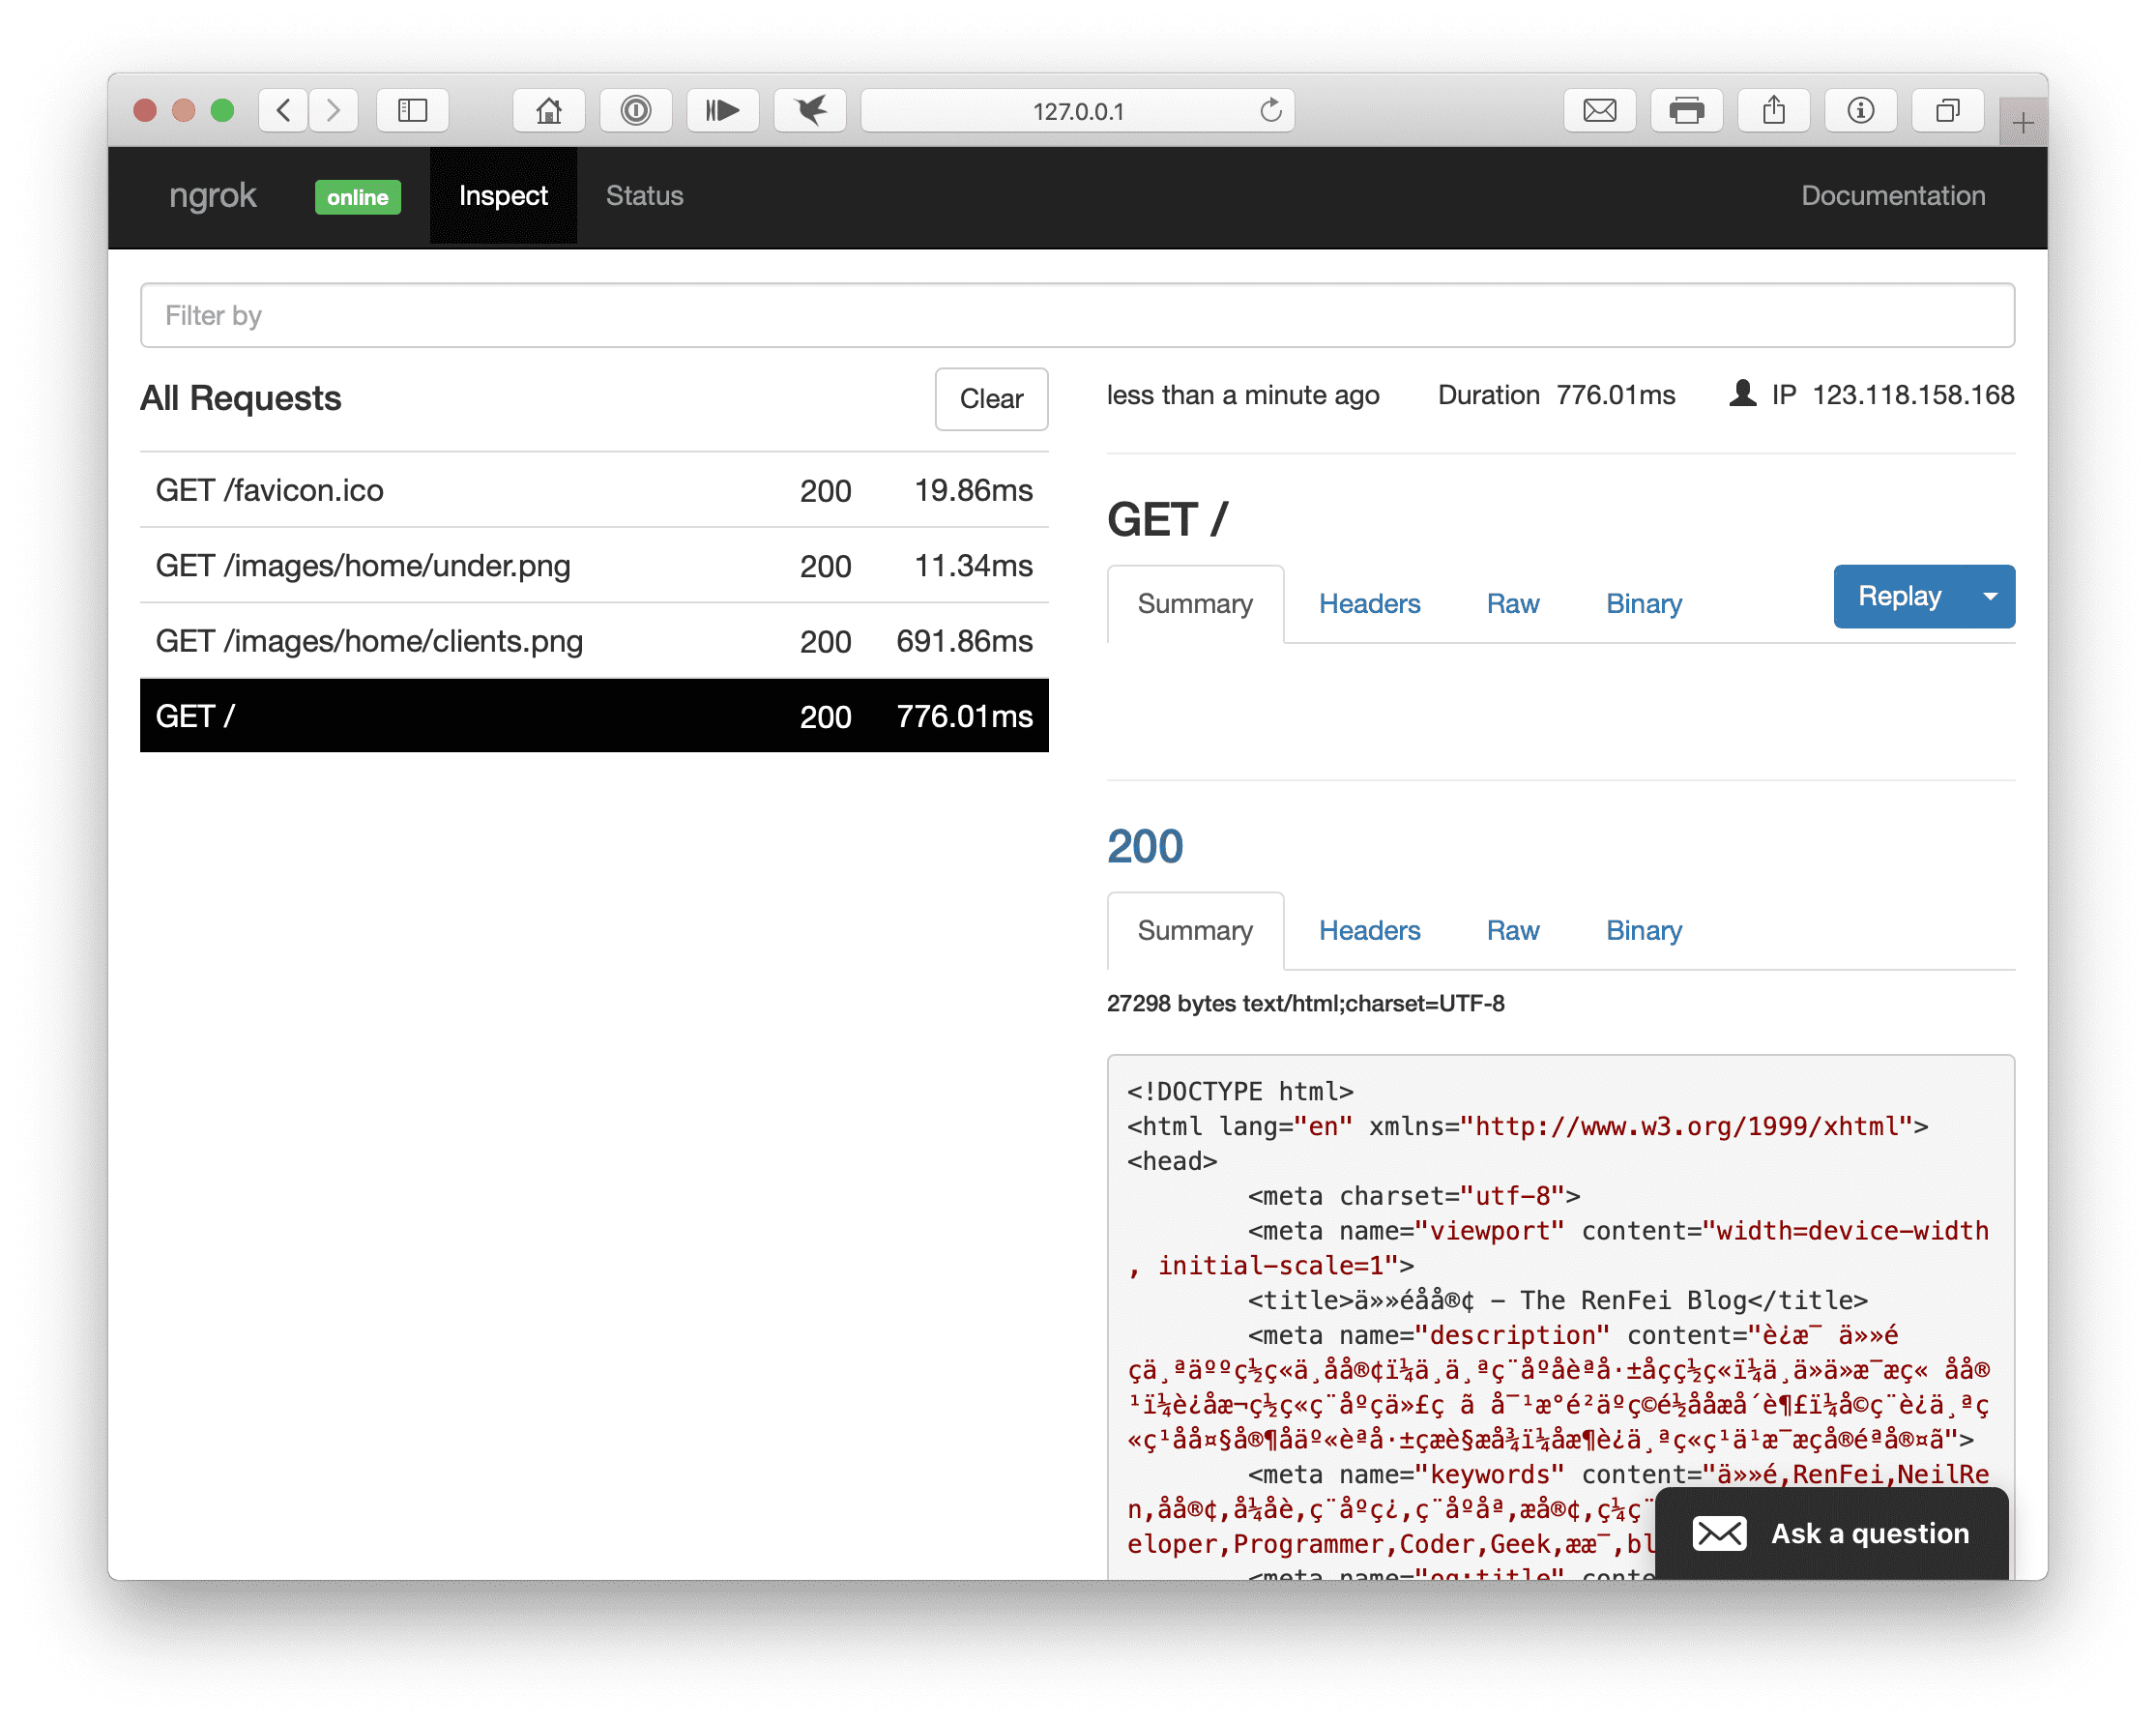
The Web Interface is the local visual monitoring UI at http://127.0.0.1:4040, where you can monitor the detailed interaction of network requests:
More Information
The tutorial above covers most needs. If you want other settings and features, refer to the official docs: https://ngrok.com/docs