

Tutorial index: Big Data for Beginners: tutorial series
Last time we learned what Hive is. This post walks you through installing and deploying Hive so you can try this legendary data warehouse yourself.
Prerequisites
As described last time, Hive sits on top of Hadoop, so you need Hadoop installed with HDFS and Yarn running. If you haven’t set Hadoop up yet, do that first.
The previous overview mentioned the Metastore, which by default lives in Hive’s bundled Derby database. We’ll store Metastore metadata in MySQL instead, so you need a MySQL instance too. Installing MySQL is out of scope here — have it ready before you start.
Installing Hive
Download Hive and unpack it — I extracted mine to /opt/module/hive — then edit the configuration. Copy conf/hive-env.sh.template to conf/hive-env.sh and set the Hadoop path plus Hive’s config directory:
export HADOOP_HOME=/opt/module/hadoop-2.10.1
export HIVE_CONF_DIR==/opt/module/hive/conf
Environment Variables
Edit /etc/profile and add Hive’s environment variables:
export JAVA_HOME=/opt/module/jdk1.8.0_281
export HADOOP_HOME=/opt/module/hadoop-2.10.1
export HIVE_HOME=/opt/module/hive
export PATH=$PATH:$JAVA_HOME/bin:$HADOOP_HOME/bin:$HADOOP_HOME/sbin:$HIVE_HOME/bin
Then run source /etc/profile to apply them, and hive --version to verify. If the Hive version prints, the installation worked.
Putting Hive Metadata in MySQL
Since we’re storing Metastore data in MySQL, we need to tell Hive how to connect.
Copy the Driver
You can’t talk to MySQL without the driver jar. Download the one matching your MySQL version — mine is mysql-connector-java-8.0.23.jar — and copy it into /opt/module/hive/lib/.
Configure Metastore for MySQL
Create a hive-site.xml under hive/conf. Referring to the official docs at https://cwiki.apache.org/confluence/display/Hive/AdminManual+Metastore+Administration, write:
<?xml version="1.0"?>
<?xml-stylesheet type="text/xsl" href="configuration.xsl"?>
<configuration>
    <property>
      <name>javax.jdo.option.ConnectionURL</name>
      <value>jdbc:mysql://n1.renfei.net:3306/metastore?createDatabaseIfNotExist=true</value>
      <description>JDBC connect string for a JDBC metastore</description>
    </property>
    <property>
      <name>javax.jdo.option.ConnectionDriverName</name>
      <value>com.mysql.cj.jdbc.Driver</value>
      <description>Driver class name for a JDBC metastore</description>
    </property>
    <property>
      <name>javax.jdo.option.ConnectionUserName</name>
      <value>root</value>
      <description>username to use against metastore database</description>
    </property>
    <property>
      <name>javax.jdo.option.ConnectionPassword</name>
      <value>root</value>
      <description>password to use against metastore database</description>
    </property>
    <property>
        <name>hive.metastore.schema.verification</name>
        <value>false</value>
    </property>
</configuration>
Initialization
We still need to initialize the schema. Run:
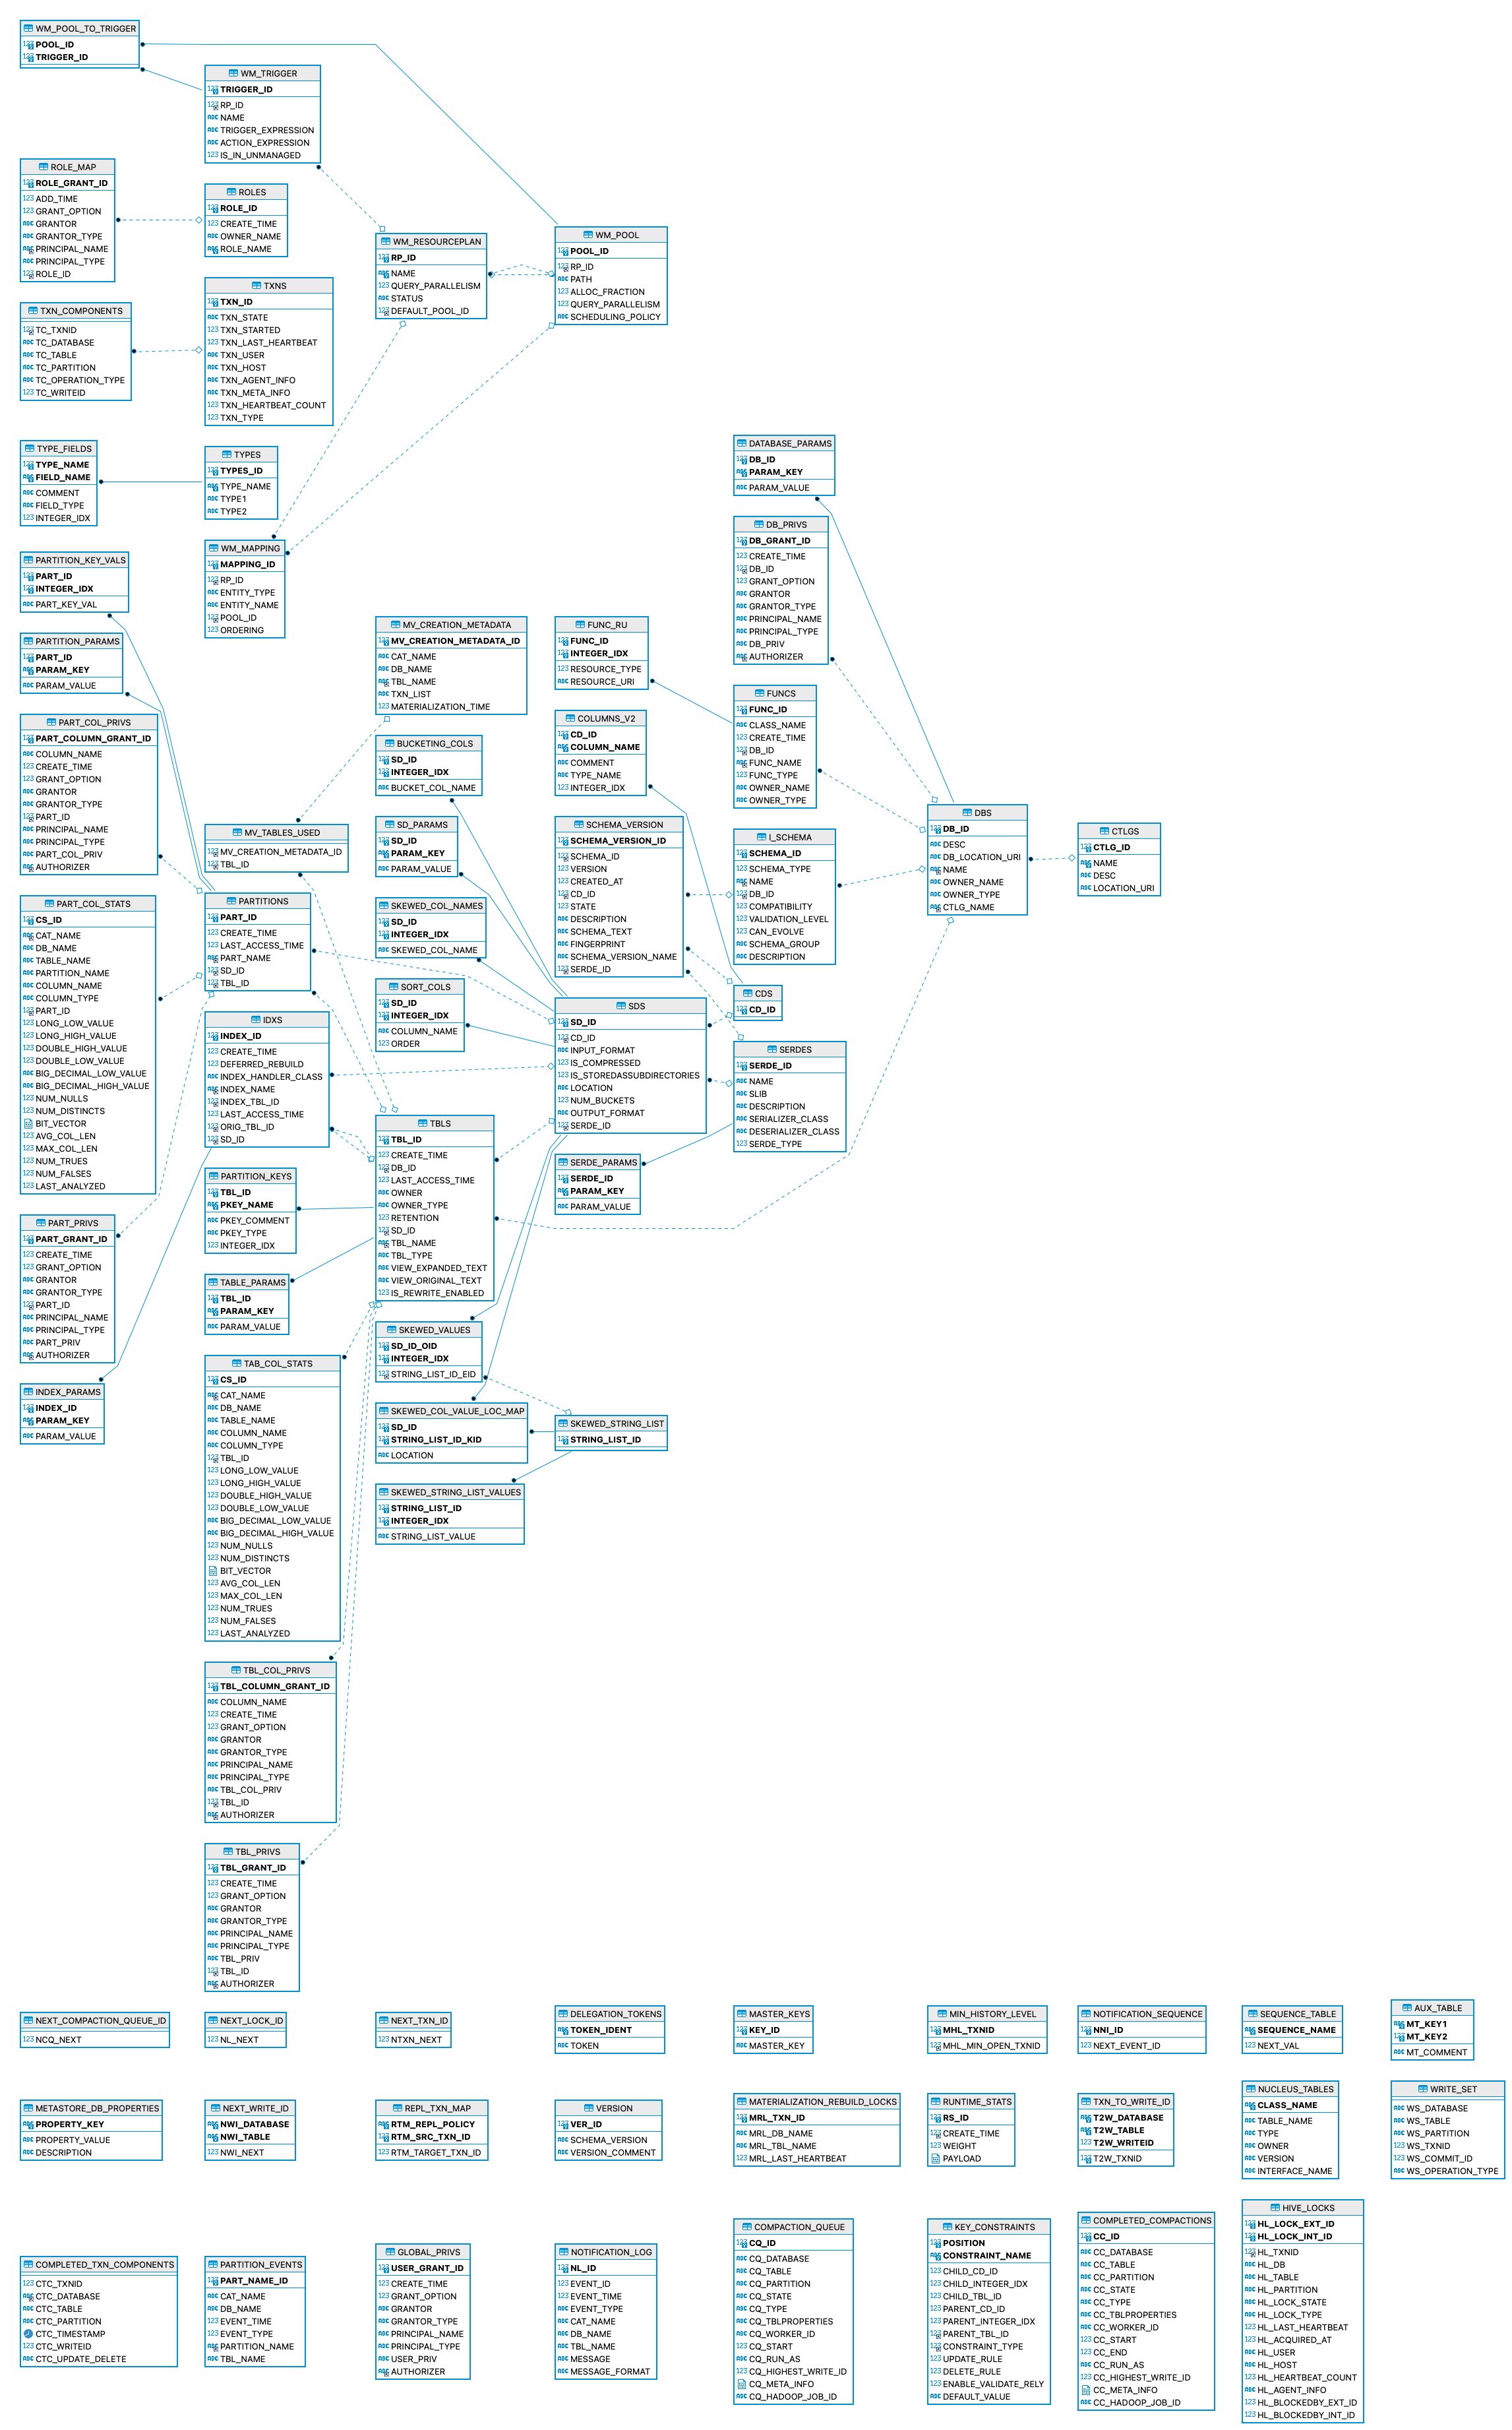
hive/bin/schematool -dbType mysql -initSchemaWait for it to finish, and you’ll see a new metastore database appear in MySQL with a bunch of tables created underneath it:
Starting Hive
Starting it is equally simple — just run bin/hive — and from there you can query with SQL much as you would in MySQL. Try show databases;, or quit; to exit.