
[1] Scala Development Environment Setup Tutorial — Using IntelliJ IDEA [2] Scala Development Tutorial — Scala Basics: Data Types [3] Scala Development Tutorial — Scala Basics: Variables and Constants
My Take on Scala
My understanding: Scala extends Java, so it depends on the Java JVM, and is thus fully compatible with Java code. Scala source (.scala) is compiled to Java bytecode (.class), then runs on the JVM and can call existing Java libraries, giving the two languages seamless interop.
Scala Installation and Setup
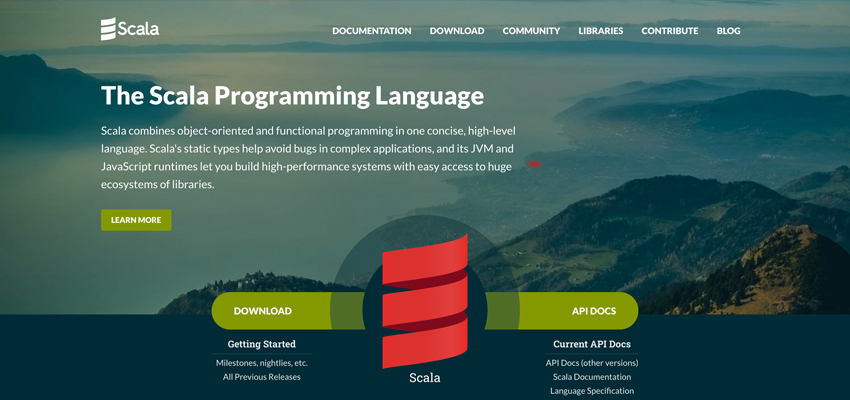
First, follow the official docs and click download: https://www.scala-lang.org/download/. The site already lists the two steps we need:

1. Check the Java environment — install Java 8 JDK
In the command line, type java -version to check the Java version, which should be 1.8. If it says the java command isn’t found, install Java first; download from https://www.oracle.com/technetwork/java/javase/downloads/jdk8-downloads-2133151.html. I won’t go into the Java install steps here.
2. Choose IntelliJ or SBT
We’ll skip SBT for now (it’s a Maven-like build tool). We’ll use Scala via the IntelliJ IDEA plugin. If you haven’t installed IntelliJ IDEA, click the DOWNLOAD INTELLIJ button, or use this link: https://www.jetbrains.com/idea
The official guide gives three steps, but we only need “Getting Started with Scala in IntelliJ”. Just follow the official docs. With Java 8 and IntelliJ IDEA installed, next we install the Scala plugin; the plugin link is https://www.jetbrains.com/help/idea/installing-updating-and-uninstalling-repository-plugins.html, but we can just install it from inside IDEA.
On the IDEA startup screen, go to Configure → Plugins, type Scala in the search box, and install the Scala plugin. IDEA will ask to restart after installation for the plugin to take effect.


Next, create a Scala project: click Create New Project, choose Scala on the left and IDEA on the right, click Next, name the project (here, HelloScala), then pick a storage location. If this is your first build, you’ll also need to download the Scala SDK — click Create… then Download…, pick the latest version, and wait for it to finish. Or if you’ve already downloaded the Scala SDK, click Browse… to select the local folder. Then click Finish to complete the Scala project.


3. Write some code
Wait for IDEA to finish creating the project. In the left Project tab, right-click the src folder and choose New → Scala Class.

If you don’t see Scala Class, right-click the top project name, choose Add Framework Support…, and select Scala.

Create a new Scala class named Hello, set Kind to object, and write the code:
object Hello extends App {
  println("Hello, Scala!")
}
Right-click the Hello class name in the code and choose Run ‘Hello’ — your first Scala program is done!
